

The new version of OpenCore 0.6.4 is now available. In this article, we will show you how to create a macOS Catalina USB Installer from Ubuntu 20.10. In case you don’t have Windows 10, Mac, or Hackintosh, you can use this method to create the USB installer. The steps are pretty easy with very little command line knowledge. For this purpose, you will need a USB flash disk with at least 4 GB and a good internet connection. This guide is based on the official OpenCore website at Dortania.
Steps to Create macOS Catalina USB Installer from Ubuntu 20.10
The following method should works on other Linux distributions as well.
Step 1. Install Python
Make sure we have Python installed. Ubuntu 20.10 comes with Python 3 installed by default. Verify if Python is installed with this command
python --version
Or
python3 --version
It should print something like this
Python 3.8.6
If both commands return nothing or print some error, then we need to install Python.
sudo apt install python3
Step 2. Download OpenCore 0.6.4
UPDATE !!!
The script in the OpenCore 0.6.4 is broken. You will get the following error when trying to download macOS installation file using the macrecovery.py script.
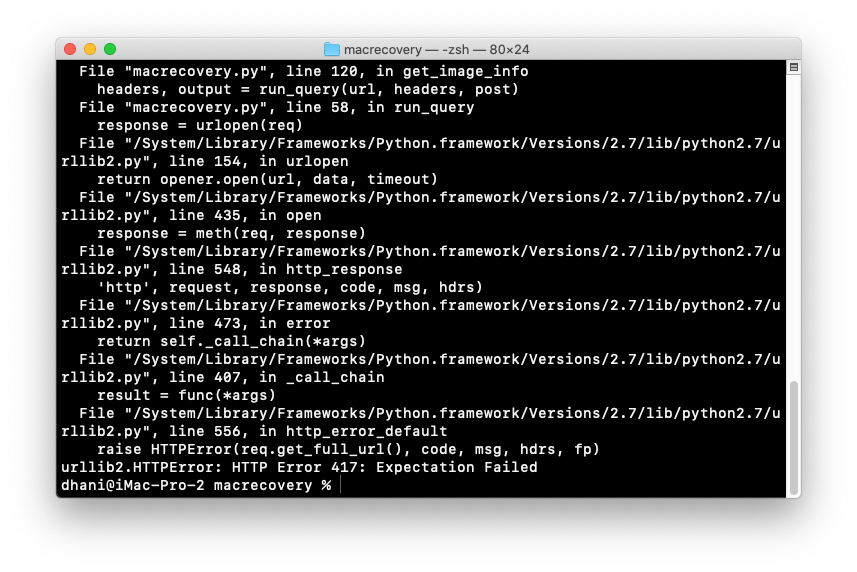
So, you will need to download the following file
https://github.com/acidanthera/OpenCorePkg/archive/master.zip
Extract the zip file and use the we will use the macrecovery.py inside the Utilities folder. Continue reading for the complete steps.
Now we need to get the latest OpenCore 0.6.4. You can get it from this link below.
https://github.com/acidanthera/OpenCorePkg/releases/download/0.6.4/OpenCore-0.6.4-RELEASE.zip
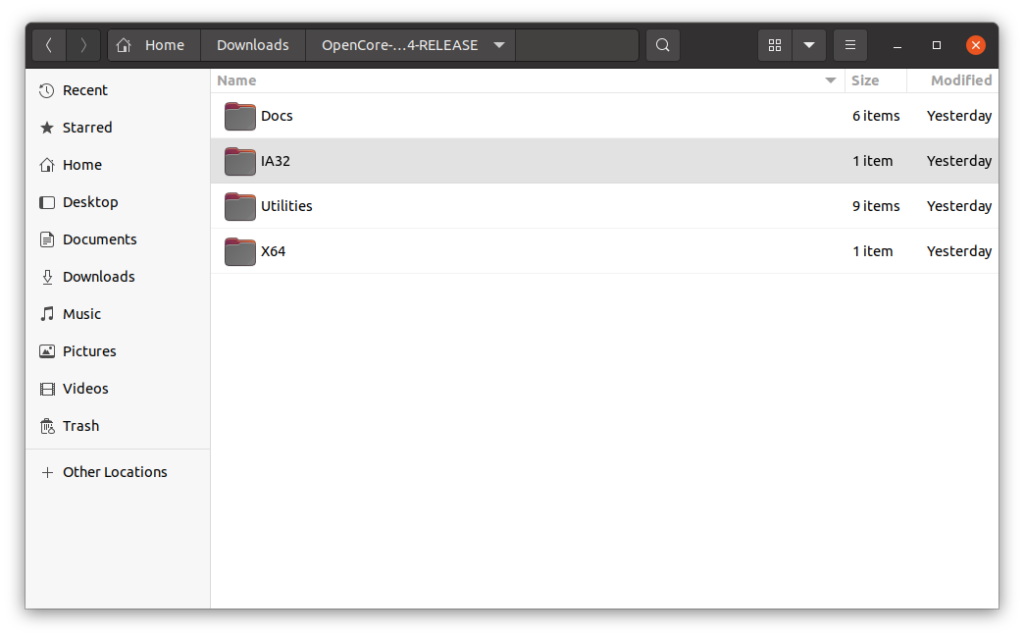
Next, extract the Zip file and it will create a new directory called something like OpenCore-0.6.4-RELEASE.
Step 3. Download macOS Catalina
Now let’s download the macOS Catalina. Make sure you are connected to the internet. First, open Terminal and then cd to the macrecovery folder inside the OpenCorePkg-master/Utilities/macrecovery folder.
cd ~/Downloads/OpenCorePkg-master/Utilities/macrecovery
And then use this command to download macOS Catalina
python3 ./macrecovery.py -b Mac-00BE6ED71E35EB86 -m 00000000000000000 download
As you can see, I use python3 since I have the Python version 3.6.8 installed on my Ubuntu 20.10. Wait until the download completes.

After the download process completed, you should see the following files inside the macrecovery folder
- BaseSystem.dmg
- BaseSystem.chunklist
We are going to need these two files.
Step 4. Making the Installer
Now we have all we need to build the macOS Catalina USB Installer. Plug in the USB drive to the Ubuntu 20.10. We are going to format the drive. Make sure there is no important data in it.
A. Format the USB Drive
Open Terminal and execute this command to check our USB drive
lsblk
It should prints something like this
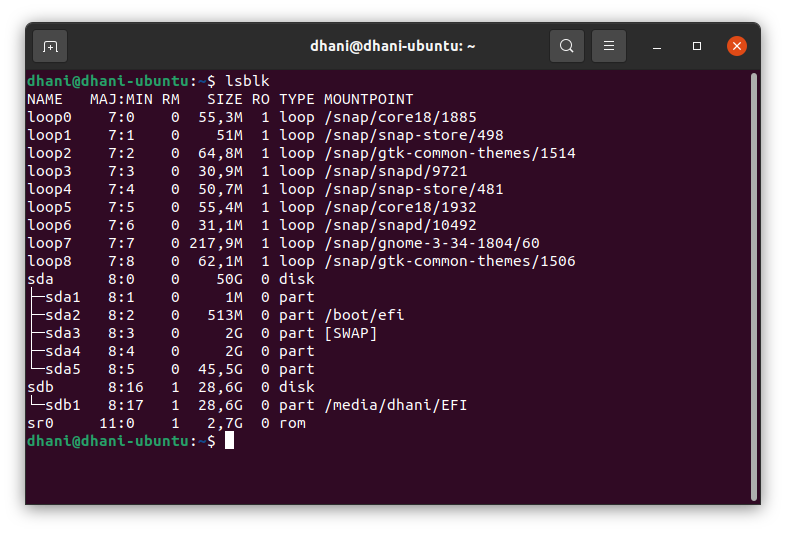
As you can see, my SandDisk USB drive is recognized as sdb. Your dive could be different from mine. So make a note of it.
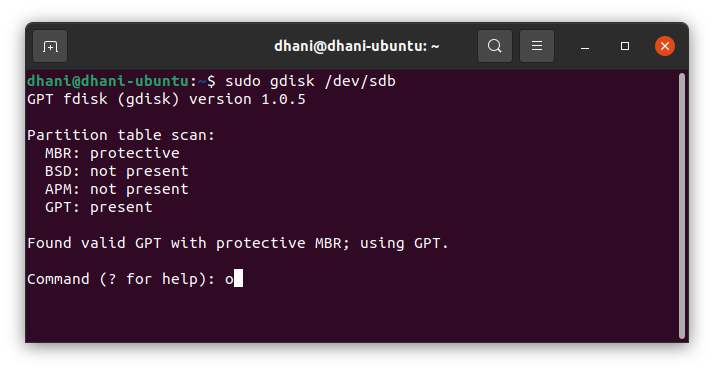
sudo gdisk /dev/sdb
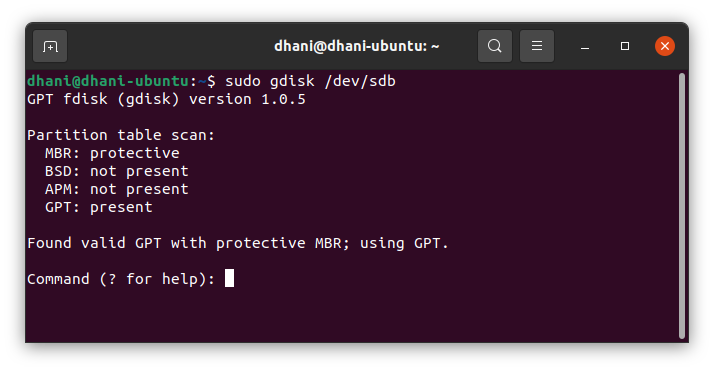
Now type o to clear/delete all the partition tables that exist on the USB drive.

Answer y and press Enter. Now type n to create a new partition table.
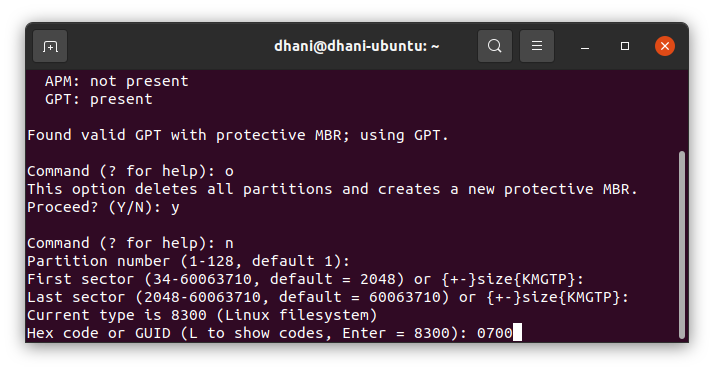
You will need to answer some questions
- Partition number: Leave blank
- First sector : Leave blank
- Last sector: Leave blank
- Hex code or GUID: 0700
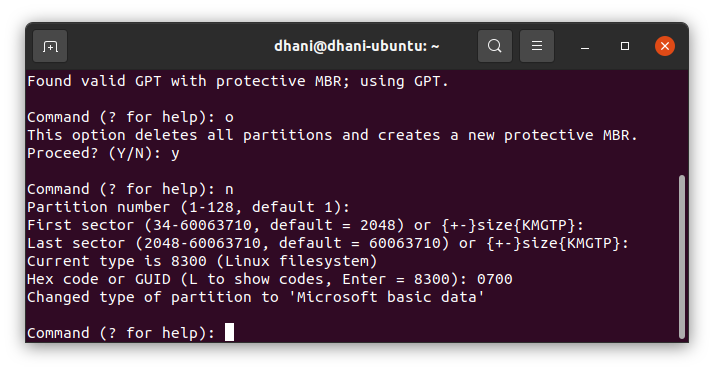
Now let’s write the new layout. Type w and press Enter.
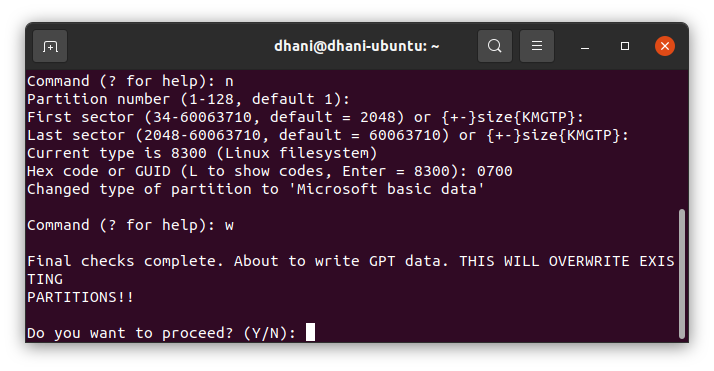
Make sure there is no error on this process.
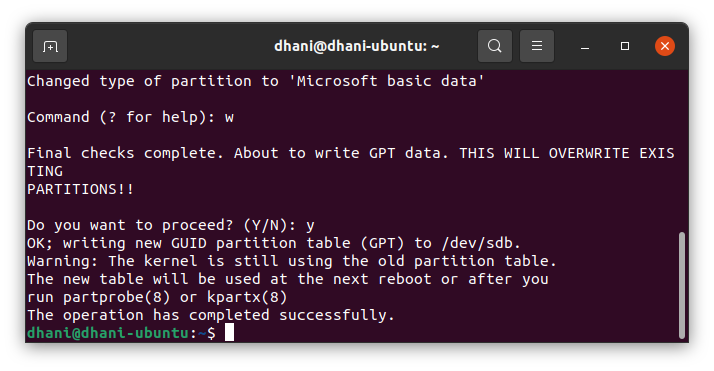
Now, let’s check with lsblk again
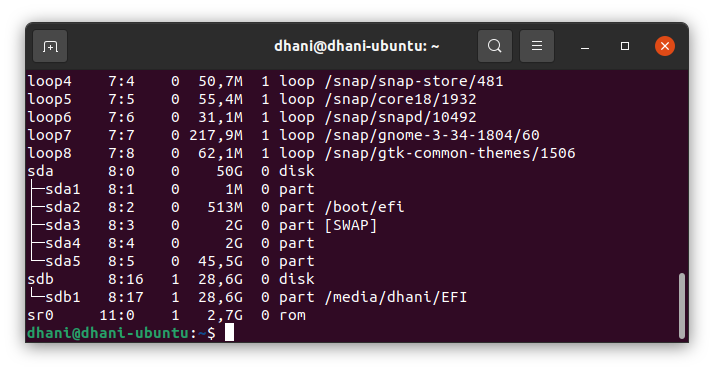
Now there is a partition /dev/sdb1 under /dev/sdb. As you can see, my USB disk is mounted as /media/dhani/EFI. So we have to unmounted it.
sudo umount /dev/sdb1
And then use this command
sudo mkfs.vfat -F 32 -n "OPENCORE" /dev/sdb1
mkfs.fat 4.1 (2017-01-24)
The command will format the USB drive to FAT32 and rename it to OPENCORE.
B. Mount the partition
Now, we need to mount the OPENCORE partition we’ve created using the above method. I will use the Disks application that comes with Ubuntu 20.10. Open Disks and then select the USB drive as shown below.

Click the Mount button (little black triangle).
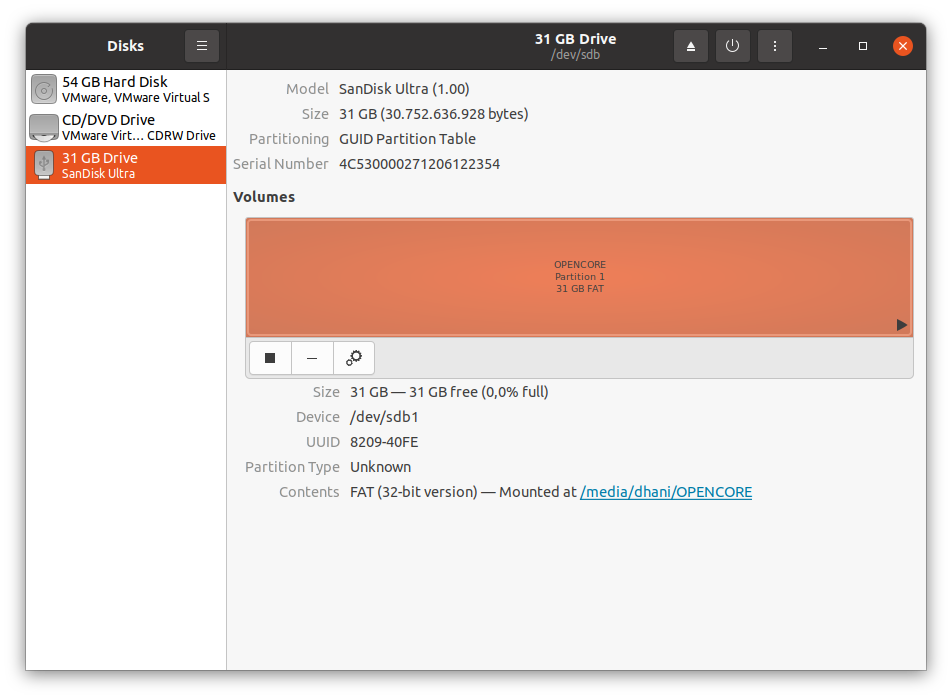
Now my partition is mounted at /media/dhani/OPENCORE.
C. Copy Files
First, we need to make a new directory inside the OPENCORE partition. Do not get confused. This OPENCORE is the USB partition we’ve mounted from the step above.
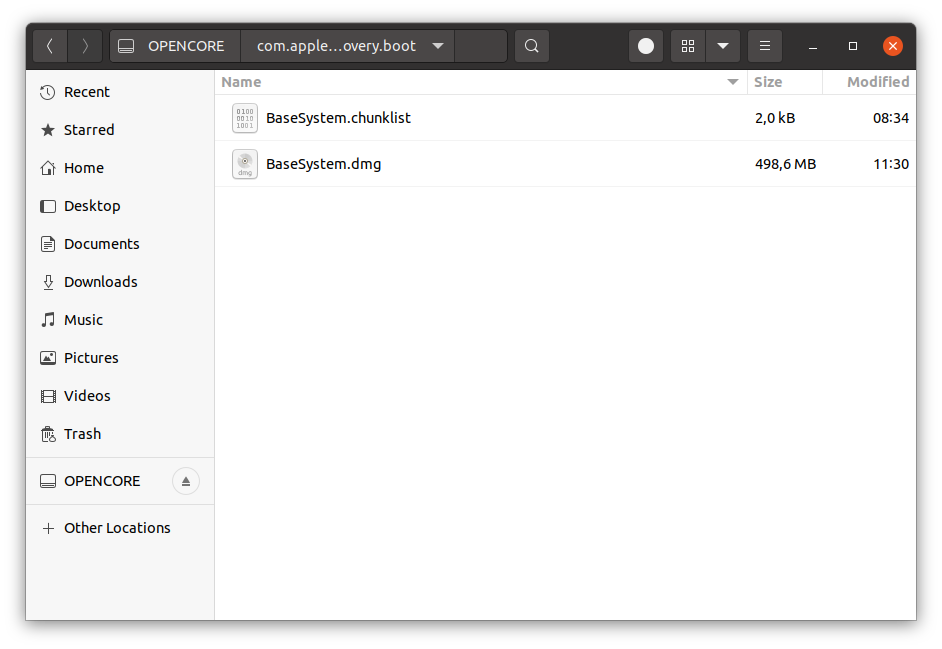
Create a new folder called com.apple.recovery.boot. You can do it from the terminal as well.
mkdir /media/dhani/OPENCORE/com.apple.recovery.boot
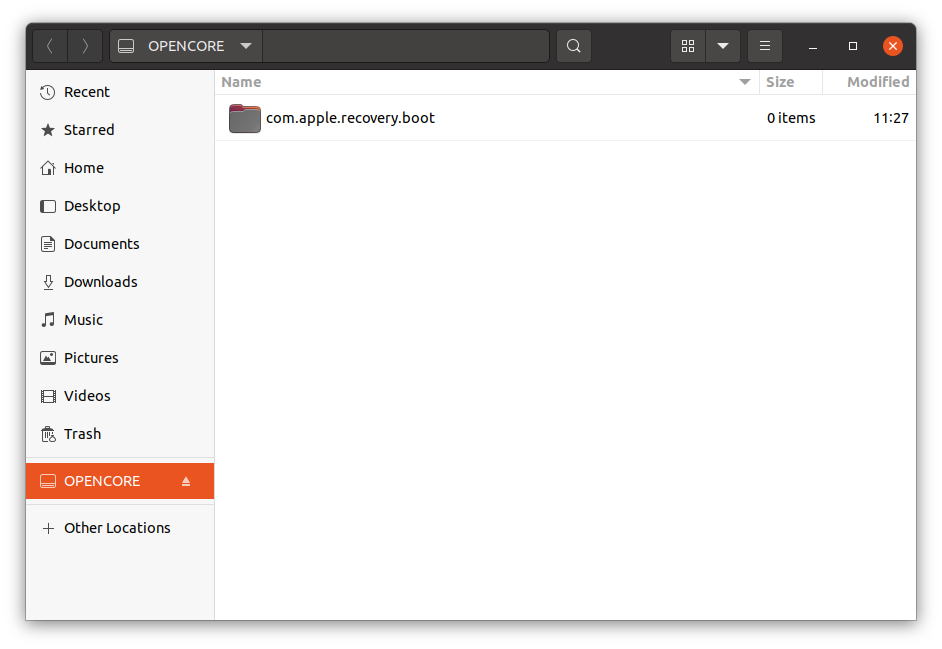
Now copy the two files (BaseSystem.chunklist and BaseSystem.dmg) to the com.apple.recovery.boot from the folder OpenCore-0.6.4-RELEASE/Utilities/macrecovery.
Done. At this point, the macOS Catalina USB Installer is ready. BUT, you will still need to continue the journey to the making or configuring the EFI. Please visit the official guide for OpenCore below to know how to configure EFI for your build.
https://dortania.github.io/OpenCore-Install-Guide/installer-guide/opencore-efi.html
Leave a Reply