

Hello everyone, the new version of OpenCore 0.6.4 is now available. I have successfully installed macOS Catalina on AMD FX 8350 using OpenCore 0.6.4. If you have a similar build to mine, you can download the OpenCore EFI folder that you can try on your system. One thing that I love when configuring the USB installation drive for this Hackintosh, I use Ubuntu 20.10. Based on my experience, this OpenCore 0.6.4 is pretty much cleaner, and easier to configure.
I dedicate this article to Ubuntu users who want to learn or install Hackintosh on their system. Most of the time, I use Windows 10 or use my Hackintosh system to create the macOS USB installation drive. But recently, I use Ubuntu 20.10 and it works very well. So I want to share it here with you. There are several steps to install macOS Catalina on AMD FX using OpenCore 0.6.4. This guide is specific to OpenCore 0.6.4, AMD FX system, and macOS Catalina.
My Hardware configuration:
- Processor: AMD FX 8350
- Motherboard: Gigabyte GA-970A-D3P
- VGA Card: MSI Radeon RX 570 8 GB
Please note that if you have different motherboard, you may need to download different kexts for your motherboard. For example, if your motherboard has Intel network chip, then you must download the Intel chipset kexts rather than use the Realtek like mine.
- Create macOS USB installation drive
- Gathering files
- Configure EFI
- Install macOS Catalina
Step 1. Create macOS USB installation drive
Like I mentioned above, I use my Ubuntu 20.10 to create the macOS Catalina USB installation drive. There are several steps but it is pretty easy to follow. For the complete steps, please read the following article to create a macOS USB installation drive using Ubuntu 20.10.
Step 2. Gathering Files
By following the guide above, I assume now you have a USB flash disk called OPENCORE. Now we need to download some files needed by OpenCore for the AMD FX system.
Download OpenCore 0.6.4 – This is the base of OpenCore we need. You may already have this file from step 1. If not, you can re-download again. Extract the file and the copy the EFI folder from the OpenCore-0.6.4-RELEASE\x64 to your USB drive.
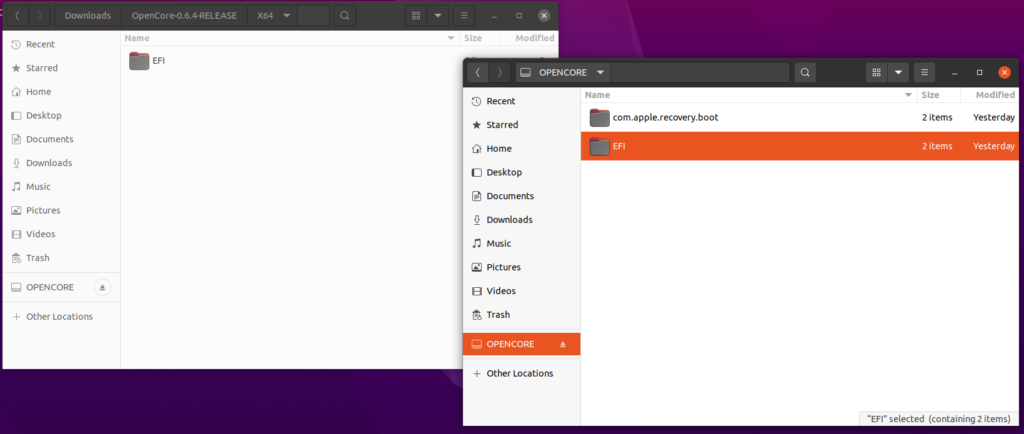
Next, copy the sample.plist file located in OpenCore-0.6.4-RELEASE\Docs and paste it inside the OC folder in the USB drive. Rename it to config.plist.
Not to be confuse, from now going forward, we will manage the EFI folder in the USB drive. We need to delete some files and add new ones. To download, click Download or Download All button on the top right of the Nextcloud page.
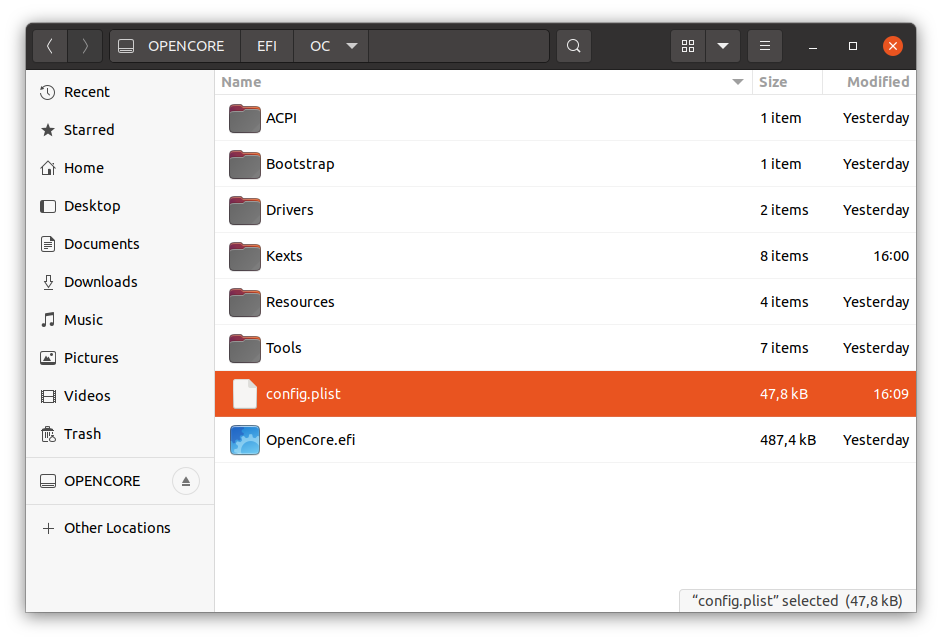
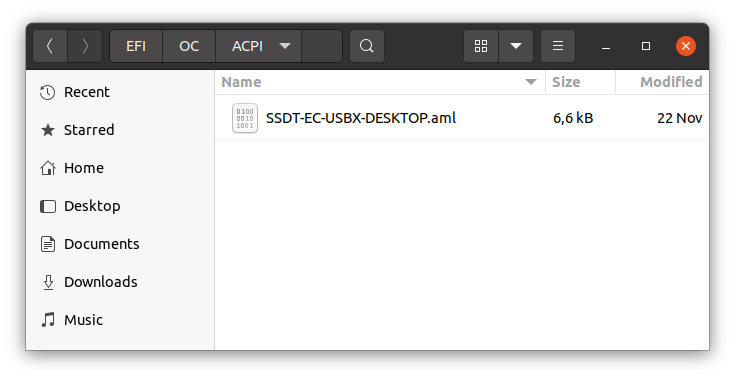
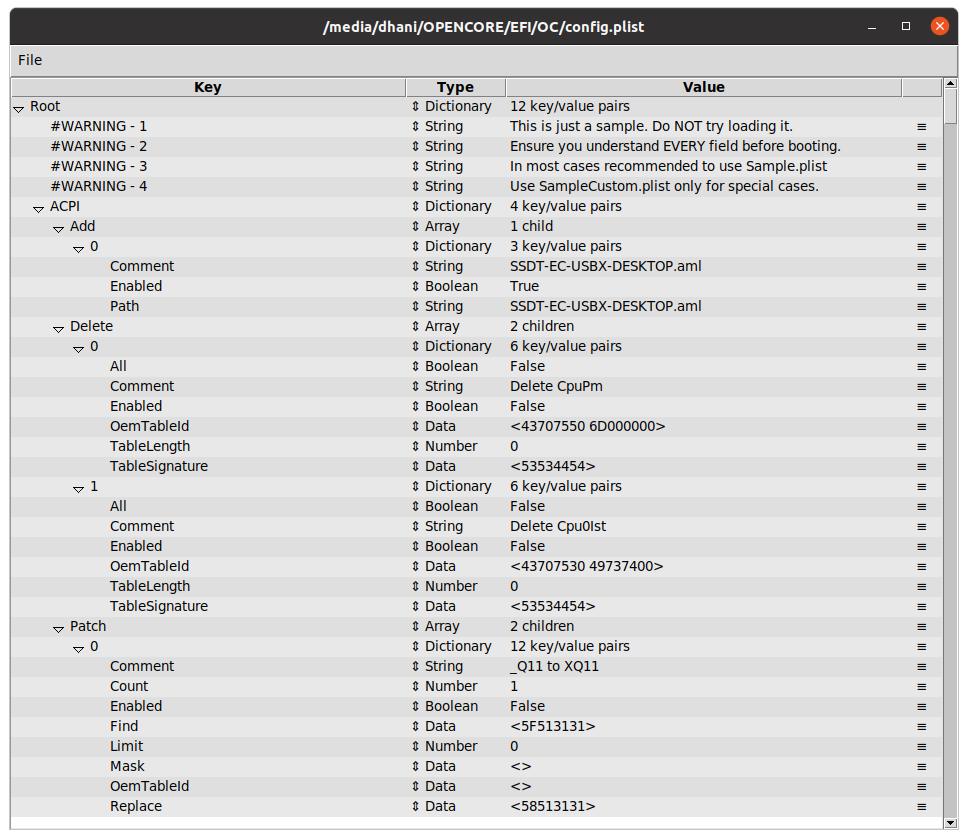
ACPI
This folder should be empty by default. Now, we need to add files to it. Download the following file and put inside ACPI folder.
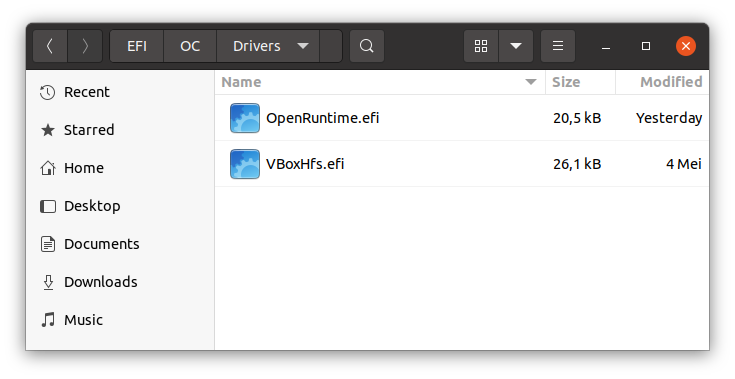
Drivers
Remove all the files inside the Drivers folder except the OpenRuntime.efi. And then download the VBoxHfs.efi and put in this folder. So, in this Drivers folder, it contains the following:
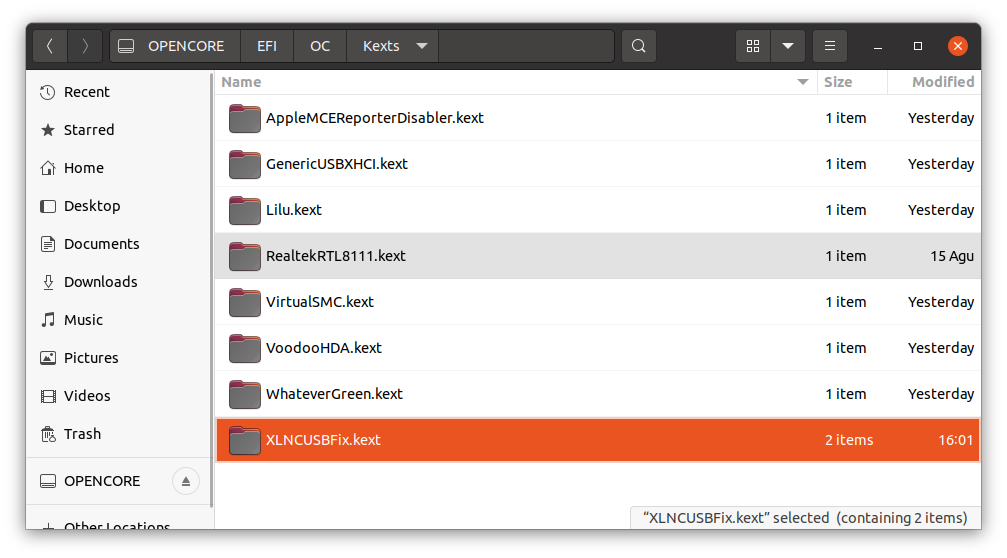
Kexts
We are going to add some files to this Kexts folder. Please download them below. Click the Download All button on the top right of the Nextcloud page below.
- AppleMCEReporterDisabler.kext
- GenericUSBXHCI.kext
- Lilu.kext
- RealtekRTL8111.kext (If your motherboard use Intel or other chipsets, you need to change this. Get the other kexts from 9this link)
- VirtualSMC.kext
- VoodooHDA.kext
- WhateverGreen.kext
- XLNCUSBFix.kext
Tools
Delete everything inside Tools folder.
Well, that’s everything. Now continue to configure the config.plist.
Step 3. Configure config.plist
Now this is the interesting part of Hackintosh. Configure the config.plist. It is not hard, but you have to be patient. To edit the config.plist, you will need a software called ProperTree. You can download it from the link below.
https://github.com/corpnewt/ProperTree
Extract the package and then run the ProperTree.command (Mac and Linux) or ProperTree.bat (Windows). In order to open this program, you will need to install Python if you don’t have it yet. In Linux such as Ubuntu, you will need to install tkinter python3 module. Otherwise, you will got this error
python3 ./ProperTree.command
Traceback (most recent call last):
File "./ProperTree.command", line 5, in
import Tkinter as tk
ModuleNotFoundError: No module named 'Tkinter'
During handling of the above exception, another exception occurred:
Traceback (most recent call last):
File "./ProperTree.command", line 10, in
import tkinter as tk
ModuleNotFoundError: No module named 'tkinter'
Install Tkinter module in Ubuntu 20.10
sudo apt install python3-tk
Now open ProperTree using this command in Ubuntu 20.10
python3 ./ProperTree.command
Make sure you execute this command inside the ProperTree-master directory. Now Open the config.plist inside the OC folder in the EFI folder in the USB drive.
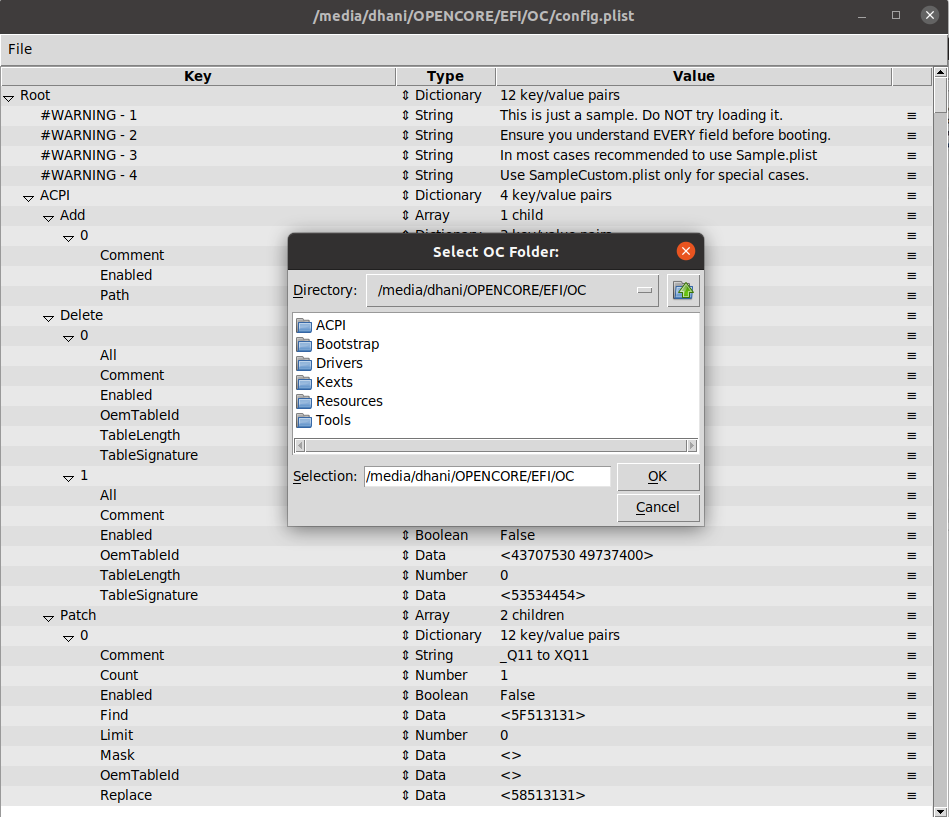
Perform OC Clean Snapshot
First of all, go to File >> OC Clean Snapshot. And then select the OC folder. Press OK. By doing this, the program will read all the files (Drivers, Kexts, etc.) from our OC folder.
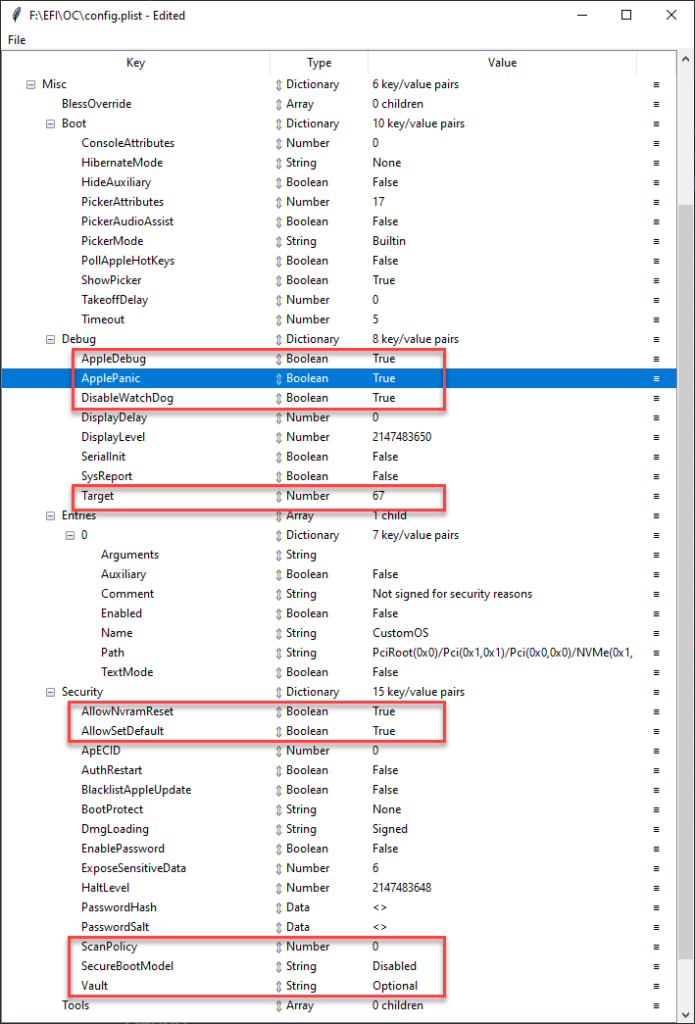
Now let’s configure the config.plist section by section. But before that, I would like to remind you that you will need to read and learn the official OpenCore guide before doing this. I will only summarized what I have done to my EFI. Please read the complete guide here: https://dortania.github.io/OpenCore-Install-Guide/AMD/fx.html#starting-point
ACPI
In OpenCore 0.6.4 no need to change anything in the ACPI section
Add (No changes needed)
Delete (No changes needed)
Patch (No changes needed)
Quirks (No changes needed)
Booter
No changes needed in Booter section
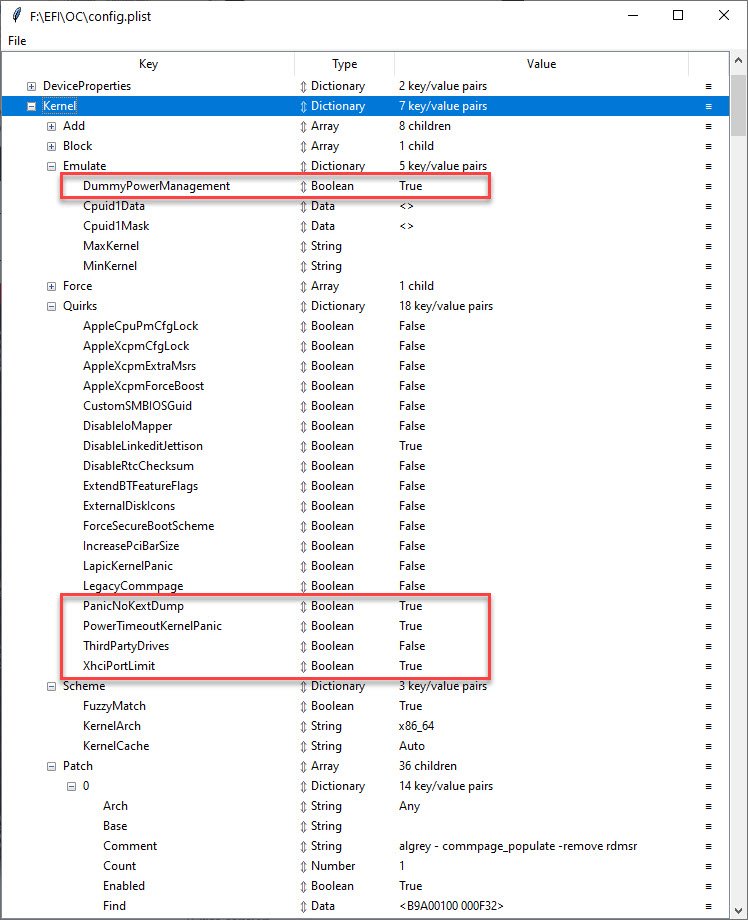
Kernel
Under Kernel section, we need to change something. We need to replace the Patch sub-section with the Kernel patch for AMD FX series. Download the patch below
https://github.com/AMD-OSX/AMD_Vanilla/blob/opencore/15h_16h/patches.plist
Now open the patches.plist using ProperTree and then remove the existing Patch and replace with the one above. See how to do it below

Also, there are some other things need to be modified.
Misc
Now let’s jump to the Misc section. In this section, we need to configure the following
NVRAM
Change the following under the NVRAM section
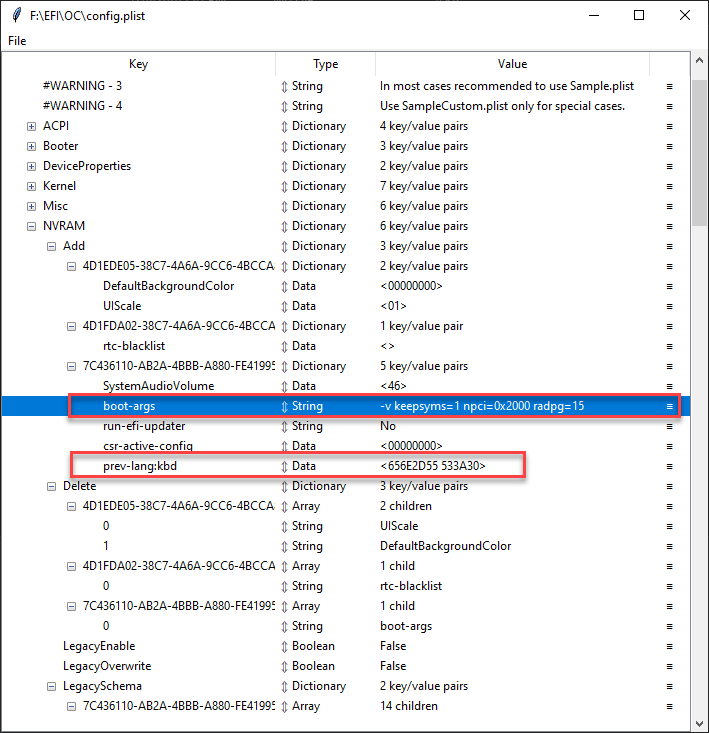
Use the following settings:
- boot-args: -v keepsyms=1 npci=0x2000 radpg=15
- prev-lang:kbd: 656E2D55 533A30
PlatformInfo
In this section, we are going to create a new system serial number, UUID etc. To do this, we need a special software called genSMBIOS. You can download genSMBIOS from the link below.
https://github.com/corpnewt/GenSMBIOS
Extract the file and then open Terminal and cd to the GenSMBIOS-master folder. For example:
cd Downloads/GenSMBIOS-master/
And then run this command
python3 ./GenSMBIOS.command
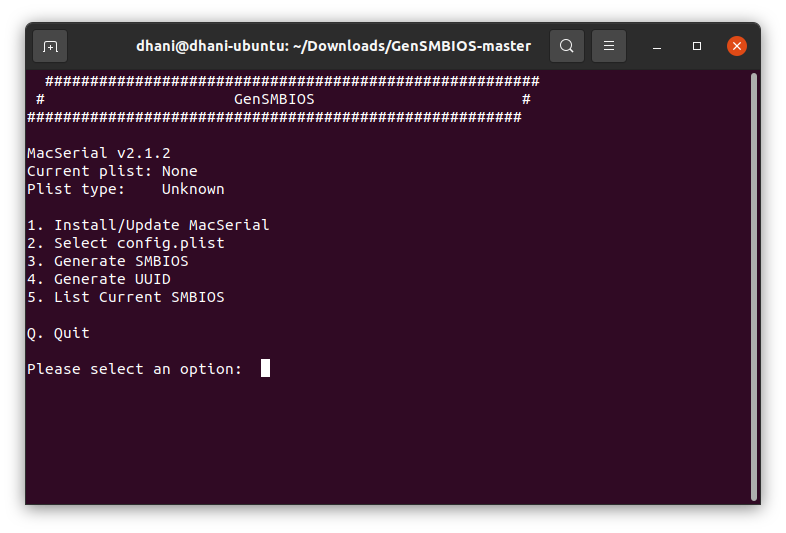
Watch the following video for the entire process of generating SMBIOS
This program will automatically insert the serial number and other information into the config.plist. So let’s continue.
UEFI
In the UEFI section, make sure these items is listed.
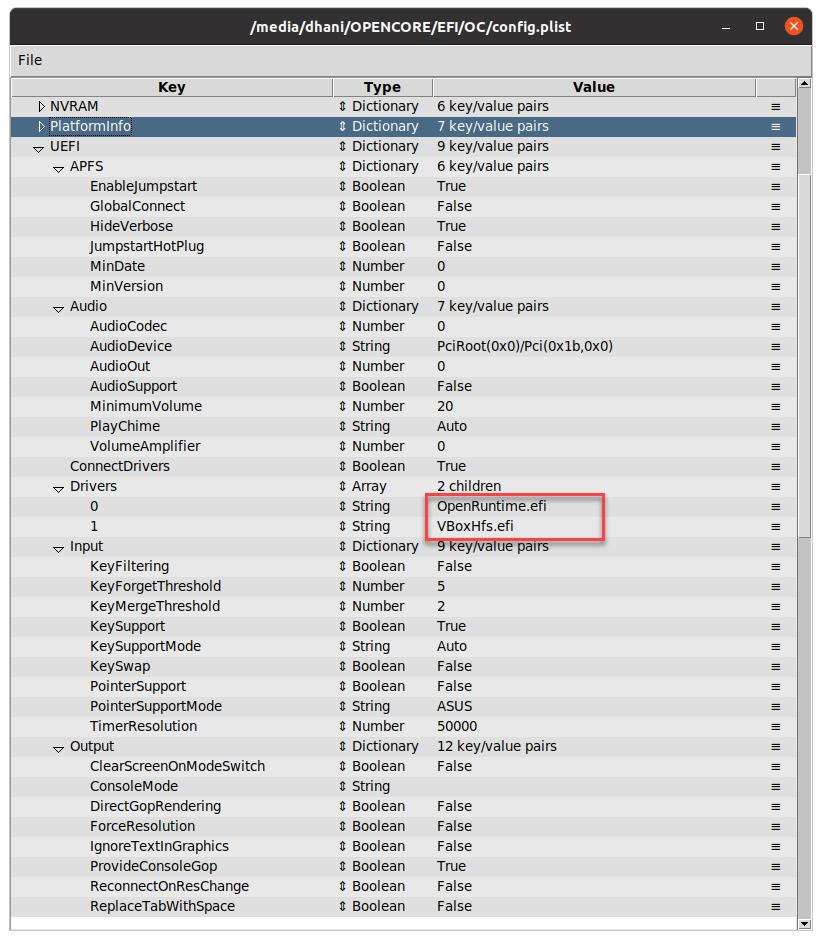
The other settings can be leaved as the default value.
Sanity Checker
Lastly, upload the config.plist file to the following link and make sure there is no error.
https://opencore.slowgeek.com/
Step 4. BIOS Settings
Now reboot your computer and enter the BIOS settings. Find and change the following:
Disable
- Fast Boot
- Secure Boot
- Serial/COM Port
- Parallel Port
- Compatibility Support Module (CSM)
Enable
- Above 4G decoding(This must be on, if you can’t find the option then add npci=0x2000 to boot-args. Do not have both this option and npci enabled at the same time)
- EHCI/XHCI Hand-off
- OS type: Windows 8.1/10 UEFI Mode
- SATA Mode: AHCI
Now boot your computer using the USB installation drive. It will take some times. Be patient and make sure you are connected to the internet via LAN cable.
Troubleshooting
In some cases, you will end up with errors. Please visit the official Troubleshooting guide below.
https://dortania.github.io/OpenCore-Install-Guide/troubleshooting/troubleshooting.html
Download EFI
If you have the same hardware as mine, you can download my EFI using the link below. This is for the AMD FX processor only. Not working on Ryzen or Intel.
Leave a Reply