
Hello everyone, it’s been a while I am not touching the Hackintosh article on this blog. Today, I will start updating the Hackintosh tutorial to the latest version of OpenCore. In this article, I am going to show you how to create the macOS Big Sur 11.0.1 USB Installer for Hackintosh. I hope you enjoy it and let’s get started. I just re-write the original article here because the original article is a bit confusing for me. So this step is universal. This means, no matter if you are using Intel or AMD processor, you will need to do this step.
If you follow this guide, you will need a real Mac, a Hackintosh PC or laptop running macOS Catalina. I am using my old Ryzen Hackintosh PC to download the installer and make the USB drive. You may do this on a Windows or Linux machine but I will cover this later.
Steps to Create macOS Big Sur Installer
Prerequisites
You will need the following to create the macOS Big Sur Hackintosh Installer:
- A USB drive with 16 or 32 GB size
- The latest gibMacOS software
- Internet connection
- A Mac or Hackintosh PC
Step 1. Download the macOS Big Sur file
Since now Big Sur is available for Public, you don’t need the developer account to download Big Sur. All you need is a good internet connection and gibMacOS software. You can download it from the link below.
https://github.com/corpnewt/gibMacOS
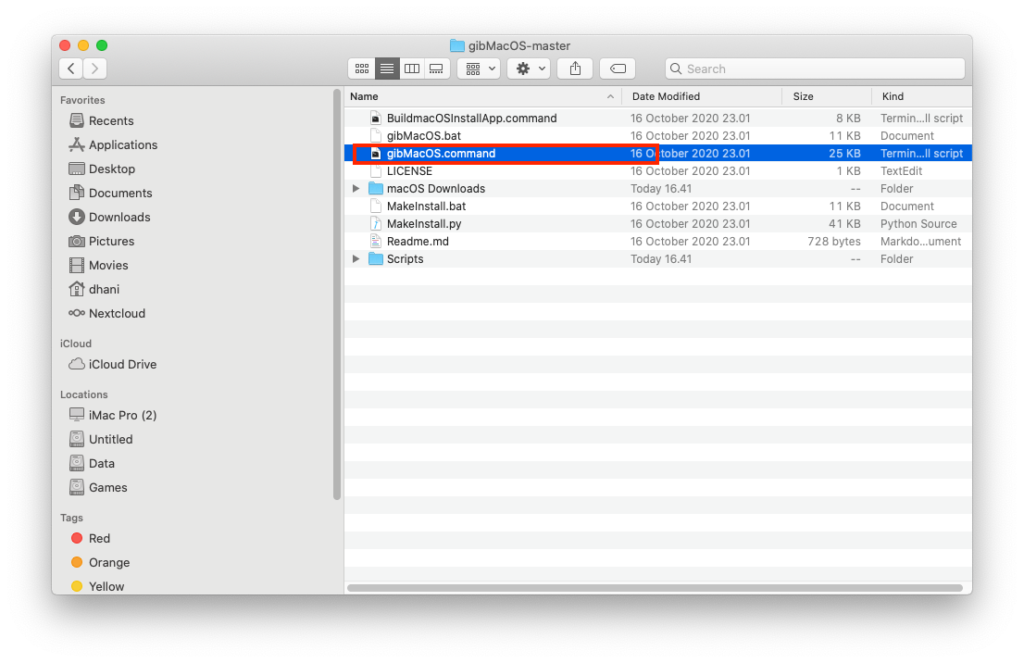
Download as a Zip file and then open it. It will produce a new folder called gibmacOS-master. Now open the folder and right-click the file gibMacOS.command and choose Open.
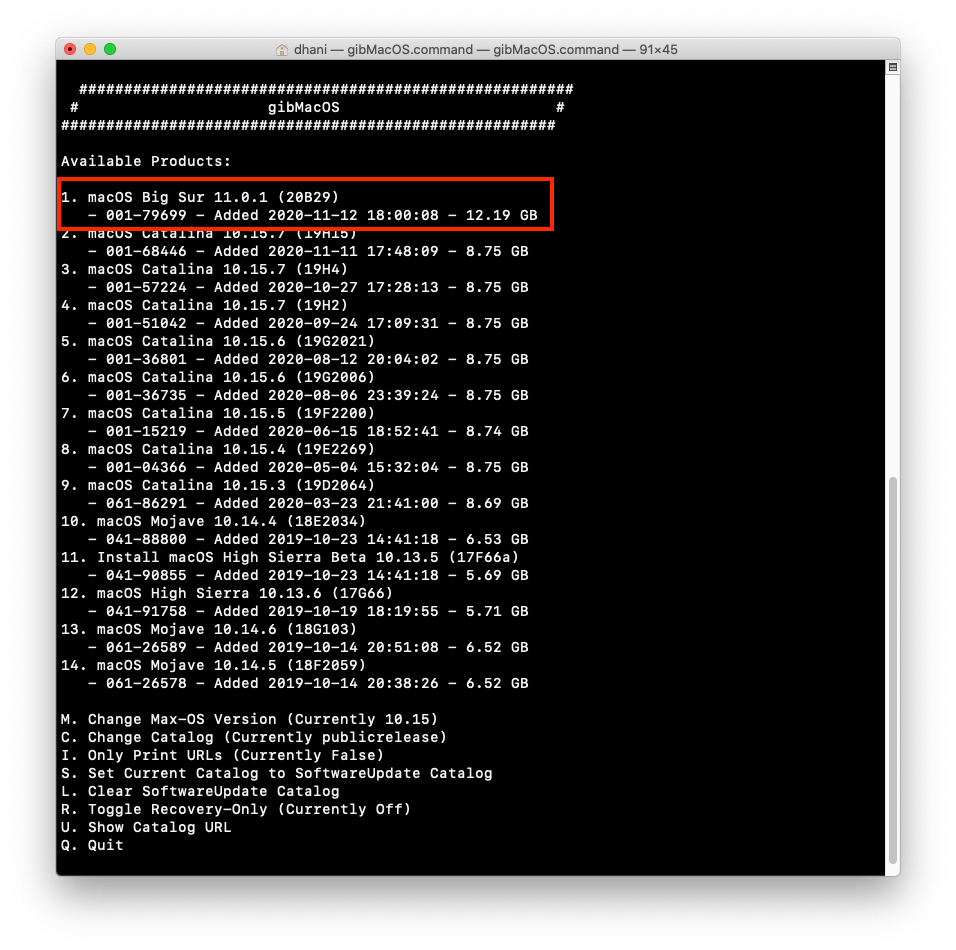
Now you should see the list of available macOS. Make sure you see macOS Big Sur. In my case, it’s number 1.
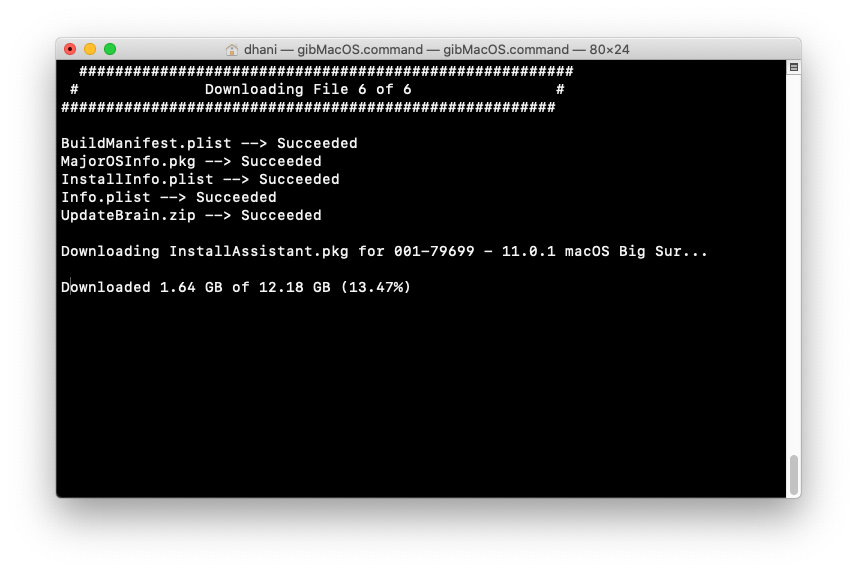
Now type the number next to macOS Big Sur (in this case is number 1) and press Enter. The program will start downloading the macOS Big Sur files from the internet. This process will download about 12 GB so make sure your internet is fast enough.
Step 2. Install the Package
Once the download process is completed, we need to run the file called InstallAssistant.pkg. This file is located in the following folder:
gibMacOS-master\macOS Downloads\publicrelease\001-79699 - 11.0.1 macOS Big Sur\InstallAssistant.pkg
Please note that 001-79699 – 11.0.1 macOS Big Sur could be different between mine and yours.
Right-click the InstallAssistant.pkg and then choose open. The installation wizard will open up.
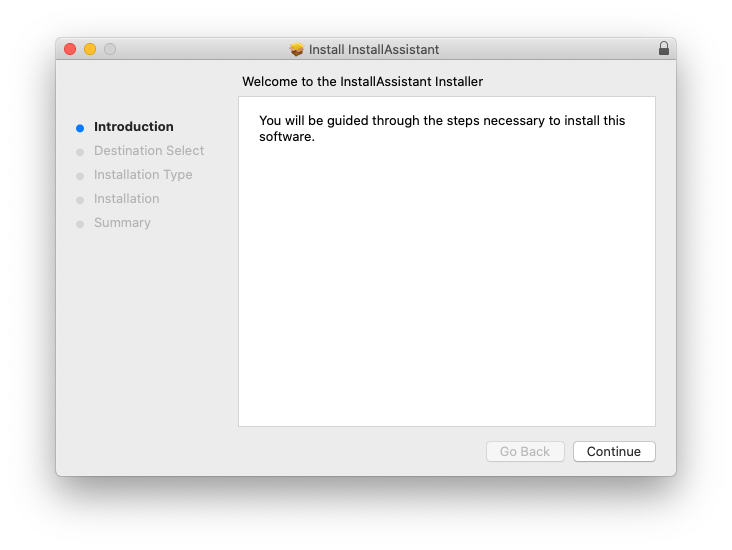
Click Continue. Here we will provide the install location
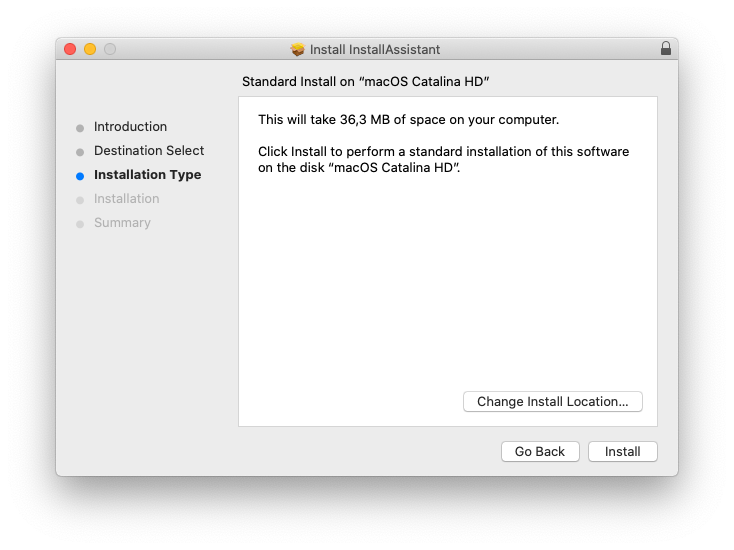
The installer will automatically detect your existing macOS boot disk. But to make sure (in case you have multiple boot disks), click Change Install Location and choose the correct disk.
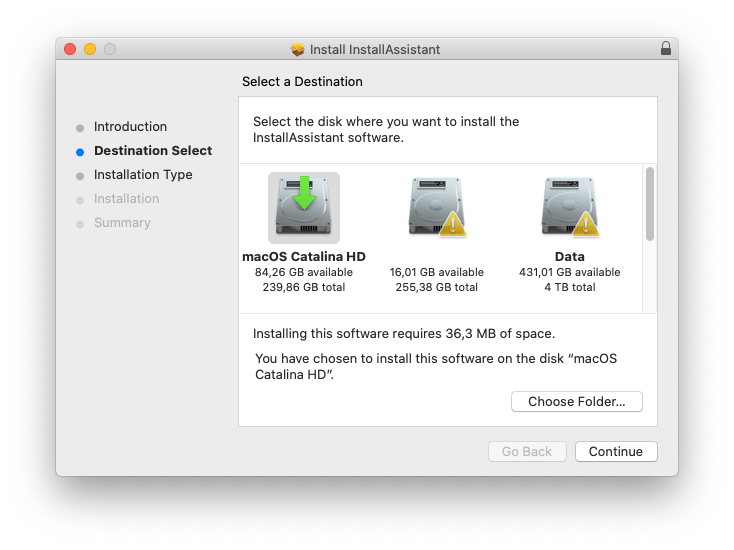
Make sure you choose the disk whichever you are booting off. In this case macOS Catalina HD is chosen.
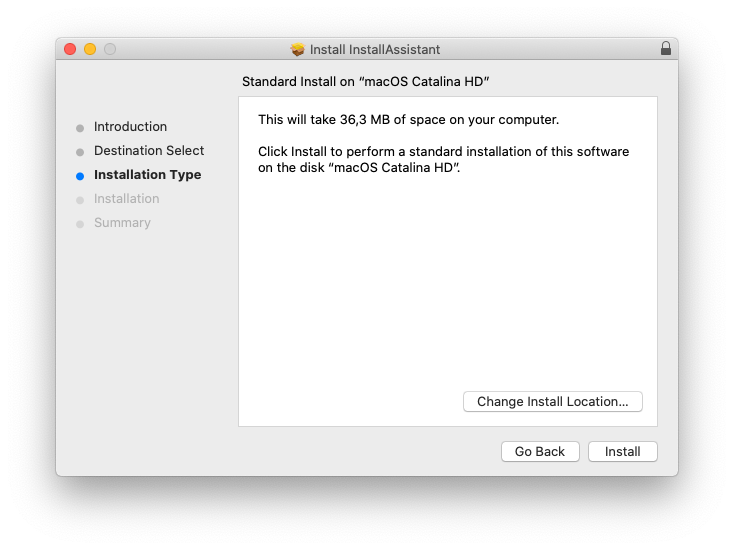
Choose Install and wait a few seconds to complete.
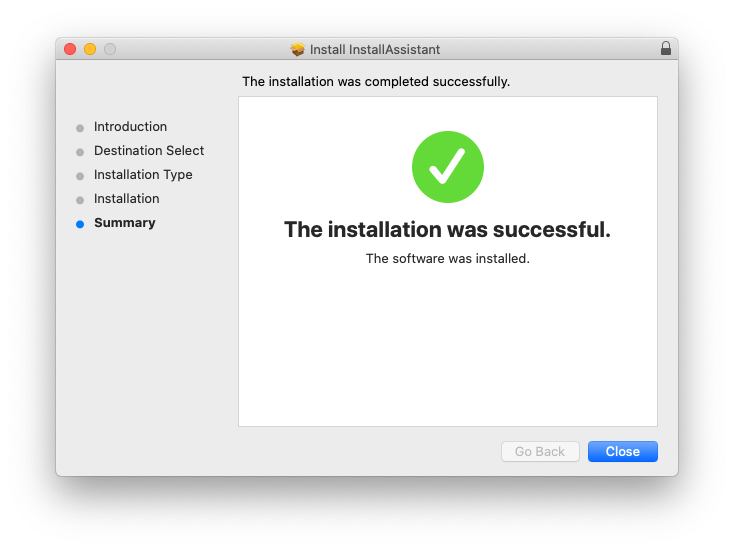
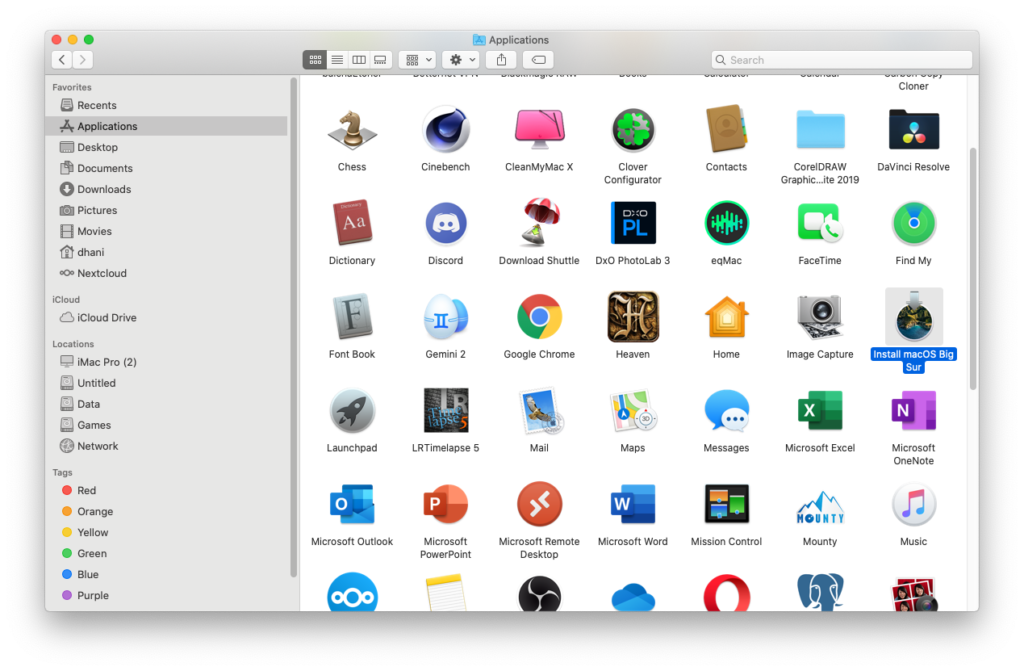
Now check your Applications folder and you should see Install macOS Big Sur file is there.
Step 3. Create USB Installer
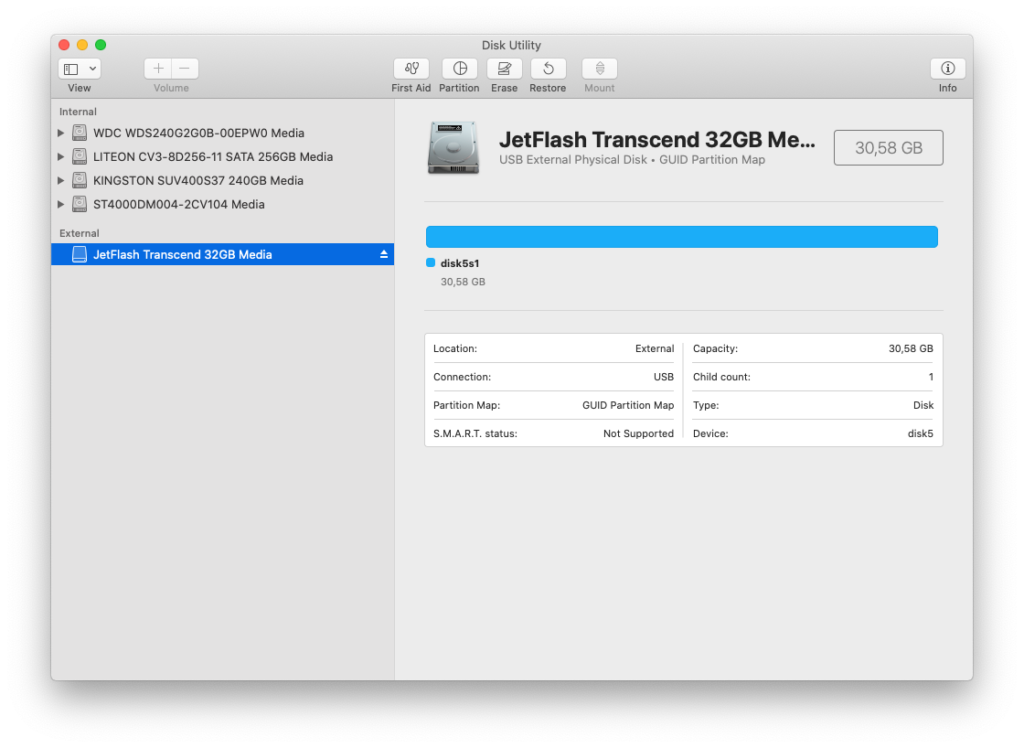
Now, we are ready to copy the file to the USB flash drive. Plug the USB flash drive. We are going to format this drive so make sure there is no data in it. Open the Disk Utility and make sure the USB drive is listed there. In this case, my USB drive would be JetFlash Transcend 32GB Media.
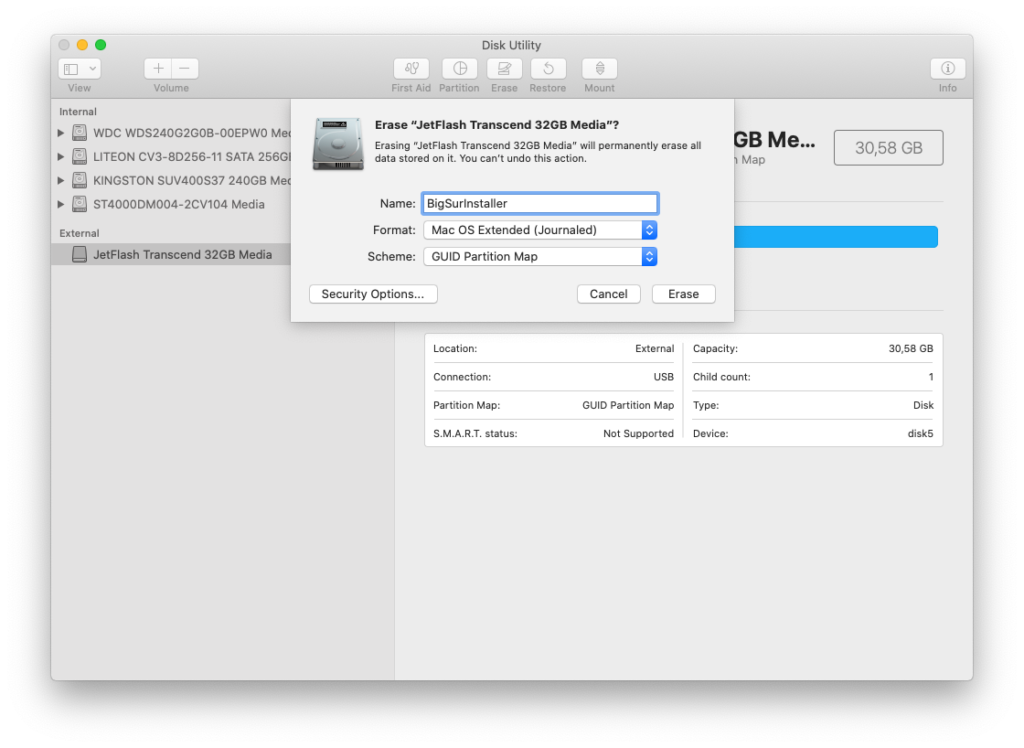
With the USB drive selected, click Erase and then give a name for the USB installer. Format the drive as Mac OS Extended (Journaled) and choose GUID Partition Map as shown below.
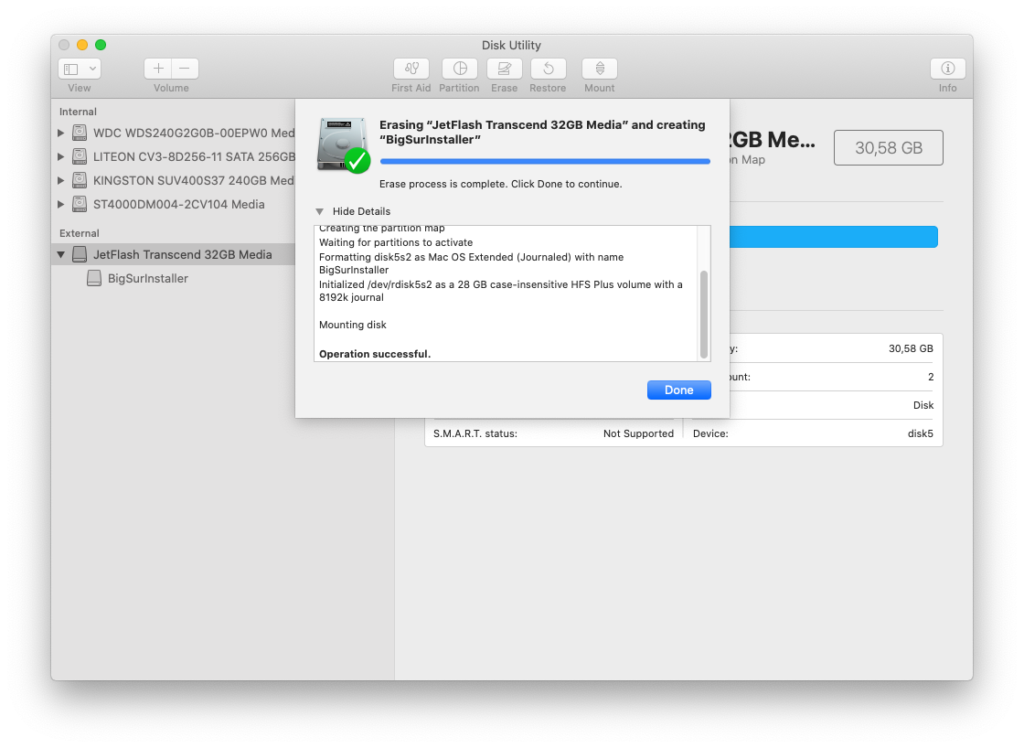
Click Erase. Make sure there is no error and you should see the following message when done.
Now open Terminal and run this command
sudo /Applications/Install\ macOS\ Big\ Sur.app/Contents/Resources/createinstallmedia --volume /Volumes/BigSurInstaller
Change BigSurInstaller with the name of your USB installer you created from the formatting step.
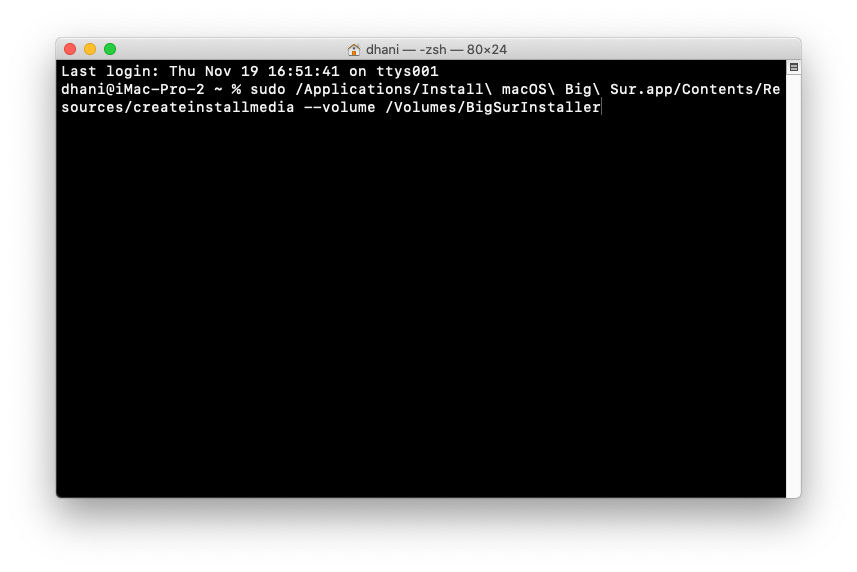
This process will take some times. Please be patient. Once finished, you will see the following message.
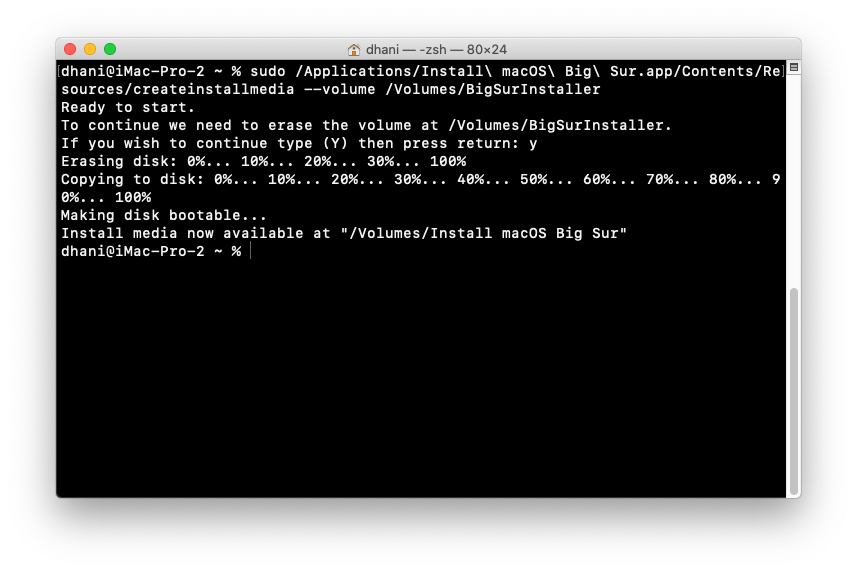
At this point, we have successfully created the macOS Big Sur USB Installer. But, in order to install the Hackintosh, we still need to configure the EFI folder. I will cover this in the next post because otherwise, this post will be very long. Check the following article to install macOS Big Sur on AMD FX system.

Leave a Reply