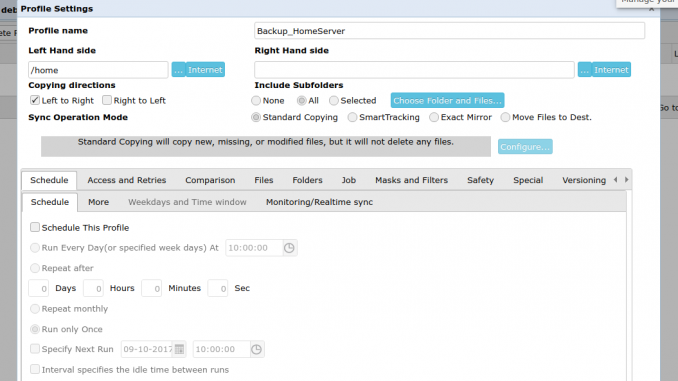
If you are looking for a handy cloud backup software for Linux server, you may try Syncovery. It’s a rich features cloud backup software available for Windows and Linux as well. You may want to read our short review of Syncovery. On this tutorial, we are going to show you how to backup Linux Server to Amazon S3 using Syncovery. We’ve created an article to install Syncovery on Debian Linux. This also can be applied to Ubuntu server as well. We will show you how to create a new backup job and configure Amazon S3 storage on Syncovery.
Steps to Backup Linux Server to Amazon S3 using Syncovery
Step 1. Install Syncovery on Linux
Please refers to my previous tutorial to install Syncovery on Debian.
Step 2. Create new backup job
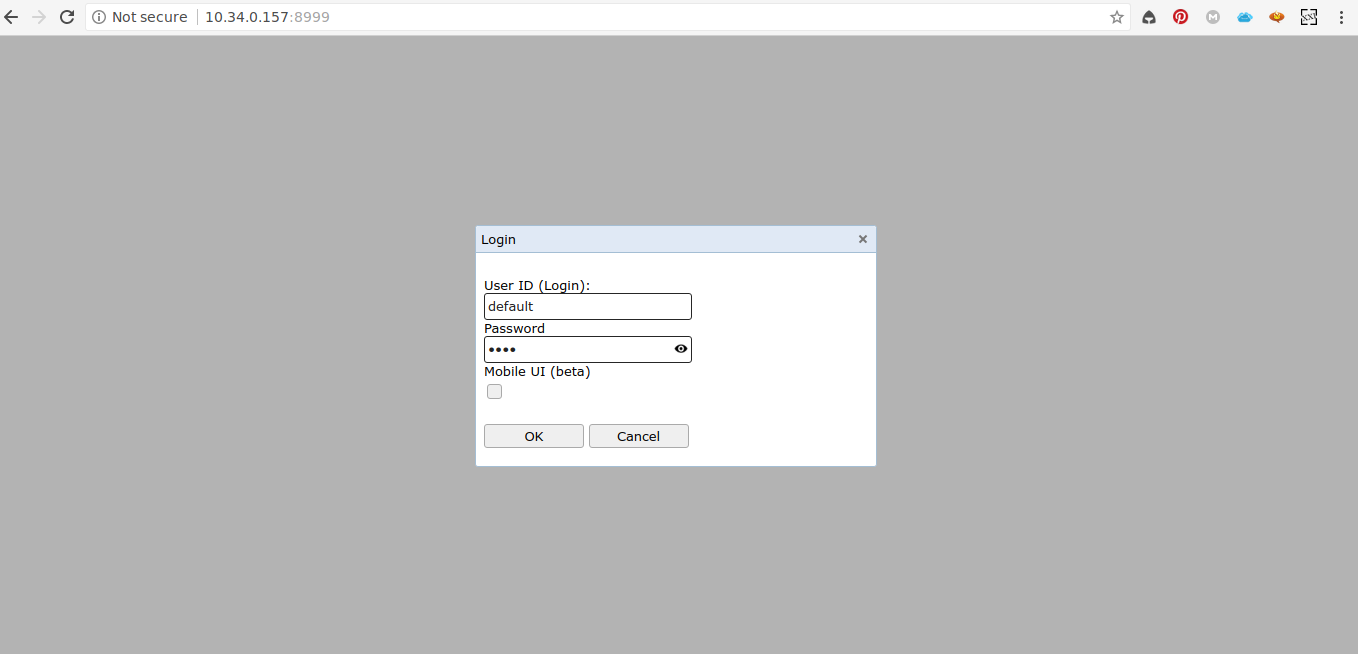
Once installed, we need to create a new backup job. First, log in to Syncovery web dashboard. Open web browser and type the server’s IP address with the following format:
http://server-ipaddress:8999
The default user=default, password=pass
Now you should see the Syncovery dashboard as follow
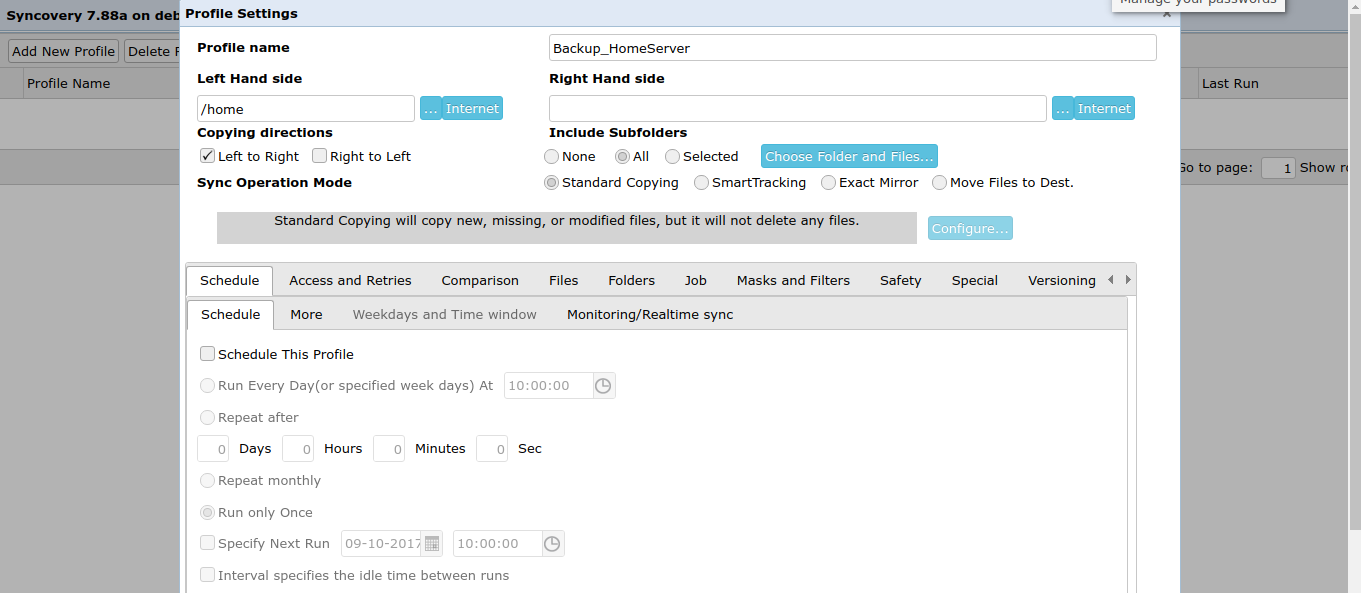
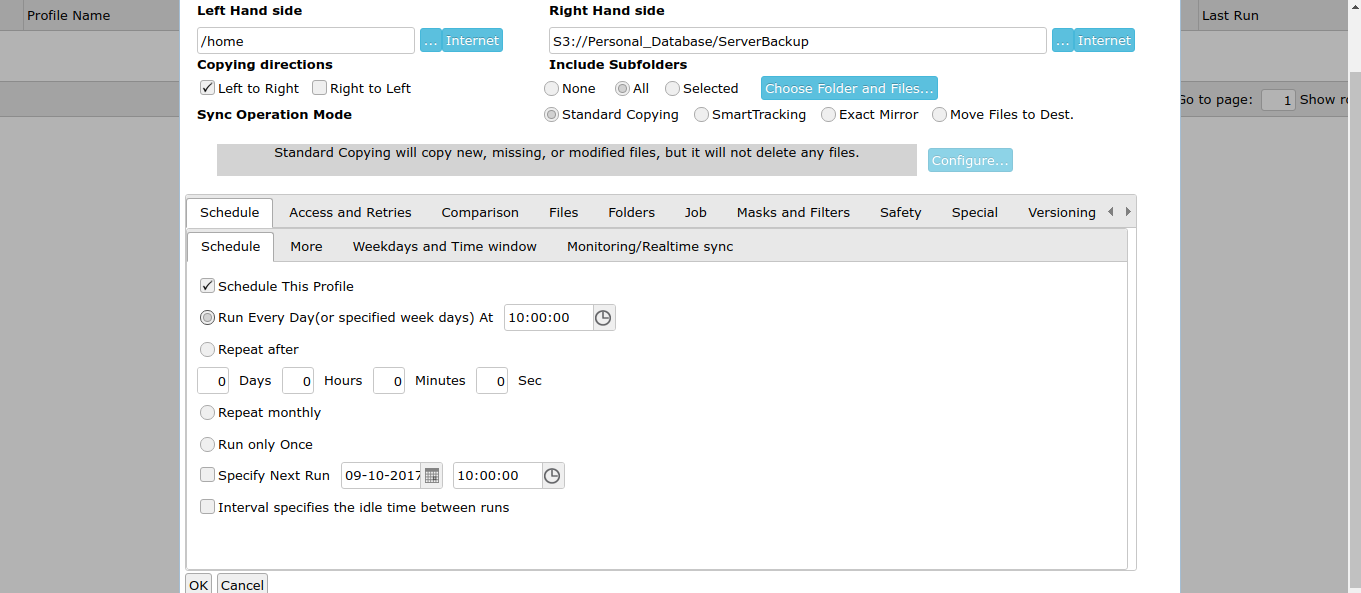
Now, click Add New profile. Give the new profile a name. For example on this case I use “Backup_HomeServer”. On the Left Hand side, browse to the folder you want to backup. I use /home directory as the backup source.
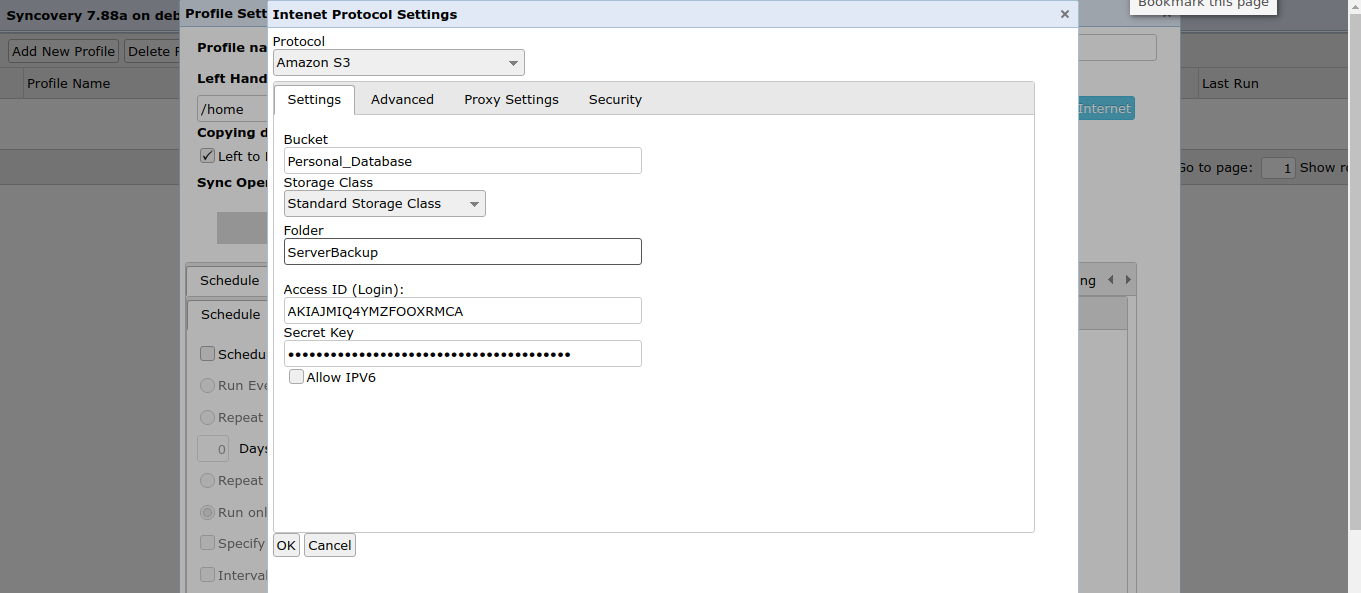
Now, on the Right Hand side, click Internet to open the backup destination lists. Select Amazon S3 from the list.
Enter the Access ID and Secret key of your Amazon AWS account. You will also need to specify bucket and folder. Click OK.
Now you can set the backup schedule from the main profile. You may also set another options. There are many options you can set here. Click OK and we’ve created our new backup profile.


Leave a Reply