

Let’s talk about data backup. Do you remember when was the last time you backup your data? It’s a simple but very important question. Data backup is a mandatory for all computer users should consider. And today’s backup system is rapidly moving from traditional backup to online backup. There are many online backup service you can choose to store your data in the cloud. Here we will show you how to backup to Amazon S3 using Syncovery. Amazon S3 is a popular cloud storage service that provide a reliable, cost effective online backup solution.
What is Syncovery ?
Syncovery is a simple, easy to use cloud backup software for Windows. With this tool, you can easily backup or sync your local data to the cloud. There are many cloud services supported by Syncovery. The new version of Syncover 7.88 is now available for download. You can freely choose your provider such as Amazon S3, Google Drive, Azure, SugarSync, OneDrive, Dropbox and many more.
Why Amazon S3 ?
Amazon is the greatest cloud service provider on the planet. They have many many services you can choose for your business. And one of their popular service is Amazon S3 (Simple Storage Service) which apply pay as you go scenario. You only pay the actual space you use for the backup. Amazon S3 is fast, reliable and secure way to store your data. No matter your personal data or enterprise valuable data.
How to Backup to Amazon S3 ?
There are many ways to backup data to Amazon S3. And today we introduce you Syncovery backup to perform Amazon S3 data backup.
Step 1. Download and Install Syncovery
Step 2. Create new backup job
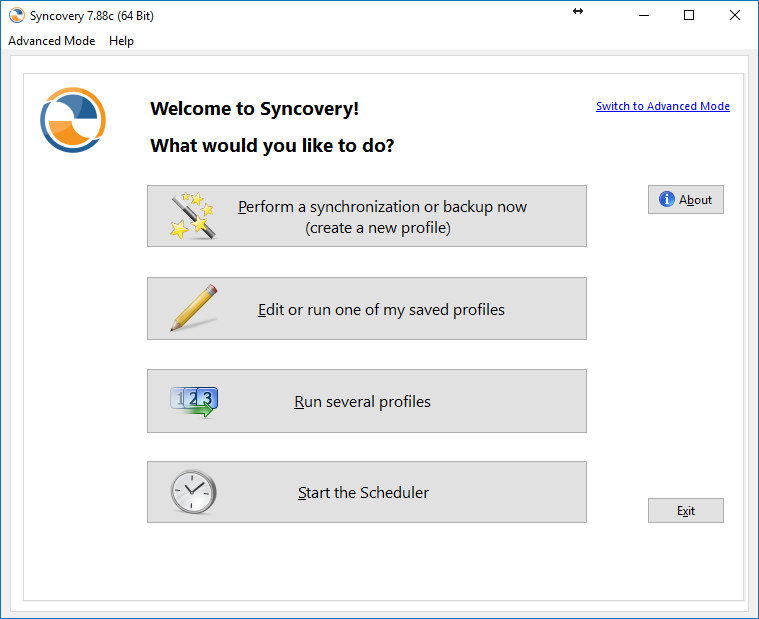
Open Syncovery. From the main window, click Perform a synchronization or backup now button to open the backup wizard.
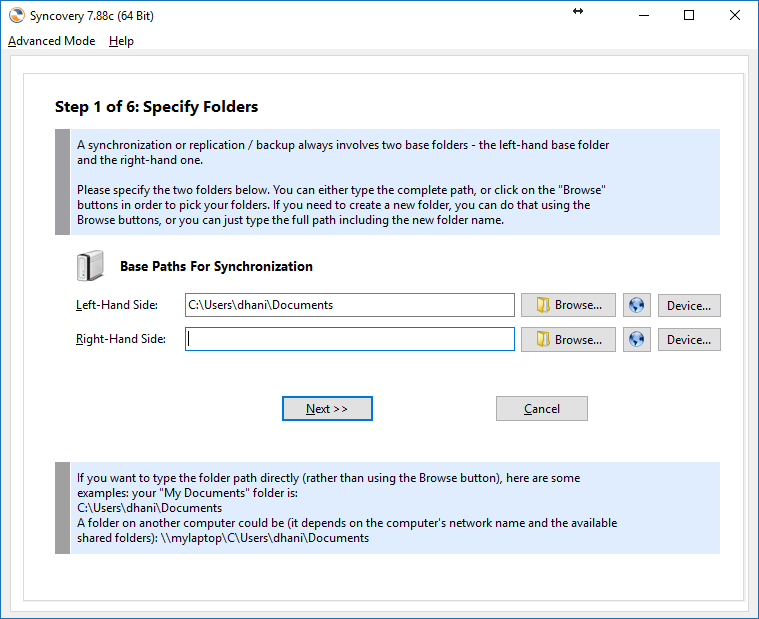
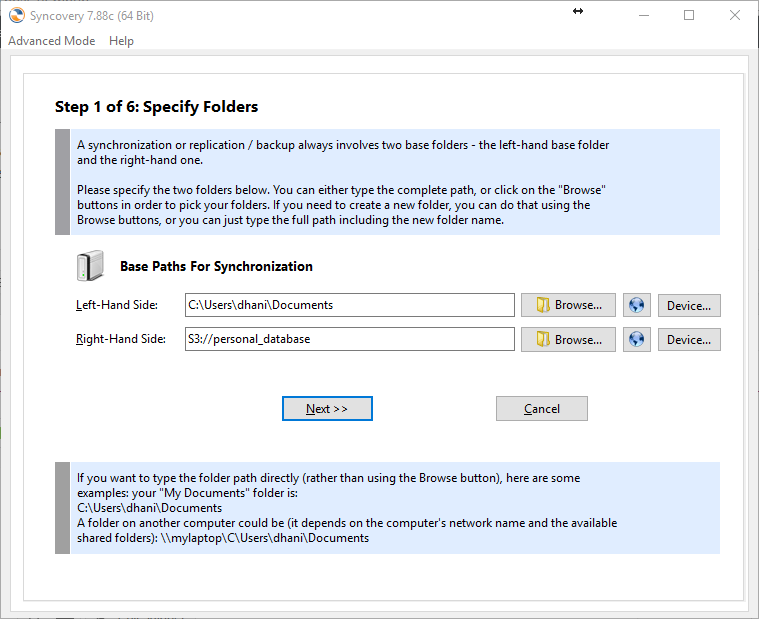
On the left hand side area, browse to the folder you want to backup. Syncovery only support file/folder backup. It does not comes with system image backup capability. Then, on the right hand side, click the globe icon to specify the cloud backup destination.
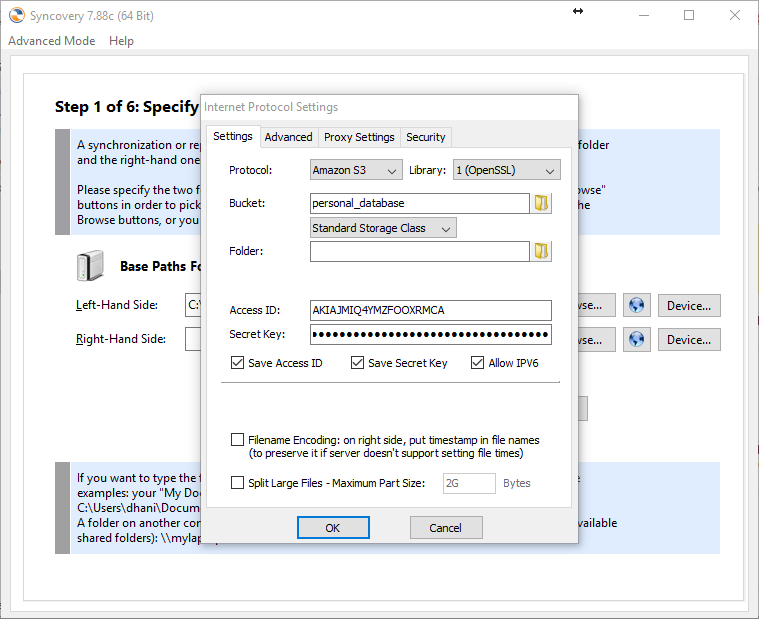
Select Amazon S3 from the protocol list. Enter the Access ID and Secret Key you got from the Amazon AIM credentials. Select the Bucket and folder to store the backup. Click OK when ready.
Click Next to choose the sync directions

Since we want to backup local data to the Amazon S3, we choose Left to Right on the direction. Click Next to select Sync mode

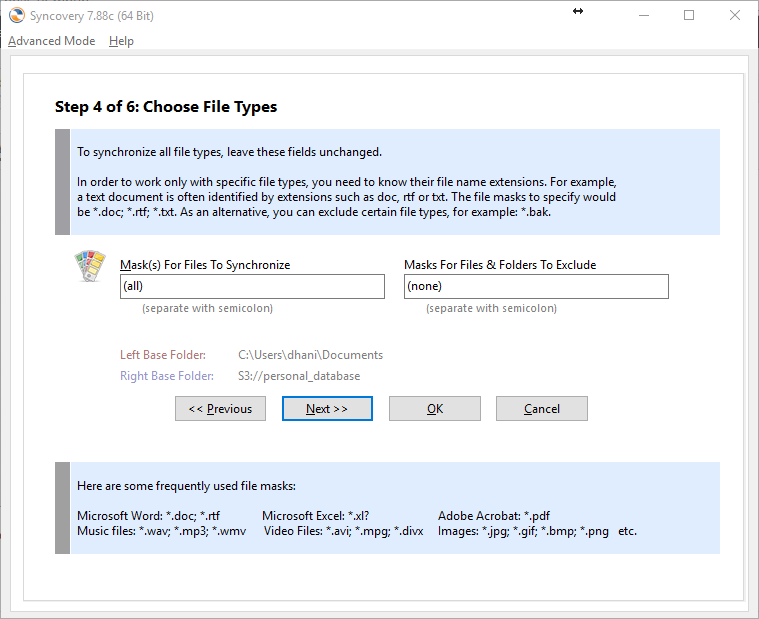
Choose file types. If you want to backup all files, leave it as is.
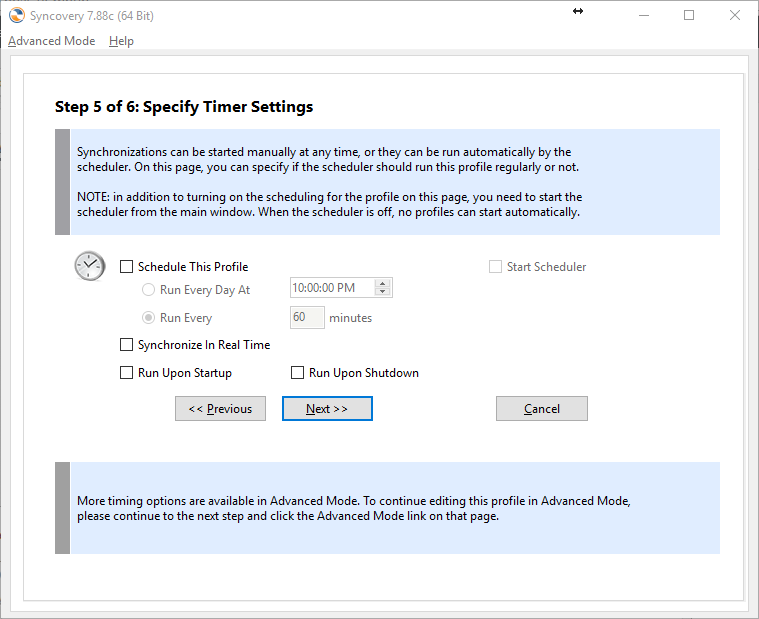
Next we need to set the backup schedule.
Finally, we need to set the backup name
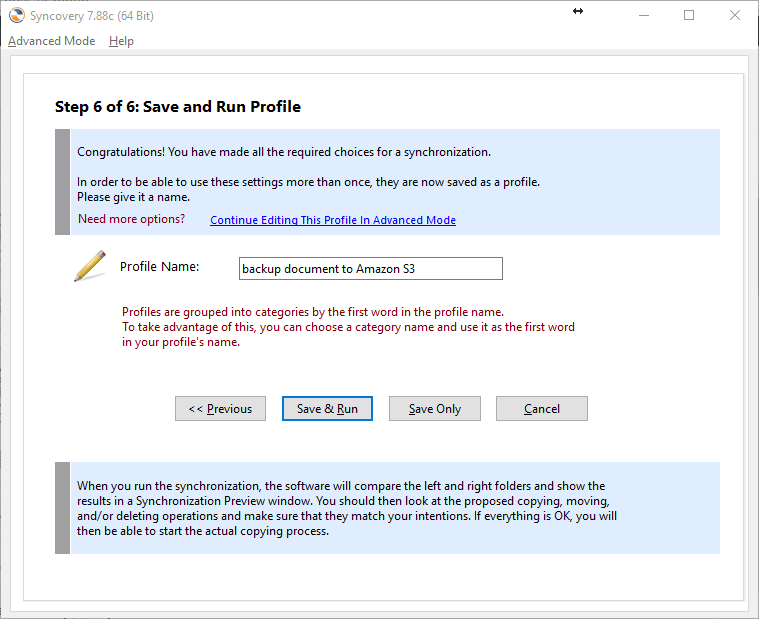
Done. Now you can save and run the backup immediately. Thanks for reading this post and keep your data safe by backup to Amazon S3.
Leave a Reply