

Hi everyone, after testing several AMD build for Hackintosh, now I am testing an old Intel Haswell series for my Hackintosh. Today, I had success installing macOS Catalina on Gigabyte H81M-D2V coupled with Intel Core i5 4590. I use the latest OpenCore 0.6.4 for the boot loader and it works flawlessly. Intel Hackintosh is pretty much easier than the AMD. I had no issue installing Adobe products on this Intel Hackintosh.
If you have the same build like mine, you can download the EFI for this Gigabyte H81M-D2V and it should work. I also believe that this EFI also supports macOS Big Sur. I will try and post this later.
System Specification:
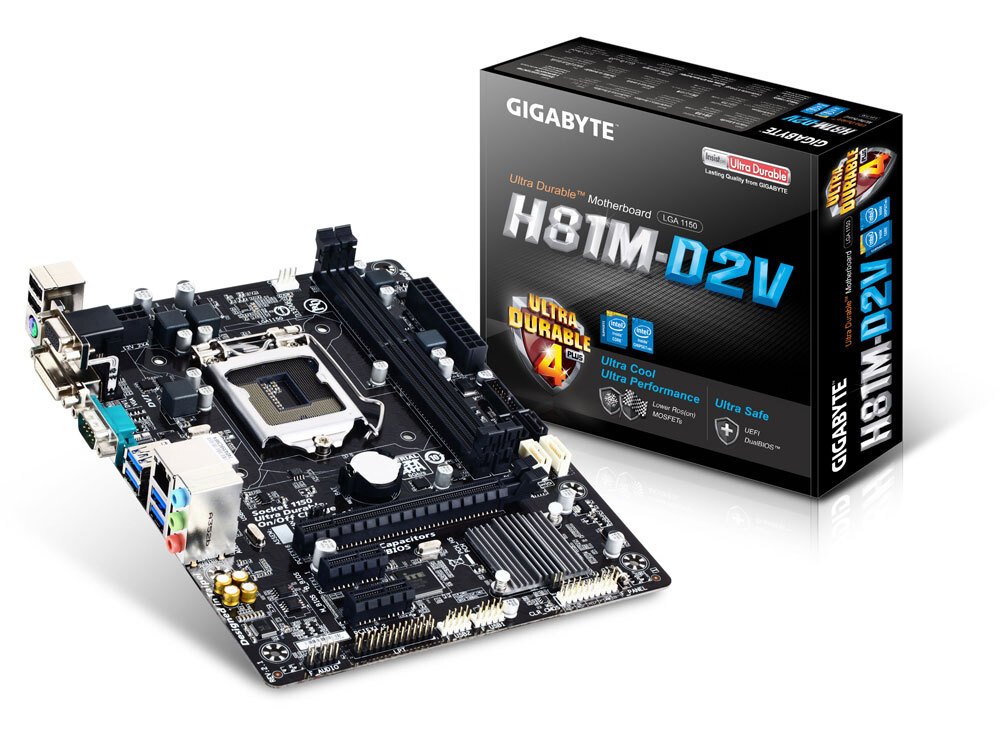
- Motherboard: Gigabyte H81M-D2V
- Processor: Intel Core i5 4590
- Graphic card: MSI Radeon RX 570 8 GB
- RAM 16 GB
- Team SSD CX2 250 GB
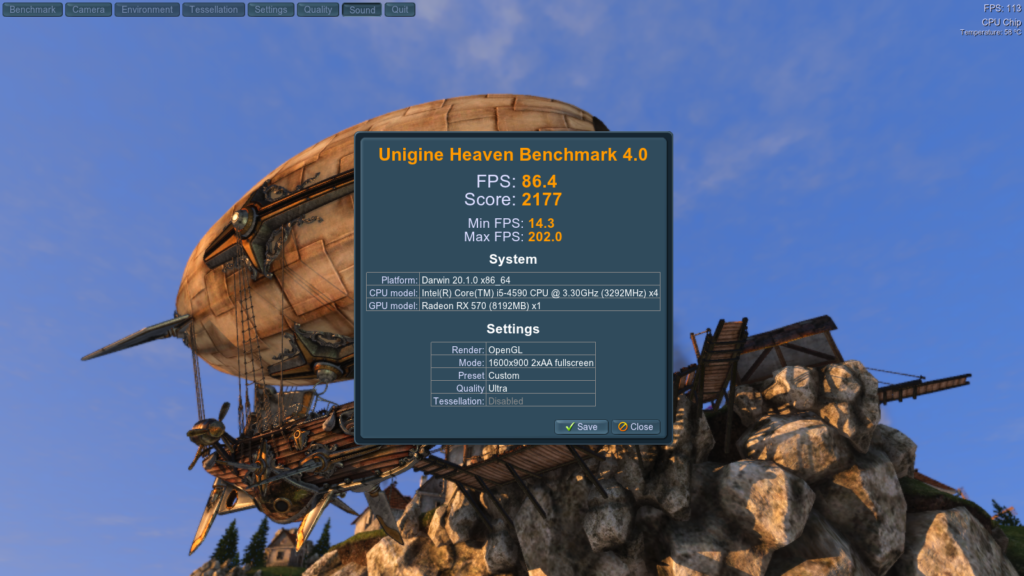
If you are new to Hackintosh and you have the same motherboard as mine, you can follow these guides to install macOS Catalina on your system. During my benchmark test, this system gives me 86.4 FPS at Ultra setting on the Unigine Heaven Benchmark. It is a pretty impressive result regarding this system is pretty old now.
Steps to Install macOS Catalina Hackintosh on Gigabyte H81M-D2V using OpenCore 0.6.4
Step 1. Create macOS Catalina USB Installer
You can create the macOS Catalina USB Installer from macOS (or Hackintosh), Windows 10 or even from a Linux machine. Follow my guide below.
Step 2. Configure the EFI
So if you have the Gigabyte H81M-D2V motherboard, you can simply download the EFI folder from the link below. And then put the EFI folder in the USB installer you created from step 1 above.
EFI OpenCore 0.6.4 for Gigabyte H81M-D2V
Keep in mind, if your motherboard has Qualcomm or maybe Intel network chipset, then you will need to re-configure the EFI. If your motherboard comes with a Realtek network chipset, then you can use it straight away.
If you are using Windows or Linux, you can simply copy and paste the EFI folder to the USB installer. But, if you are using macOS to create the USB installer, then you will need to mount the EFI partition inside the USB installer first.
Use the mount-efi software to mount the EFI partition in the USB installer.
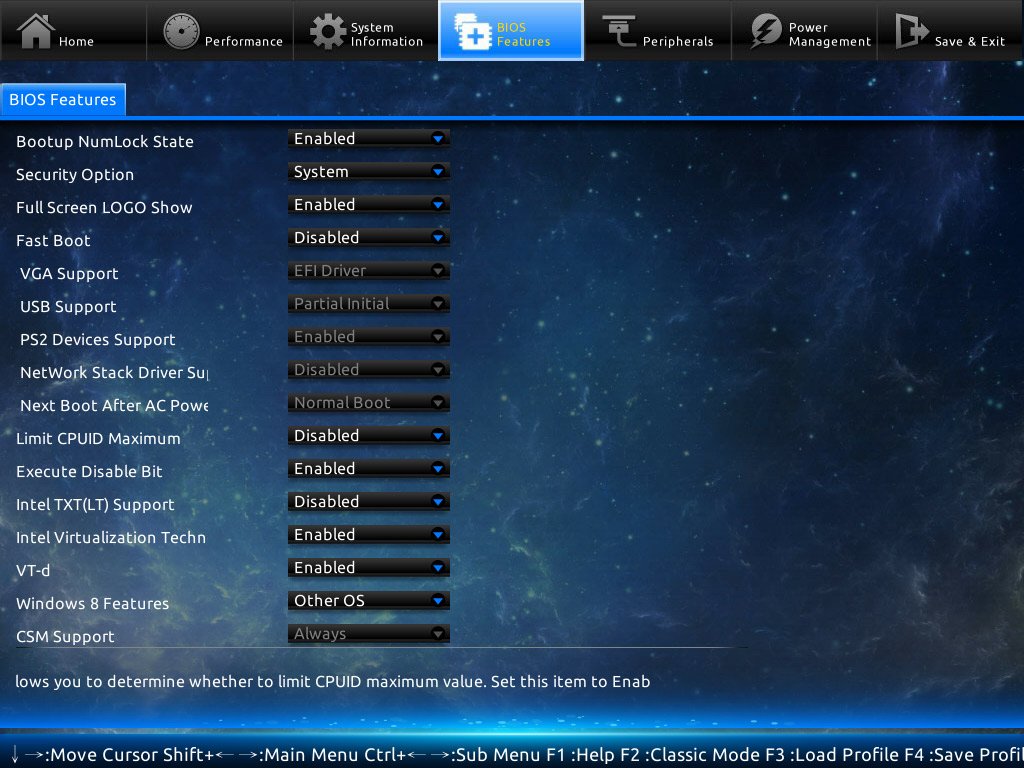
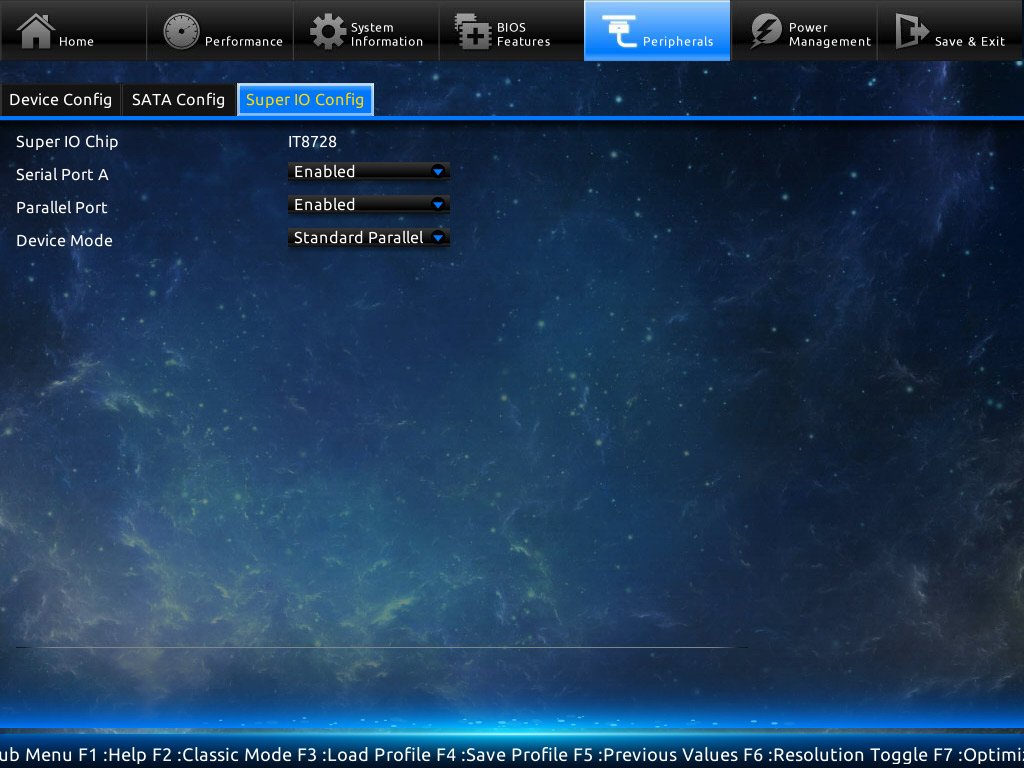
Step 3. BIOS SETTINGS
Below are the screenshots of my BIOS settings.
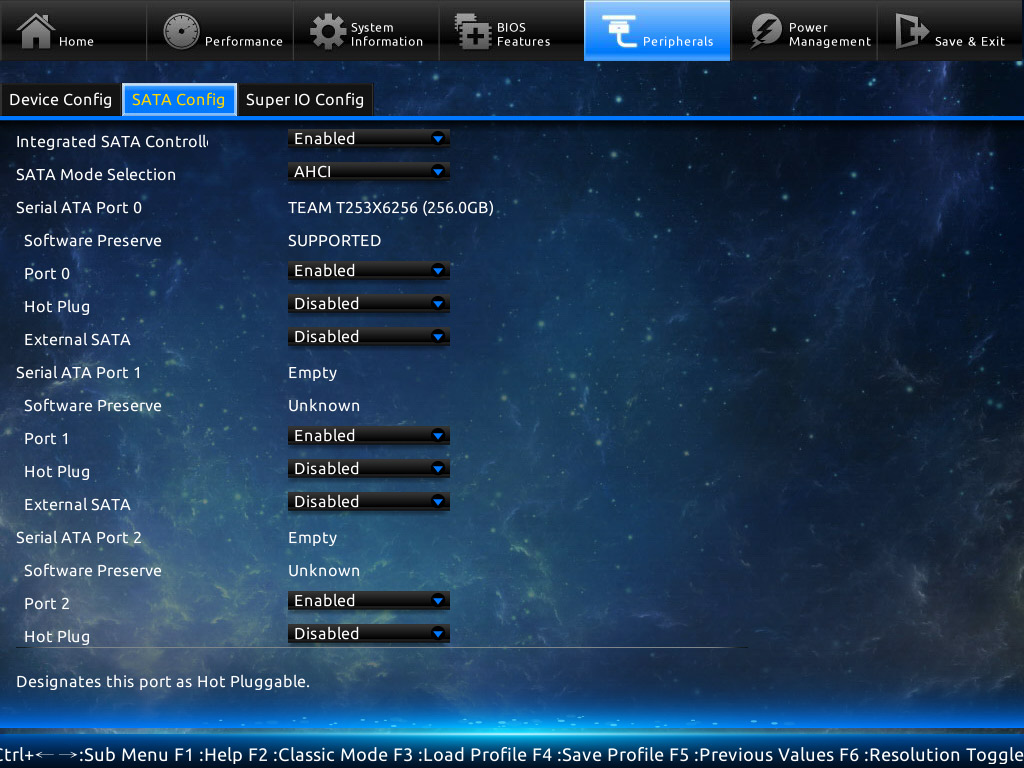

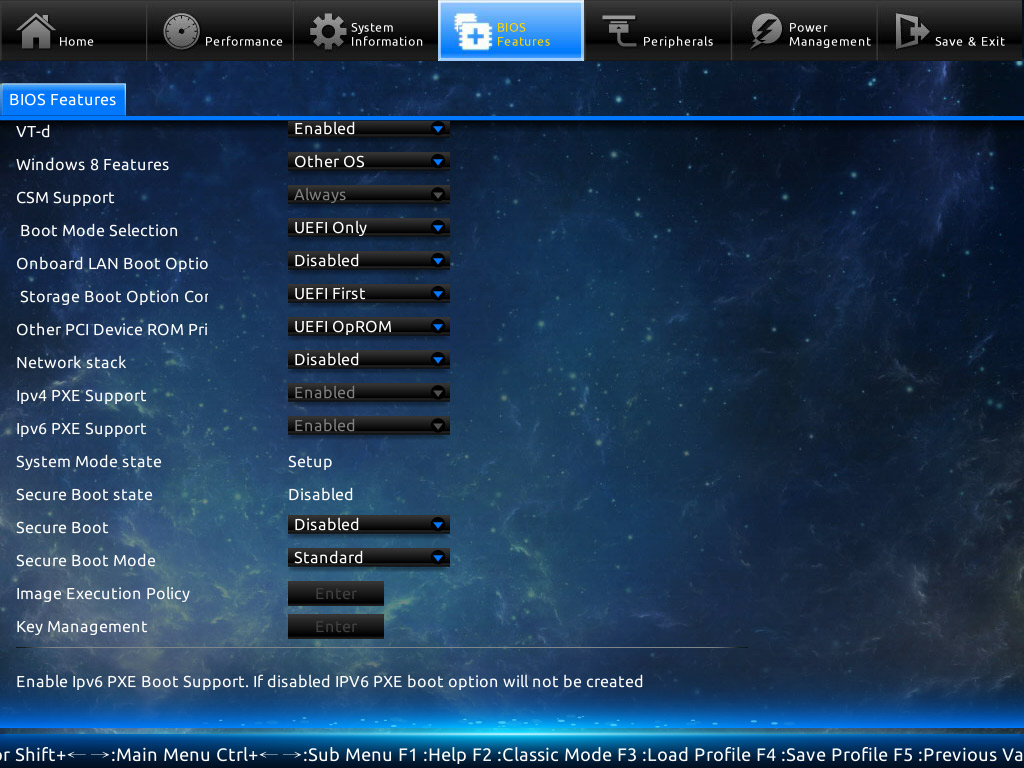
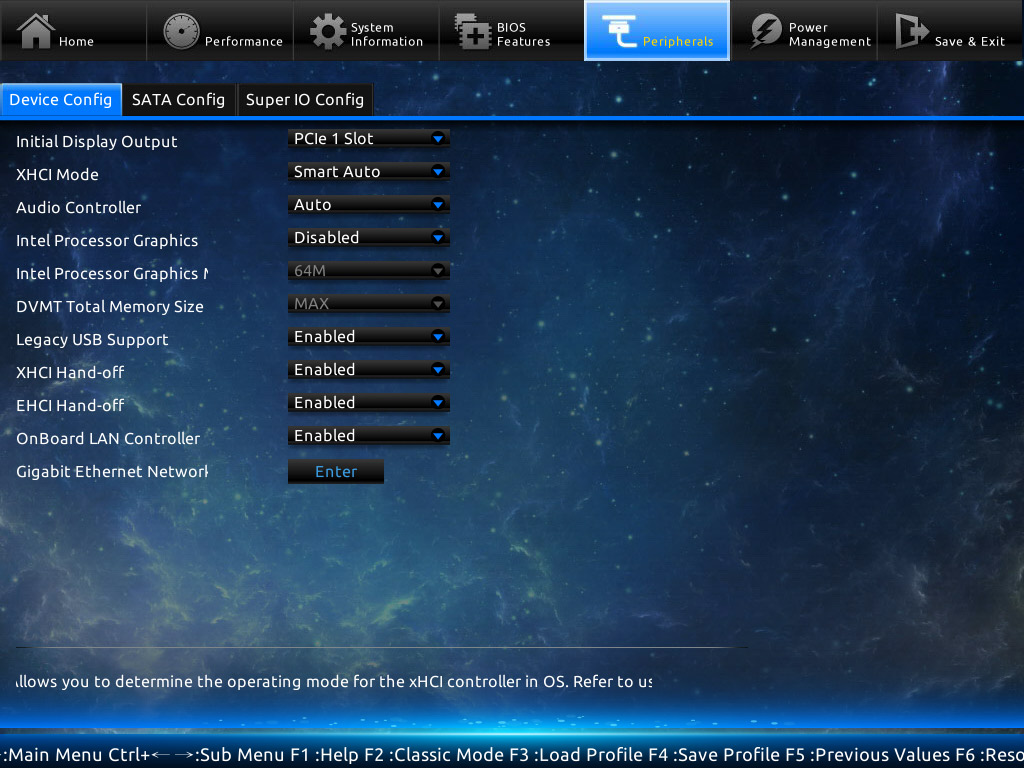
With all these, we can now boot the computer with the USB drive and then follow the installation instruction shown on the screen. Just to notice that we need to format the destination installation disk as APFS format.
Leave a Reply