

Hello Hackintosh lovers, today I am going to share my experience on how to install Mac OS Catalina on my Thinkpad T450 series. The installation went very smooth and easy. I am a beginners in Hackintosh and now I am writing this article from my T450 Hackintosh. It runs very smooth, everything work as expected. Well, not all but I can solve it now. If you have a T450 notebook series and planning to install macOS Catalina on it, you came to the right place.

Before I start the tutorial, I want to say thank you very much for anyone who involved on this project. Especially the one who manage and provide everything I need to make my T450 Hackintosh up and running. All credits go to jsassu20. You can check out his page on GitHub.


What works and not
After a fresh MacOS Catalina Hackintosh installed, the following are working:
- Audio
- Bluetooth
- Ethernet
- Trackpad
- Built-in webcam
- All USB ports
- Restart and shut down
- Siri
- AppStore
- Face Time
- iMessage
But for some reasons, the built-in WiFi is not working. This is a common issue since the ThinkPad T450 comes with Intel wireless network which is not supported by Mac. But don’t worry, you can purchase a USB Wifi dongle to solve your internet problem.
Also when I close the lid, it seems nothing happen. Maybe I can tweak this a bit more to find out if it works.
Installation Steps
In order to install macOS Catalina on ThinkPad T450, you will need the following:
- A USB flash drive with 16GB or more
- Access to a real Mac. If you don’t have a Mac, you may run Mac OS on VMware on your Windows or Linux machine. Please watch this video to create or run a macOS Catalina on VMware on Windows 10. Please watch the following video to create a macOS Catalina virtual machine on VMware Windows 10.
Step 1. Download macOS Catalina installation file
There are two ways to install macOS Catalina on T450. The first method that I am using on this guide is using Clover. If I had a chance, I will try to use the second method, OpenCore. Many people believed that OpenCore is better than Clover.
Open AppStore and search for Catalina as shown below.

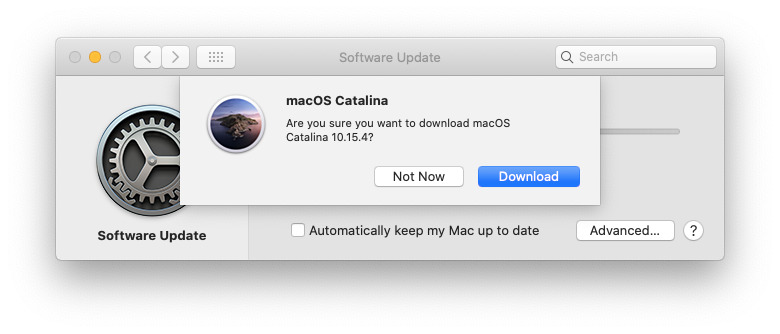
As you can see, there is macOS Catalina on the list. Click View and then click Get.

And then click Download. This will download about 8 GB from the internet. So make sure your internet is good enough.
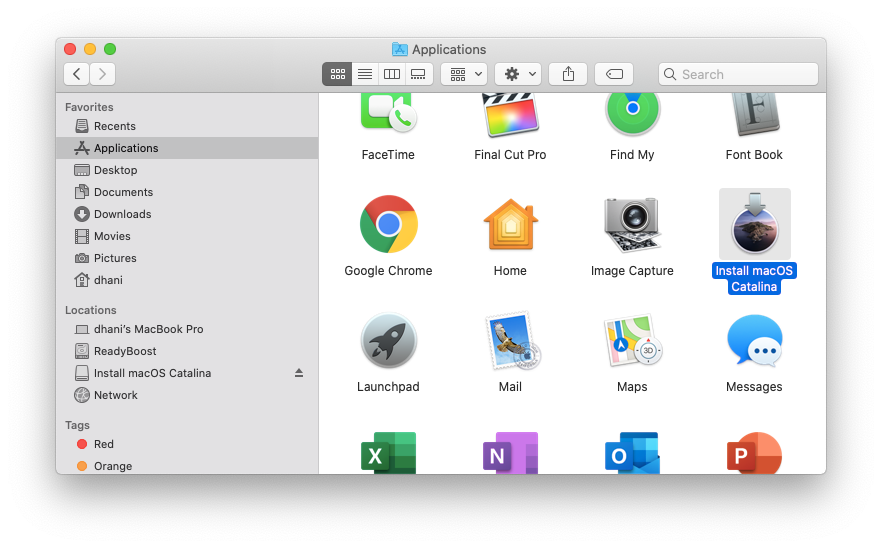
When the download is complete, you should see macOS Catalina in the Applications folder. Now we are good to go.
Step 2. Create the Bootable macOS Catalina USB drive
In the following section, we will prepare our USB flash disk for macOS bootable disk. Once the download complete, now plug the USB drive to your Mac or VMware machine. Open the Disk Utility application. We are going to format the USB drive.

Select your USB disk. If you can’t see your disk on the left side, click Show All Device button on the top left of the Disk Utility. Next, click Erase and name it as “INSTALLER”. You can name it anything but make sure you remember it because we will use this on the command line.

Also, choose the MacOS Extended (Journaled) and GUID Partition Map as shown above. Click Erase to start the erase process.

Now open Terminal and then paste the following command
sudo /Applications/Install\ macOS\ Catalina.app/Contents/Resources/createinstallmedia –volume /Volumes/INSTALLER
Change INSTALLER with the USB drive name you use on the previous step. This process take 10-20 minutes to complete.
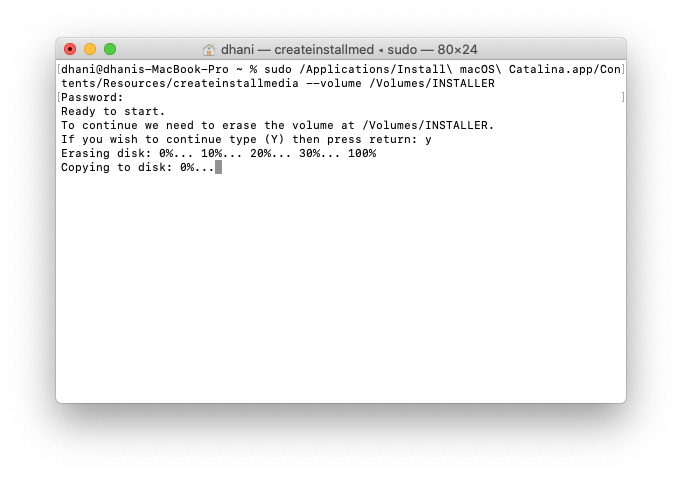
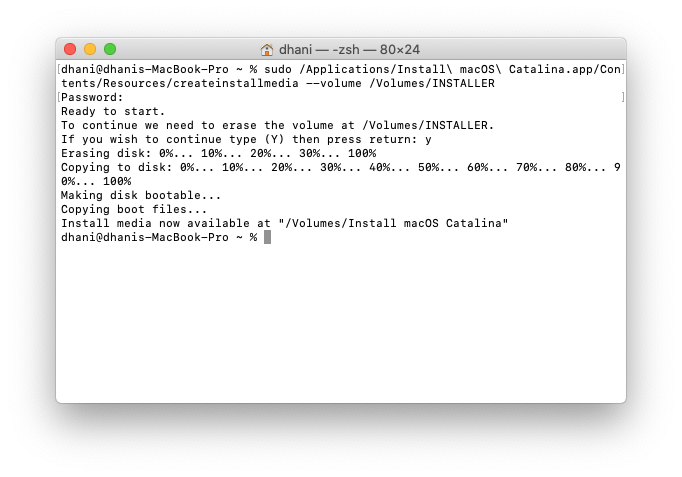
Wait until this process is completed.
For more info about this command, please visit the official guide below:
https://support.apple.com/en-us/HT201372
Step 3. Install Clover Bootloader to USB Installer
We have successfully set up the macOS Catalina USB installer. But we won’t be able to boot our computer with this USB, yet. We need to install the boot loader to it. To do this, download the Clover EFI Bootloader software from the following link.
https://github.com/CloverHackyColor/CloverBootloader/releases
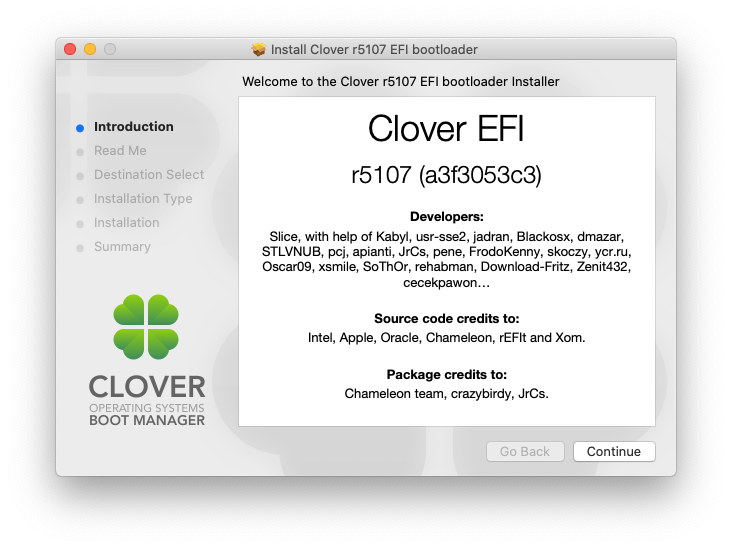
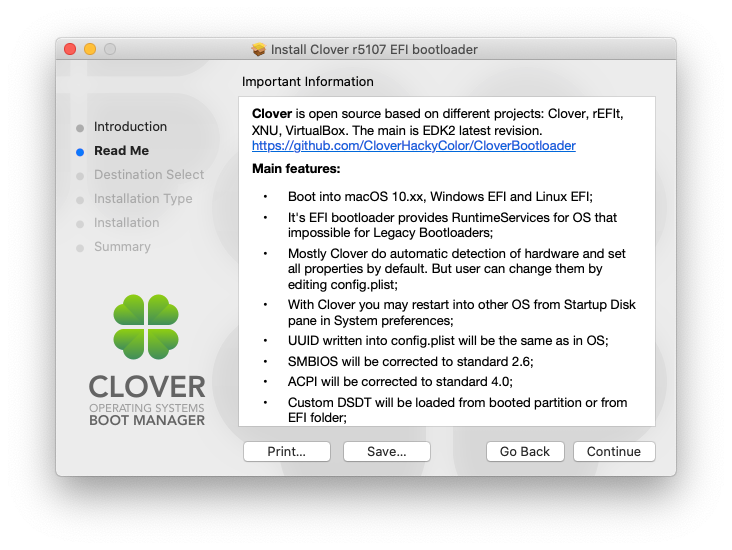
Pick the latest version available from that website. The latest version when I wrote this article is version 5197. Open the file Clover_r5107.pkg and follow the steps below:
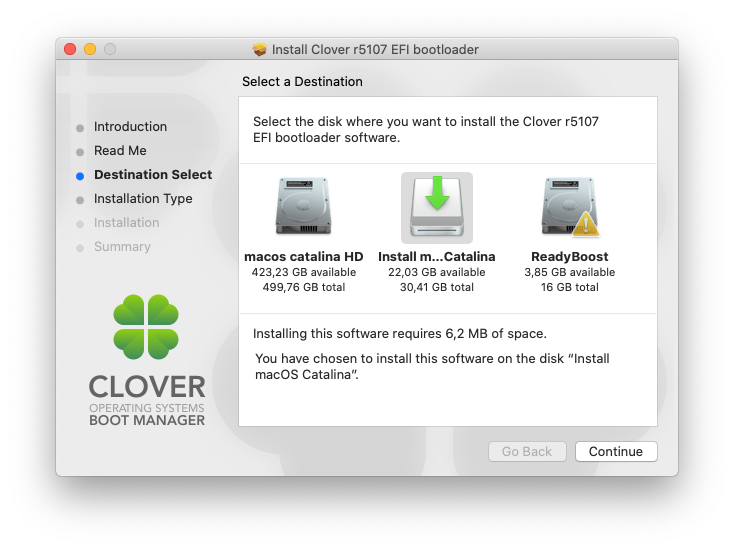
On the following step, you will need to change the install location. Make sure you install the Clover to your USB drive.
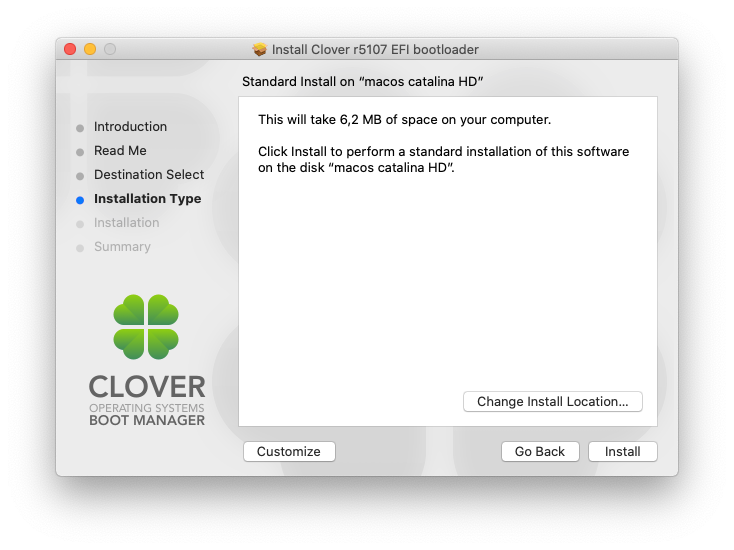
Click Change Install Location and make sure you choose the USB installation drive.
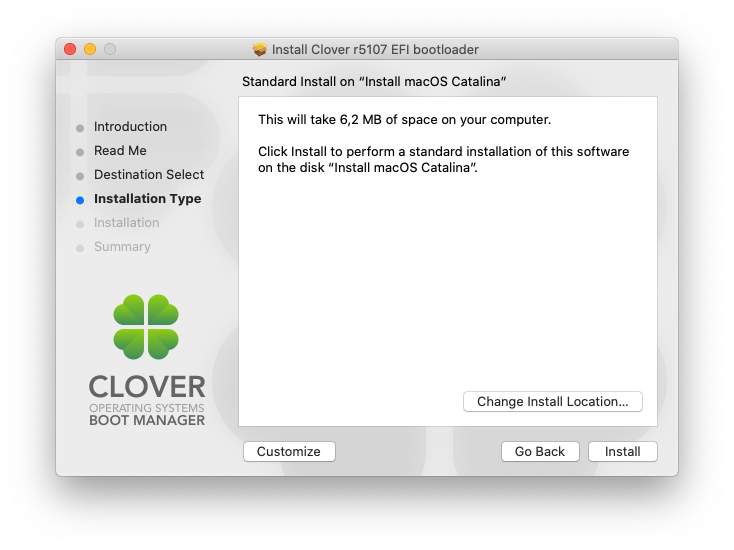
Click Install and wait until it completes
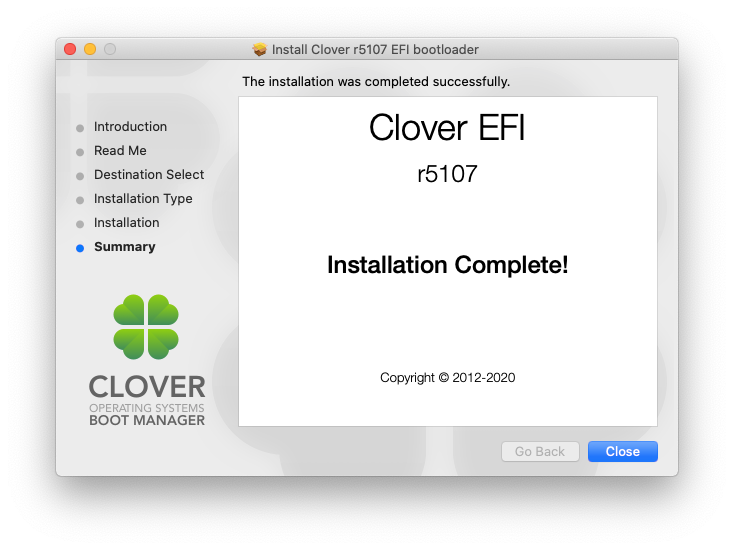
So at this point, we have successfully created the boot loader. But, we still need to replace the EFI folder with the provided one. Proceed to the next step below.
Step 4. Replace the EFI Folder
So in this section, we are going to mount the EFI folder in our USB installer and then replace it with the one provided by jsassu20. First, download the EFI folder using the link below.
https://github.com/jsassu20/Lenovo-ThinkPad-T450-macOS-Catalina

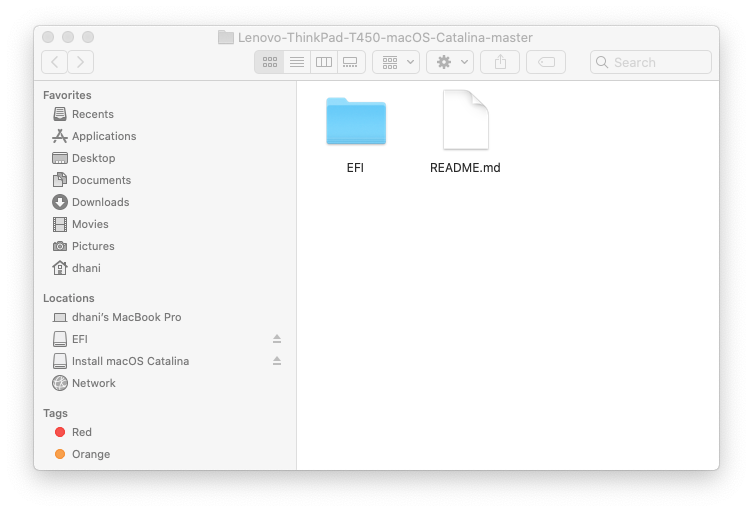
Click Clone or download button and then click Download Zip and then save it to your Desktop. You should now have a file called: Lenovo-ThinkPad-T450-macOS-Catalina-master.zip
Double-click the file to open. You will see an EFI folder in that zip file.
We are going to copy this EFI folder content to the USB bootable disk we’ve just created. For this purposes, you will need to download and install Clover App. You can download Clover App from this link below.
Open the Clover Configurator and then click Mount EFI. From here, Click Mount Partition from the EFI on Install macOS Catalina as shown below.

Once you click the Mount Partition, you will see the EFI partition is mounted. Inside this EFI partition, there are two folders: CLOVER and BOOT.
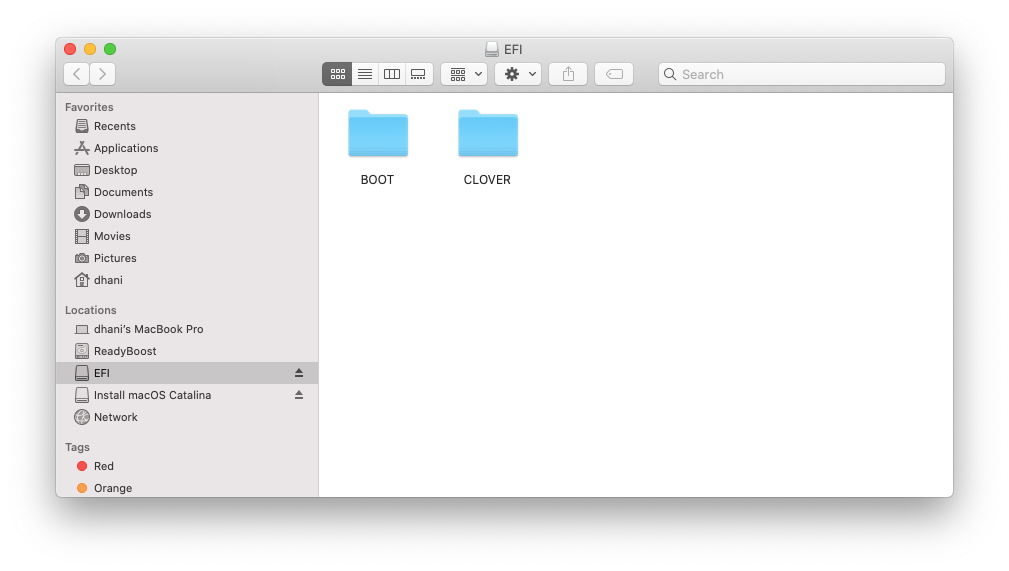
Now we are going to replace these two folders with the ones from this file Lenovo-ThinkPad-T450-macOS-Catalina-master.zip.

Once the copy process is completed, we are ready to boot our computer with this USB disk. The macOS Catalina bootable USB is now ready.
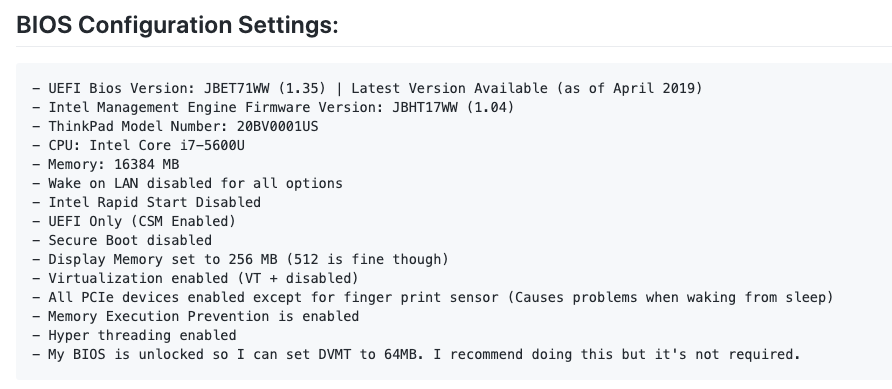
Step 4. Change BIOS Settings
We need to make some changes to the UEFI BIOS settings on the ThinkPad T450. Please visit this page and make sure your BIOS settings are correctly configured. Here is the summarized BIOS settings that I use in this build.
Step 5. Boot to macOS Catalina Installer
Now we are ready to boot our laptop with the USB installer we created. Choose to boot from your USB disk.

The installer should now work. First, you will need to format your disk first before installing Catalina on it.
Thank you very much for this tutorial, I appreciate the accuracy of the instructions! I followed all the steps and got the bootable stick. I have a Lenovo Thinkpad T450 model 20BUS04A08 {CPU: i5-5300 U 2.30GHz} but it does not boot. I would like, if you can, to help me install Catalina on it. I have currently installed Centos 8 on it, which I would like to keep (I have been a Centos user since 2005) Thanks in advance!
Could you please send me your screenshot when the error appears
Thanks for the tutorial.
I followed all your steps and when I click on install Catalina from the clover screen, I’m stuck at the apple logo screen with no progress bar. Any idea on what’s wrong?
Is there any devices connected to your laptop? Remove if any…
Hello!
Thank’s for this step by step but I’ve the same problem.
Nothing connected. Only Sandisk pendrive with installer.
In verbose boot mode, it stops at:
[EB|#LOG:EXITBS:START] 2020-06-07T15:00:00
+++++++++++++++++++++++++++++++++++++++++++++++++++++++++++++++++++++
Don’t
I have the same issue as you…did you ever fix it?
Blocked on sudo command
sudo /Applications/Install\ macOS\ Catalina.app/Contents/Resources/createinstallmedia –volume /Volumes/USB
I’m asked for password and then I get the error “The volume cannot be found
Tried quite everything.
Catalina 10.15.6
Have you format your drive and name it USB? The error says cannot find usb
It should be –volume not -volume. See the screenshot on my post.
Yes it is named USB, Tried also to change to different names (changing in the instruction as well).
Yes it is —volume (twice -)
Paolo, in terminal do
cd /Volumes
then
ls
Do you see your USB drive in there named what you think it’s named?
Maybe it is worth it to try with another usb stick.
Did you install macOS Catalina using OpenCore? If so, how does the sound work?