
If you are looking for the perfect tutorial to install Oracle Database 12c on Windows 10, then you came to the right place. I write this guide that is suitable for anyone who wants to learn Oracle Database. You may think that the Oracle Database installation is complex and hard to do. Well, it was. I hope this guide will help you to run Oracle Database 12c on Windows 10. Let’s get started.
Steps to install Oracle Database 12c on Windows 10
Step 1. Download the Oracle Database 12c Installation file
Navigate to this link to download the installation file.

Accept the license agreement and login to your Oracle account. You can create a new one for free. Once the download complete, you should have a new file: winx64_12201_database.zip. The file name could be different if newer version is available. Next, extract the zip file and you should now have a new directory called database.

Step 2. Oracle Database 12c Installation Process
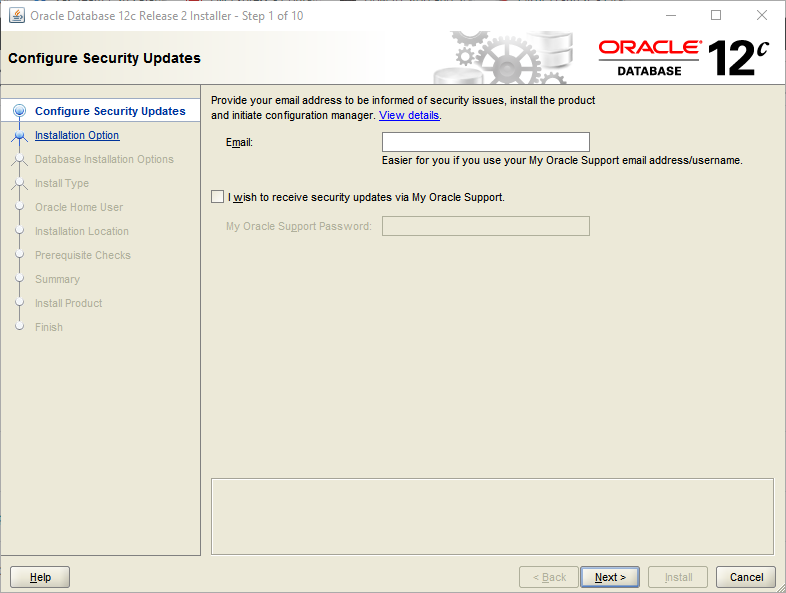
Double-click the setup file and the installation window will appear. On the first window, you will be asked to enter the email address for My Oracle Support email. Leave this blank as we don’t want or have the Oracle Support. Also, unchecked the option I wish to receive security updates via My Oracle Support.
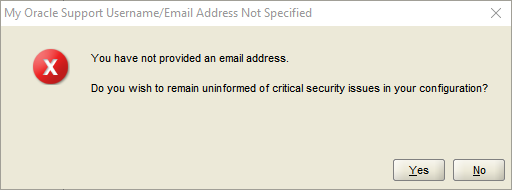
Click Next and you will get the following warning message. Click Yes to continue.
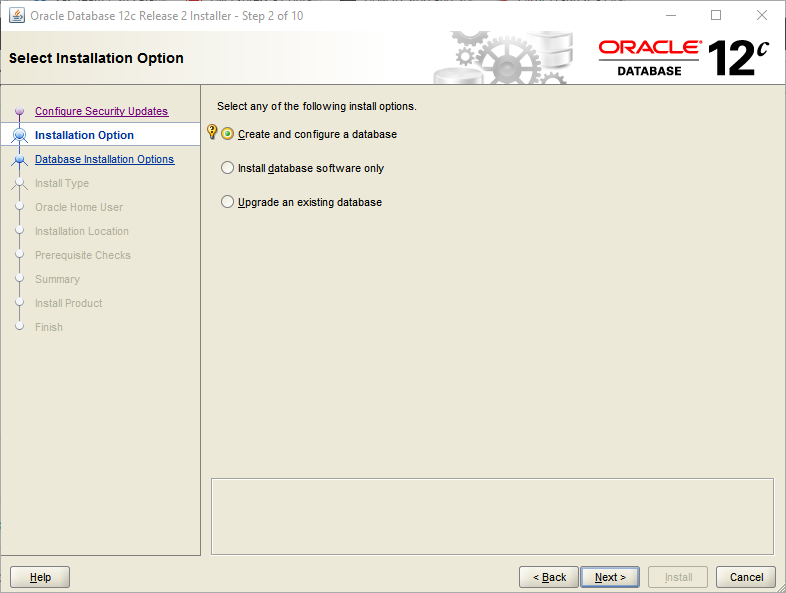
In the next window, we need to select the install option. In this example, I choose to install and create/configure a database.
Next, select the system class. You can choose between to options. In this example, I install Oracle on a laptop so the first option is the best choice.

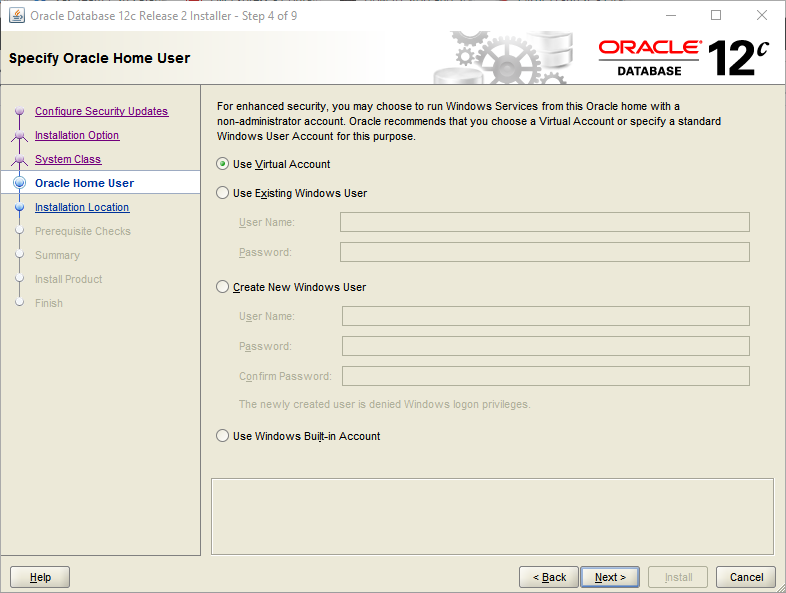
The next step is to specify the Oracle Home User. In this example I choose the first option which is recommended by Oracle.
Next, configure the Oracle typical configuration. In this step we need to specify the following stuffs;
- Oracle base : D:\app\
- Software location : D:\app\product\12.2.0\dbhome_1
- Database file location: D:\app\oradata
- Database edition: Enterprise Edition
- Character set: Unicode(AL32UTF8)
- Global database name: orcl
- Container database name: mydb01

You can modify the settings to match your needs. Don’t forget to specify the password for the database. Click Next and you will see the installation summary. I recommend you to save it to a file for future use.
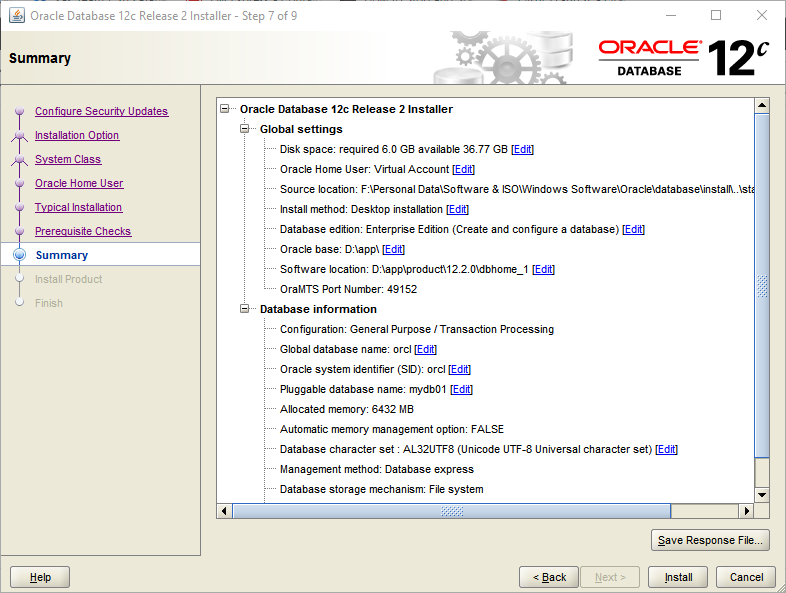
Now we are ready for the installation. Click Install to start the install process.

The installation process can take some times. Be patient and wait until it finishes. Make sure that the installation finishes with no error. If you encounter errors, review the error and you must fix it and then restart the installation.
Step 3. Connect to Oracle Database using SQLPlus
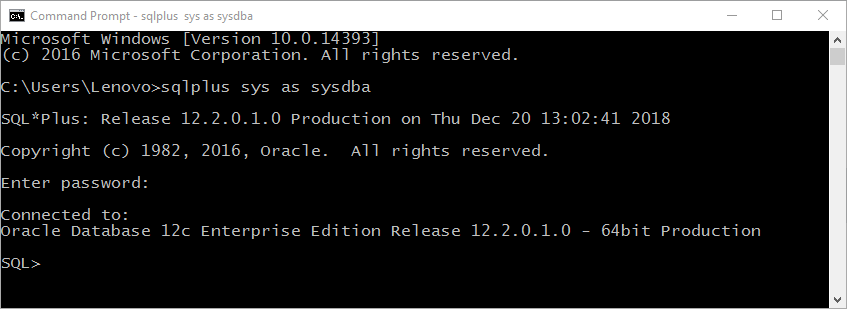
After the installation finishes, we can try to connect to our database using SQLPlus tool. To do this, open Command Prompt from the start menu. Run it as administrator.
Next, type the following command:
sqlplus sys as sysdba
Enter the sys password we created during installation once connected, you will see the following message:
That’s it. Thanks for reading and hope you enjoy it. See you next time.

Leave a Reply