

Welcome to Ubuntu Tutorial. In this article, we are going to learn how to install R on Ubuntu 19.04 Disco Dingo. If you are running Windows 10, please visit our previous tutorial to install R on Windows 10. R is special programming software that supports Windows, Mac, and Linux. I would like to create more tutorials about R in this blog.
Steps to Install R on Ubuntu
Step 1. Add R repository
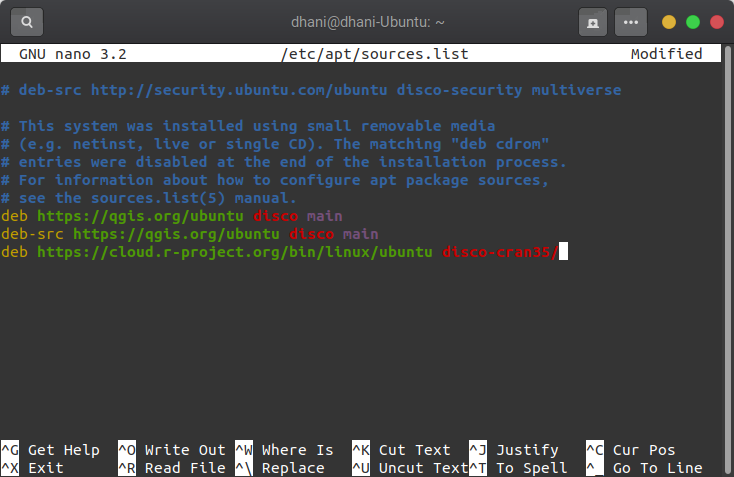
Open the sources.list file and add the following line to it:
deb https://cloud.r-project.org/bin/linux/ubuntu disco-cran35/
In this case, I use nano to edit the file
sudo nano /etc/apt/sources.list
And here is the screenshot of my sources.list file
Now close the file
Step2. Install R
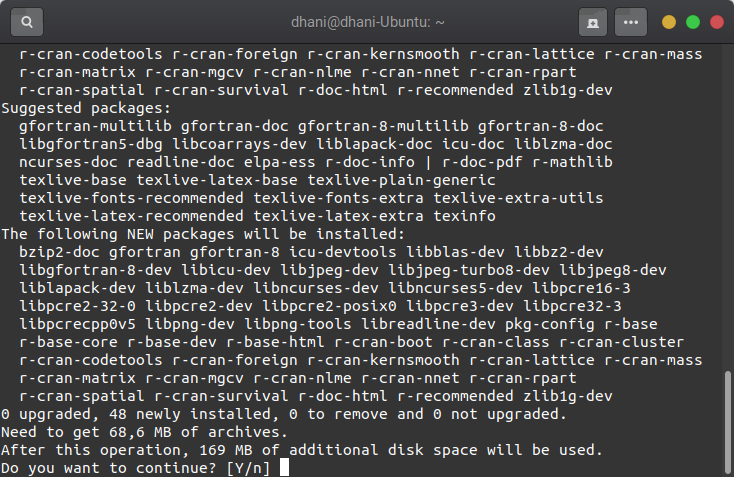
Now we are ready to install the R programming software. Execute the following lines to install R.
sudo apt-key adv --keyserver keyserver.ubuntu.com --recv-keys E298A3A825C0D65DFD57CBB651716619E084DAB9
sudo apt update && sudo apt install r-base -y
Step 3. Test the installation
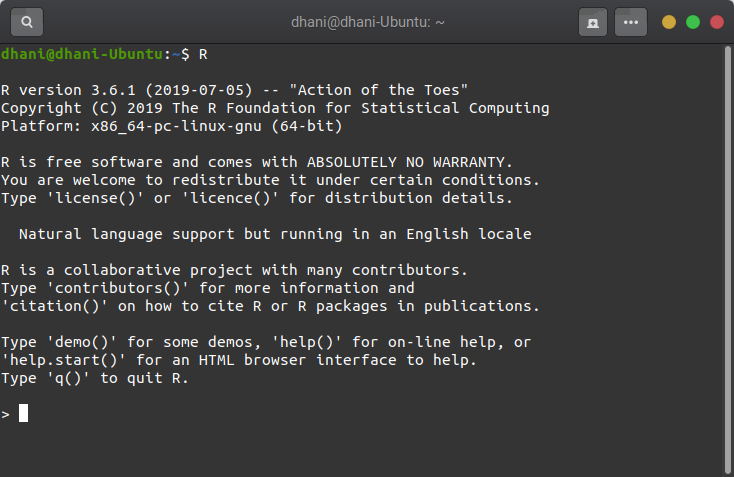
Once the installation completes, you can try out the R programming software directly. In Terminal, type “R” command to enter the R console
$ R
Output
Install R Studio on Ubuntu
R Studio is an IDE for R. I will guide you to install R Studio on Ubuntu 19.04. R Studio is a great application that can be used to build and code your R script. It comes with a complete set of tools, nice user interface and pretty easy to use. To install R Studio, please follow these steps
Save the file in your Download directory. To install, simply right-click on the DEB file and select Open with Software Install.
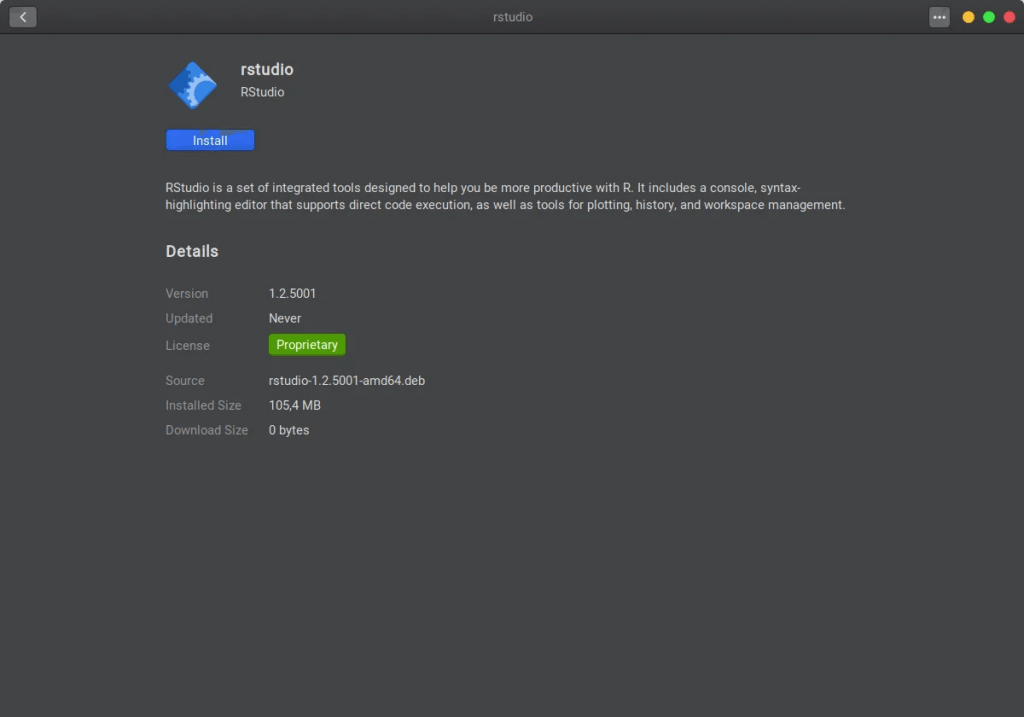
Click the Install button to start the installation. You will need to enter your root password to continue. Once the installation completes, you can start using the R Studio to write your R code in Ubuntu.

That’s it. Now you have R installed on your Ubuntu as well as the R Studio software. Now let’s start coding R.
Leave a Reply