

Hello everyone, welcome to another Ubuntu Tutorial. In this article, I am going to show you how to install OBS Studio on Ubuntu 19.04. OBS Studio is an open-source, multi-platform video screen recorder and streaming application. You can use this software to record your desktop activity, record your web camera as well as broadcast your gaming activity.
OBS Studio works very well on my Ubuntu 19.04. I can record and create a video tutorial straight away from my Ubuntu desktop. This software also comes with a nice and simple user interface. YouTube integration feature will make your life a lot easier to start broadcast and create live streaming.
Steps to Install OBS Studio on Ubuntu 19.04
Step 1. Install ffmpeg
Open Terminal and then paste the following line to install ffmpeg package.
sudo apt install ffmpeg
Step 2. Add OBS Studio Repository and Install OBS Studio
Now, continue with this command to add the official repository
sudo add-apt-repository ppa:obsproject/obs-studio
Finally, install OBS Studio with this command
sudo apt-get update && sudo apt-get install obs-studio
How to use OBS Studio to Record Your Screen
On the first run, you will see a notification that asking you to run the auto-configuration wizard. Press Yes and wait for a moment until the process is complete. Choose how you want to use the program. You can optimize it for streaming or recording.


Next, we are going to create a new recording source. Click the + button under the Source section and then choose Screen Capture (XSHM)

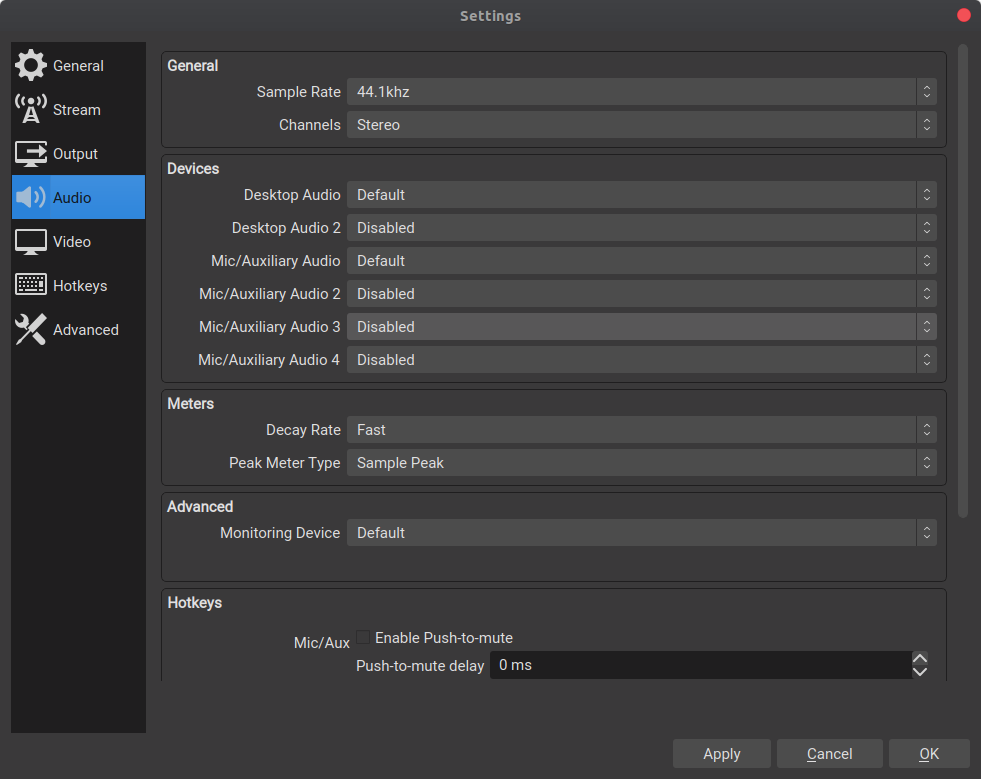
Click OK to confirm. Now you should see your screen activity in the OBS window. Click Start Recording button to start recording your screen. You can adjust and configure the Settings by visiting the Settings page. Here you can change the output format, path, configure the streaming features and many more.
Leave a Reply