

Hello everyone, in this article, I am going to try to install the latest version of PostgreSQL on macOS Big Sur Beta Hackintosh. I installed the macOS Big Sur Beta on my Proxmox 6.2 as virtual machine. PostgreSQL is a well-known RDBMS database system that is quite popular. Mostly, I use the PostgreSQL to store my GIS datasets.
Steps to Install PostgreSQL on macOS Big Sur
There are several options to install PostgreSQL on macOS system. We can use the graphical installer, or using Homebrew. In this article, I will install using the graphical installer provided by the EnterpriseDB.
Step 1. Download PostgreSQL Installer for macOS
Navigate to the following page and download PostgreSQL for macOS from there. This guide is based on PostgreSQL 13.0.1.
https://www.enterprisedb.com/downloads/postgres-postgresql-downloads
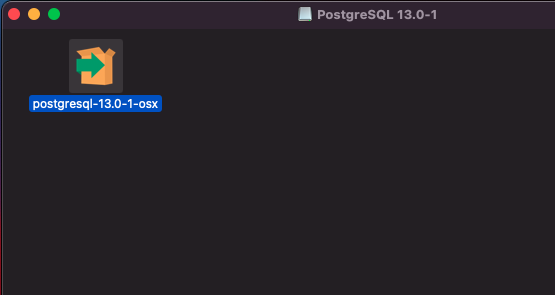
Save the DMG file to your download directory. You should have a file called: postgresql-13.0-1-osx.dmg.
Step 2. Install PostgreSQL
Right-click the file postgresql-13.0-1-osx.dmg and choose Open. It will open up the following.
Now right-click the postgresql-13.0-1-osx file and choose Open. The installation will start. Most likely, you will have the following error message appear.
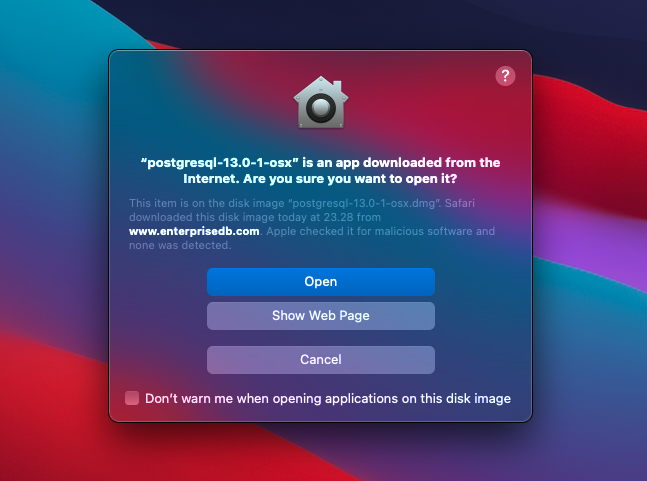
Don’t worry, click Open. Enter your password to continue. The EDB PostgreSQL installation wizard will open up.
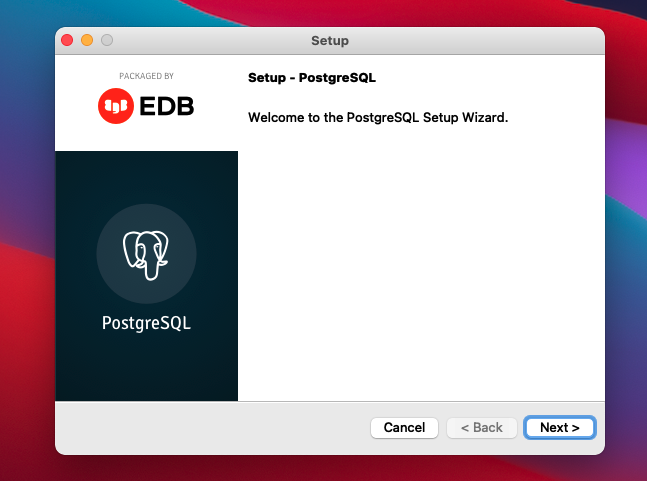
Hit Next to continue. On the next step, we need to specify where the PostgreSQL will be installed. I use the default location for this.

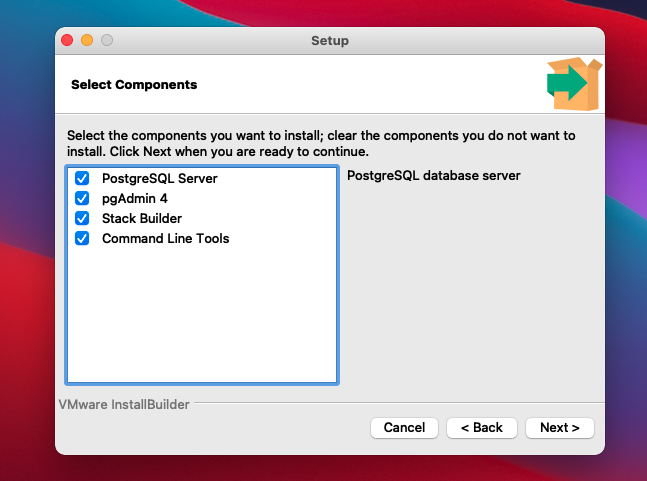
Next, select the components we want to install. Basically, there are 4 main components and I would recommend to install all of them.
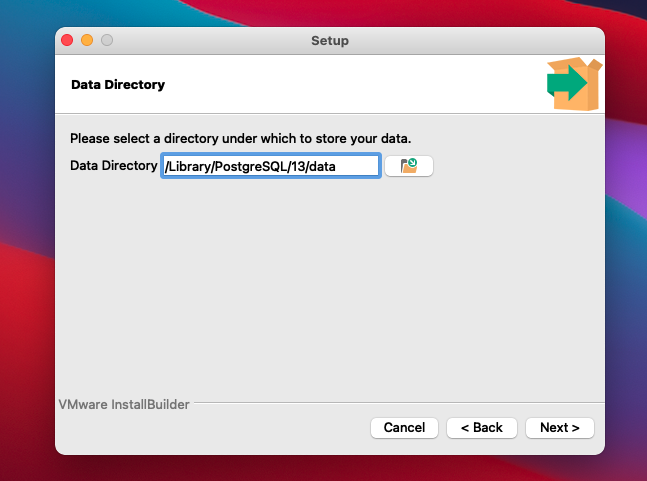
Next, specify the data directory. This directory will be used to store the PostgreSQL data.
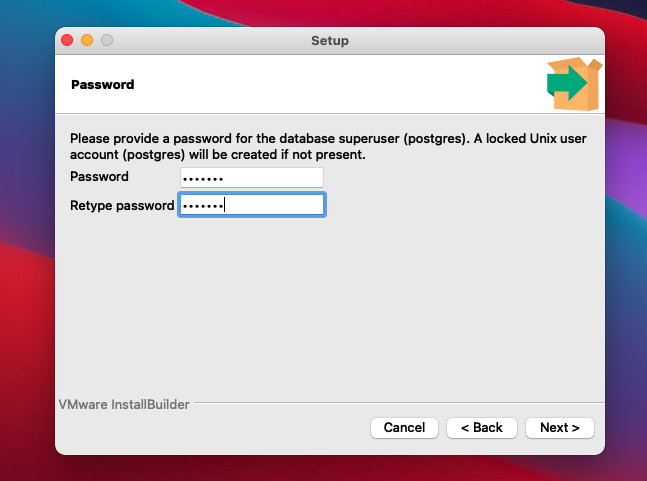
Now we need to provide the password for the postgres user.
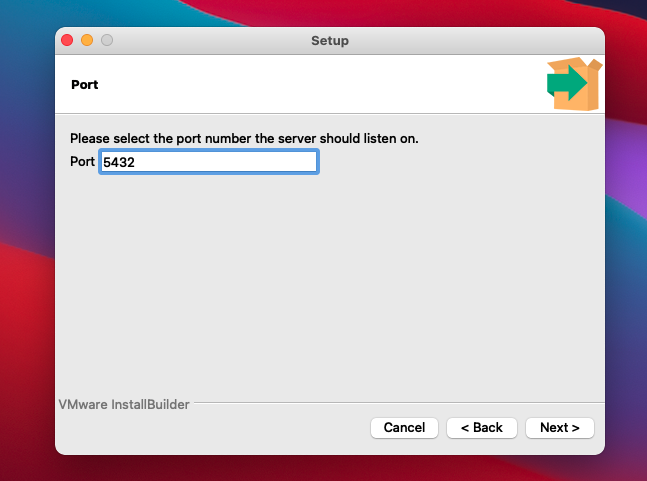
Specify the PostgreSQL port. Otherwise you have another PostgreSQL instances, leave it as is. 5432 is the default port for PostgreSQL server.
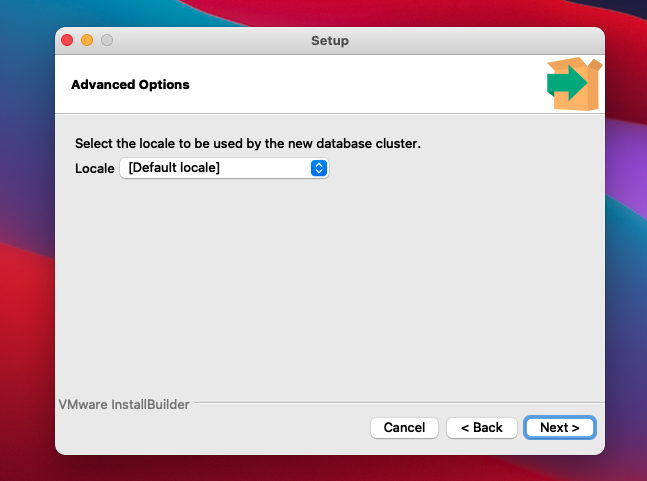
Select Locale
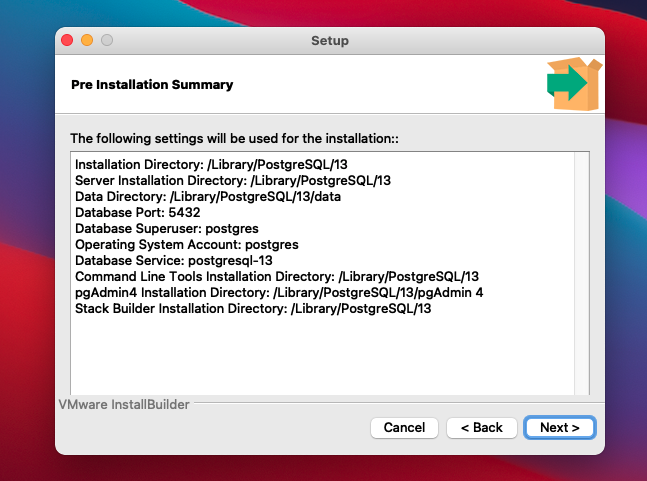
Installation summary.
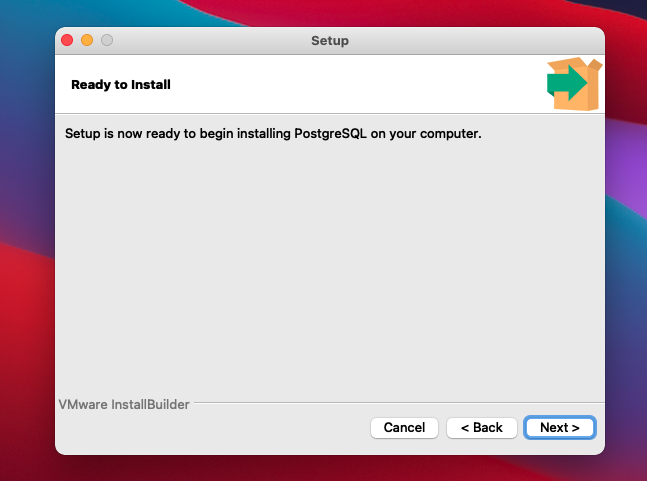
Hit Next to start the actual installation process
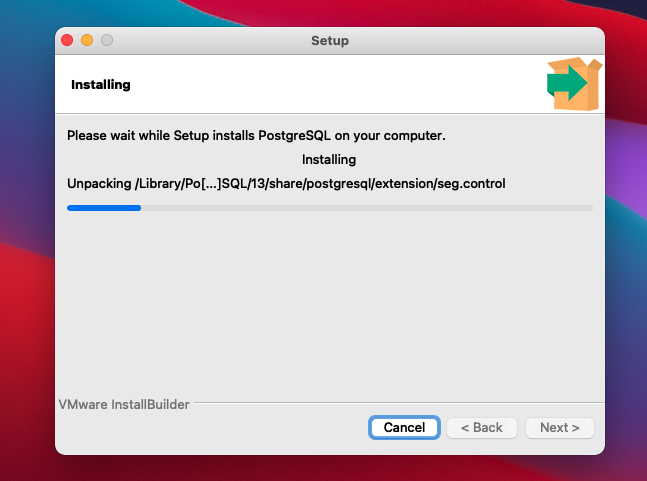
Wait until the installation is completed.
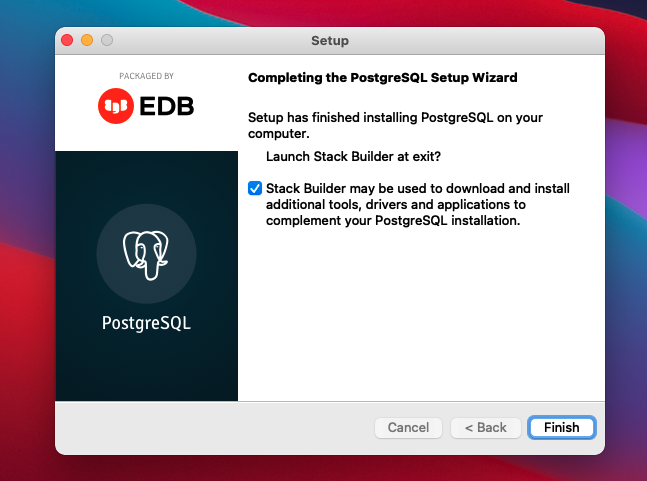
Upon completion, you will be asked to Launch Stack Builder. Stack Builder can be used to install additional tools, drivers, and extensions. In this case, I am not going to launch it for now. We can launch Stack Builder later using the shortcut in the Applications folder.
At this point, we have successfully installed PostgreSQL on macOS Big Sur. Everything went pretty smooth.
Step 3. Connect to PostgreSQL
I installed PgAdmin 4 together with the PostgreSQL Server. The installation went well but it seems there is a problem with the PgAdmin 4. I cannot run it so I cannot use it to connect it to PostgreSQL. I am not sure if this is the PgAdmin 4 and macOS Big Sur compatibility issue or the AMD Hackintosh issue.
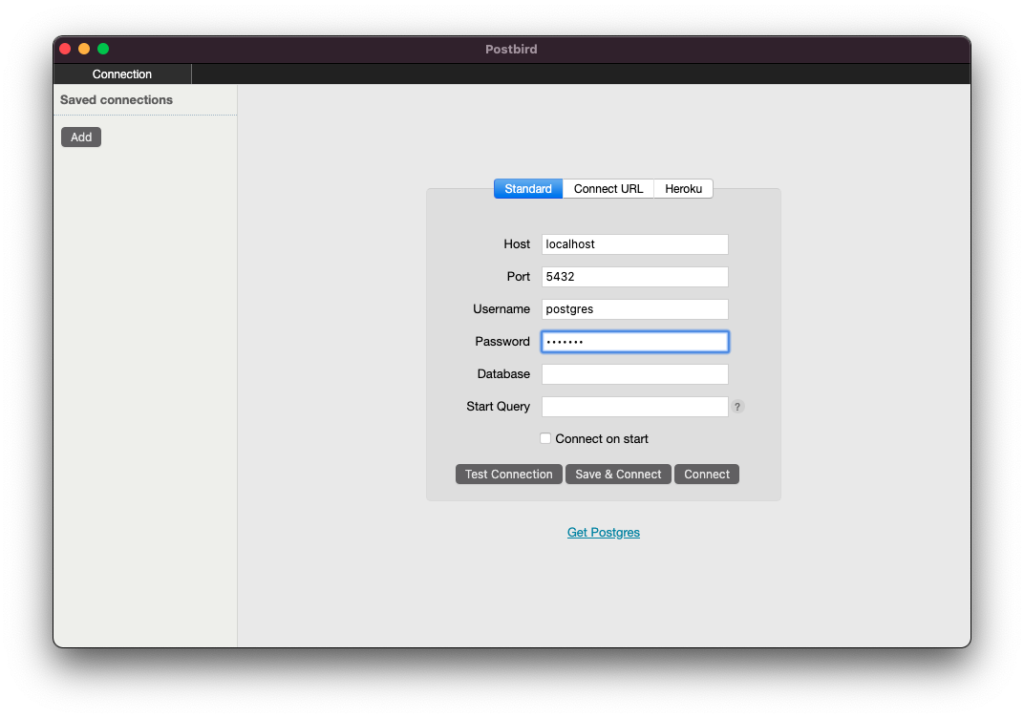
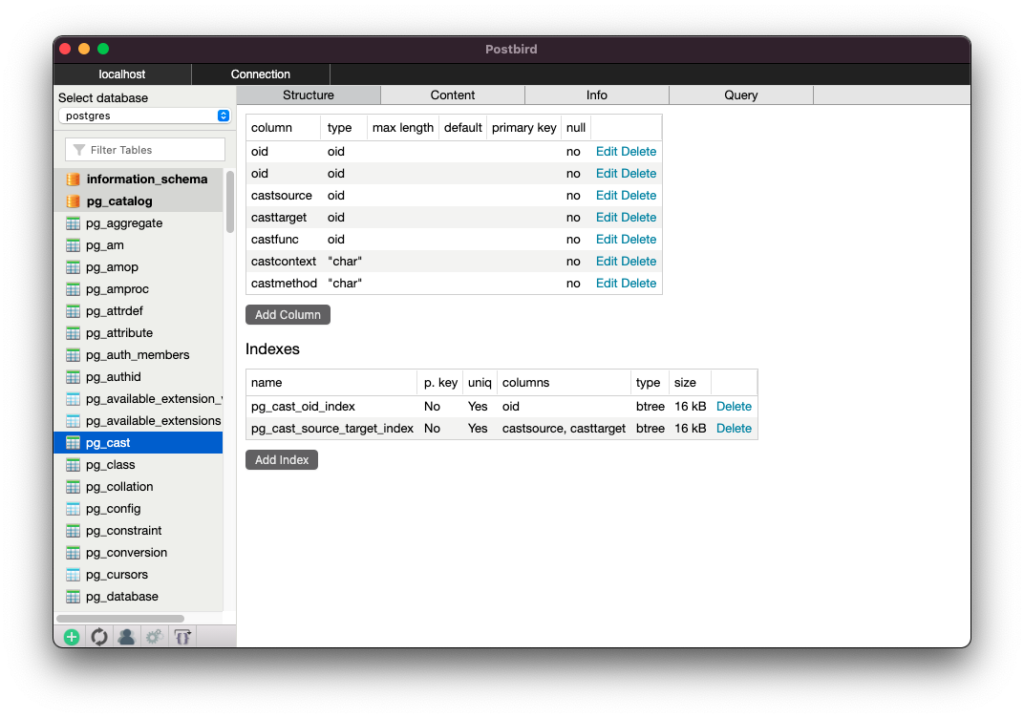
I am going to use other software such as Postbird to connect to my PostgreSQL server. You can download and install Postbird from the link below.
https://www.electronjs.org/apps/postbird
That’s it. Thank you for reading this short How to install PostgreSQL on macOS Big Sur Hackintosh. See you on the next tutorials.
Leave a Reply