
I have just installed the latest version of Microsoft Windows Server 2019 on my Proxmox VE. It runs very well and never had any issues. I am planning to install Oracle 19c on Windows Server 2019. There is another solution to get the Oracle 19c up and running on your network. Please follow my previous guide to install Oracle 19c on CentOS 8. It runs pretty well and never had any issues as well.
Supported Operating System
Oracle 19c supports the following Windows versions:
- Windows 8.1 x64 – Pro and Enterprise editions
- Windows 10 x64 – Pro, Enterprise, and Education editions
- Windows Server 2012 R2 x64 – Standard, Datacenter, Essentials, and Foundation editions
- Windows Server 2016 x64 – Standard, Datacenter, and Essentials editions
- Windows Server 2019 x64 – Standard, Datacenter, and Essentials edition
Steps to Install Oracle 19c on Windows Server 2019
Step 1. Download Oracle 19c
When this article is written, Oracle 19c version 19.3 is available. You will need to download this file from the link below.
https://www.oracle.com/database/technologies/oracle19c-windows-downloads.html
You will need an Oracle account to be able to download the file. You will have a zip file called WINDOWS.X64_193000_db_home.zip. Save it to a folder and we will use it later.
Step 2. Create Oracle Home Directory and Extract the File
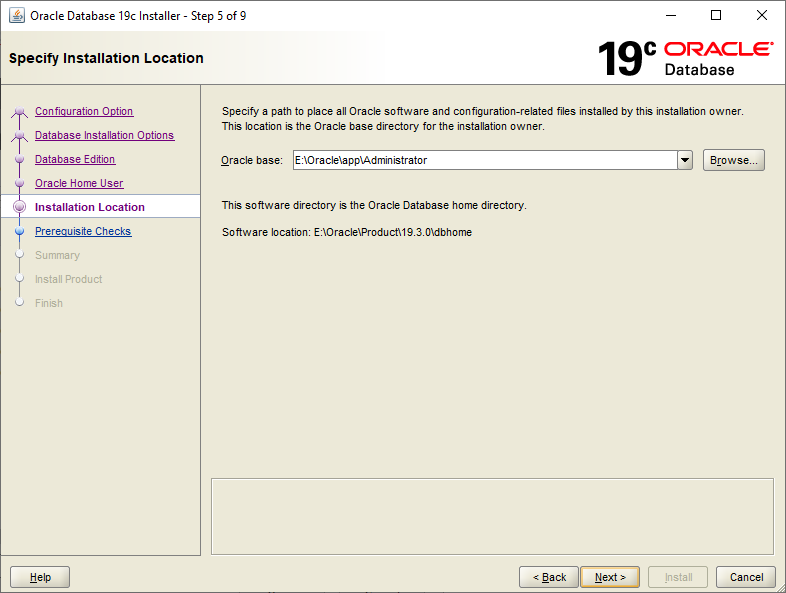
We need to create the Oracle Home directory where we will save our Oracle Database installation file. In this example, my Oracle Home directory would be:
E:\Oracle\Product\19.3.0\dbhome
Extract the Installation File
Extract the zip file you’ve downloaded from step 1 and put the files inside the Oracle Home directory which is E:\Oracle\Product\19.3.0\dbhome. This is my dbhome folder looks like after the extract process.

Step 3. Oracle 19c Installation
Now we are ready to start the installation process. Right-click the setup file and choose Run as Administrator. In a few moment, the Oracle 19c installation window will open up.
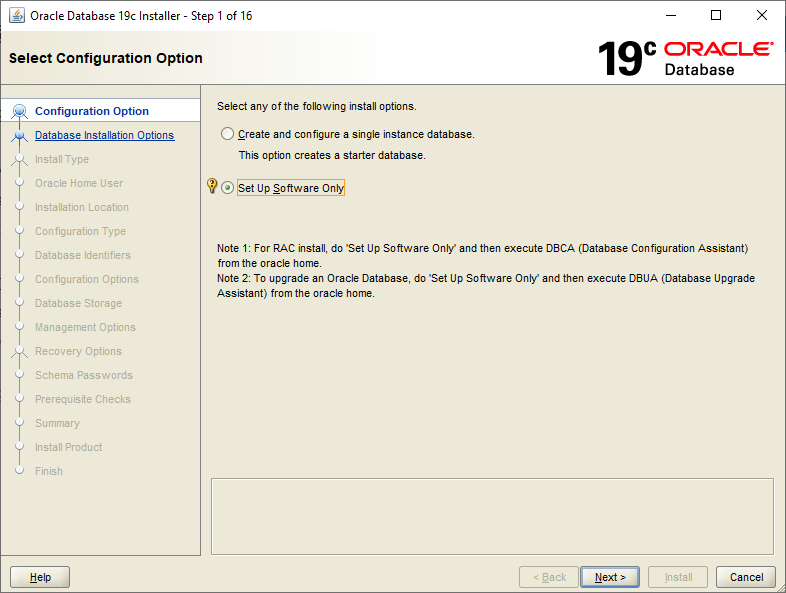
On the first step, you may choose the first option that will install Oracle 19c as well as a starter database. But in this case, I will use the second option. I will create the database later.
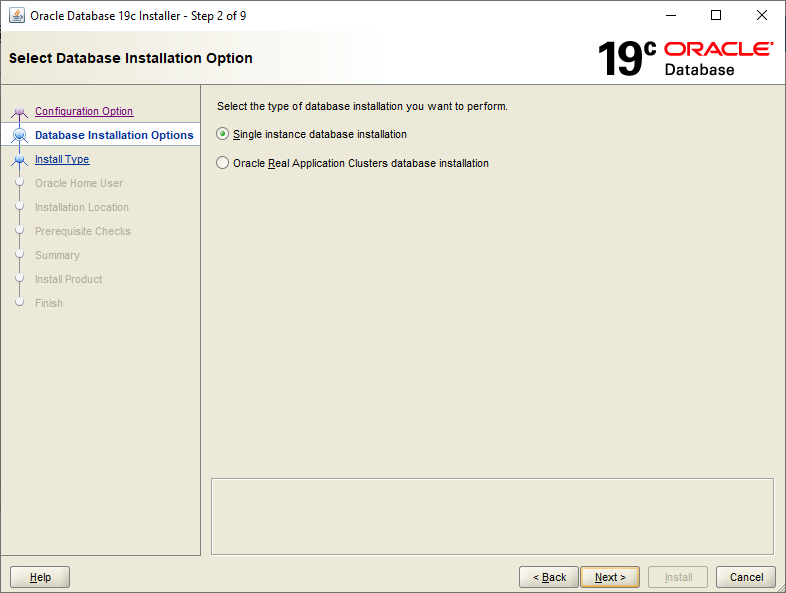
Next, choose the database installation option. In this case, I pick up the single instance database installation
Next, choose the database edition you want to install. There are two options available, Enterprise and Standard Edition 2.

Specify the Oracle Home User. It is recommended to use the virtual account

Let’s specify the installation location. I leave it as is
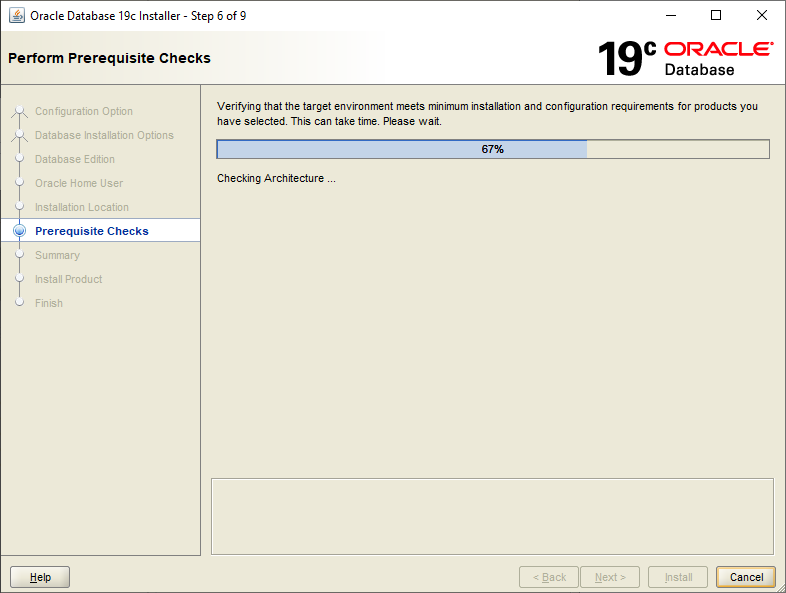
Now the installation should begin to check the prerequisites.
Now review the installation summary.

Click the Install button to start the installation process. This process will take sometime. Please be patient and wait until it completes.
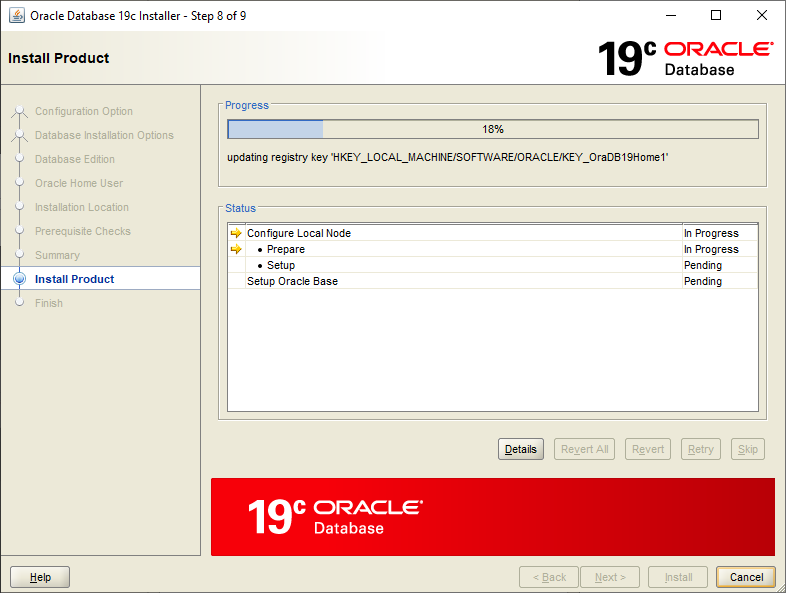
When the installation finished, you will see the following window.

Step 4. Create a New Oracle Database
On the Step 3 above, we only install Oracle Software. Now we are going to create the Oracle Database. Open the Database Configuration Assistant from Windows start menu.
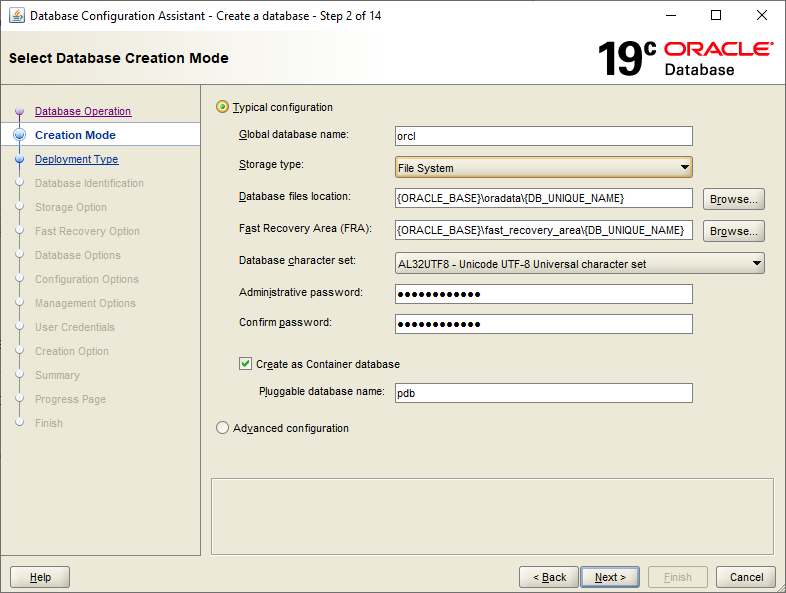
Enter the required details such as new Administrative password. The default Global database name is orcl. You can change it if you want. Also, check the option Create as Container database and type the name of the Pluggable database name.
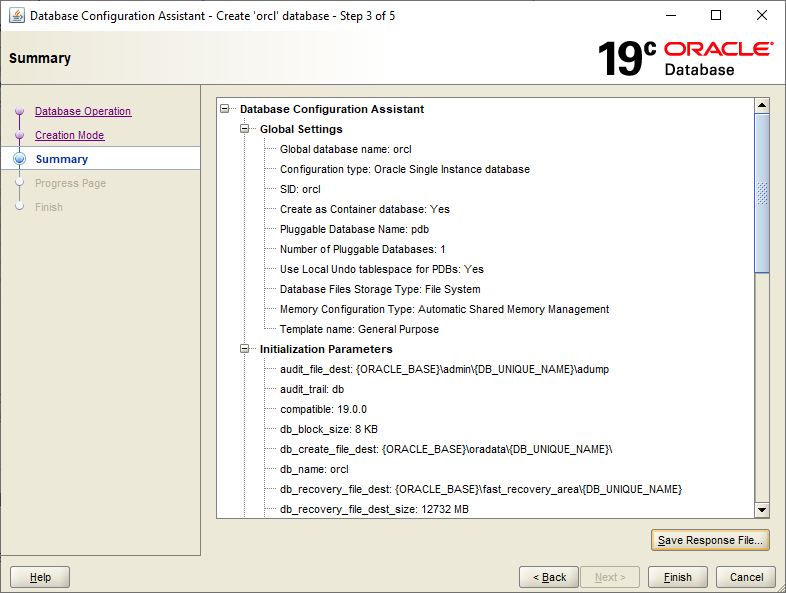
Click Finish to start the database creation process.
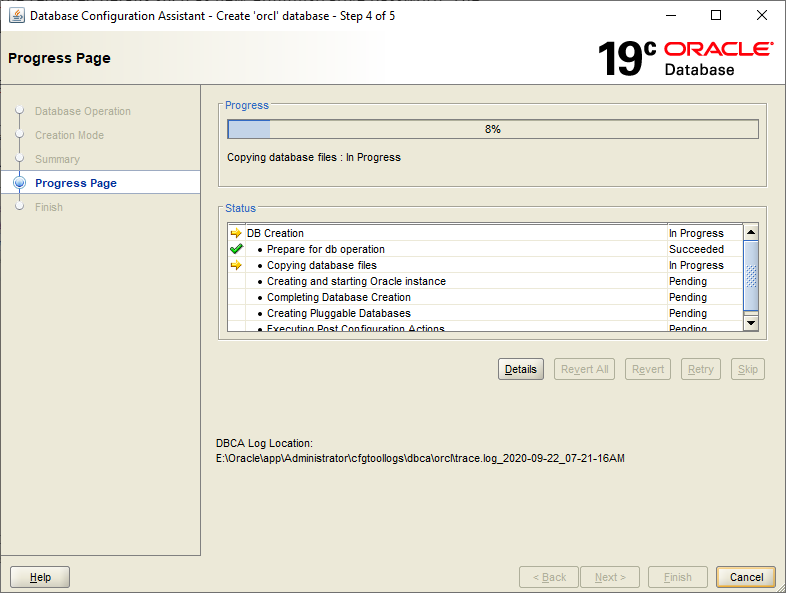
The database creation process will take few minutes. Simply wait until it completes.
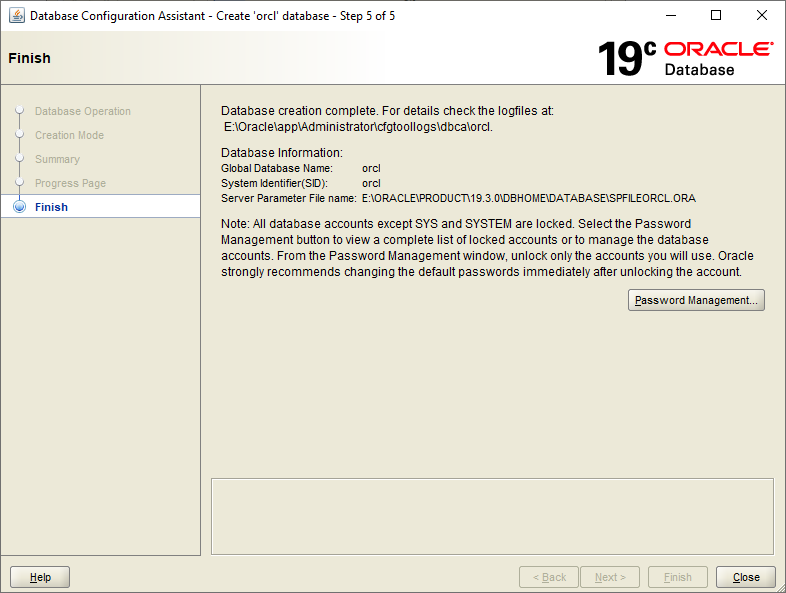
At this point we have successfully installed Oracle 19c on Windows Server 2019 and also we have created a new Oracle database. Continue to the next step below to connect to the Oracle Database.
Step 5. Connect to Oracle Database
There are various way to connect and manage the Oracle database. I will try to explain some of them here.
Connect to Oracle database using SQLPlus
Open SQL Plus command line application from Windows start menu. The Oracle installation that we’ve done previously will also install the SQL Plus utility.
Username: sys as sysdba
Password: The password you created during the Oracle installation
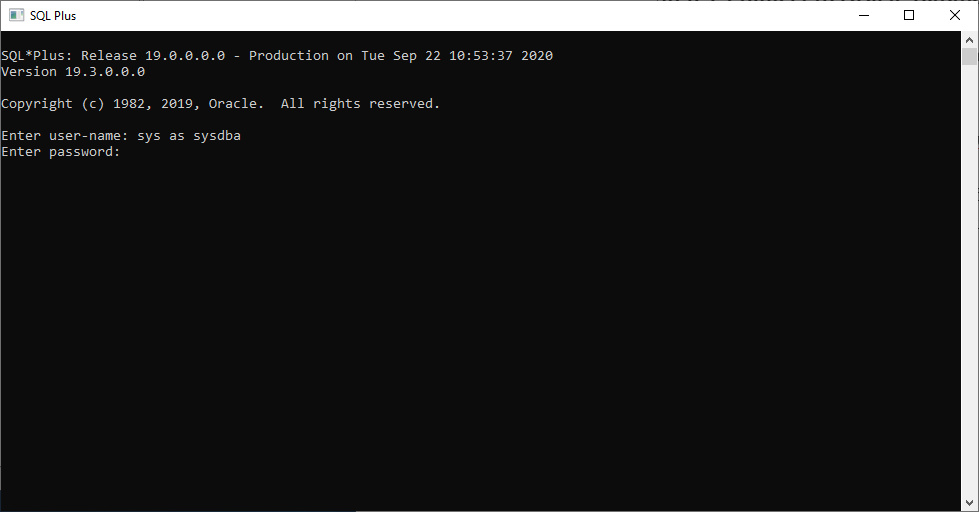
When successfully connected, you will see something like this

Now you can perform some administrative tasks, perform query and other things. I am not going to discuss about SQL Plus commands here. Please visit the Oracle help below for more information
https://docs.oracle.com/cd/E11882_01/server.112/e41085/sqlqraa001.htm
Connect to Oracle Database using SQLdeveloper
Download and install Oracle SQLDeveloper software from the link below.
https://www.oracle.com/tools/downloads/sqldev-v192-downloads.html
Once installed, run the SQL developer and you will need to enter the following details
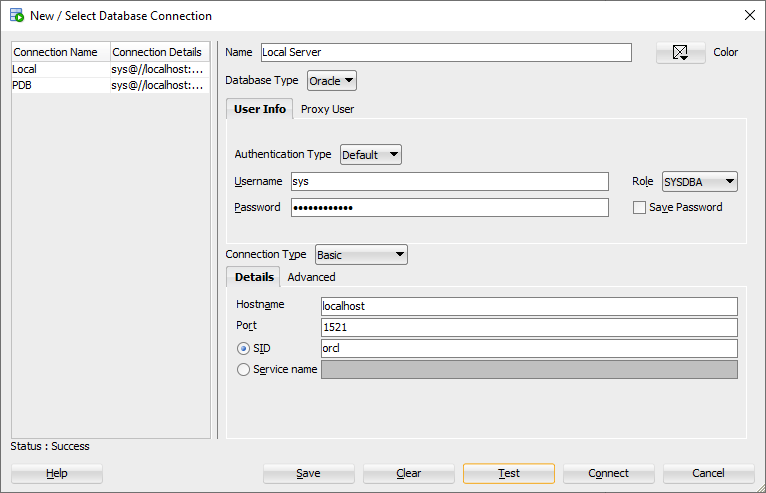
In my case, I use the following details:
- Authentication Type: Default
- Username: sys
- Role: SYSDBA
- Password: This is the password we created during the Oracle installation
- Connection type: Basic
- Hostname: Localhost
- Port: 1521
- SID: orcl
Adjust the information required with your own settings. If all good, you can start using SQL Developer tool to manage your server
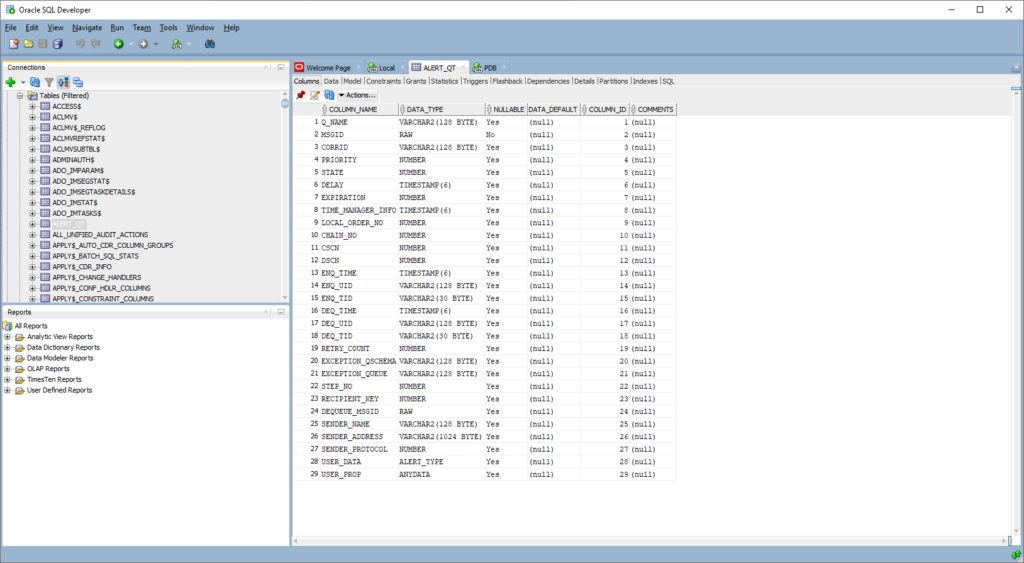
Thanks for reading this article. Please let us know what you think. Cheers.

Leave a Reply