
I am about to test the latest version of Microsoft SQL Server 2019 on my Windows Server 2019 platform. I was able to install MS SQL Server 2019 on other platform such as Ubuntu and CentOS Linux. But I have never tried to install Microsoft SQL Server 2019 on Windows Server 2019 machine. I like to test various software including the database system such as Oracle, SQL Server, PostgreSQL and MySQL Server.
Microsoft SQL Server 2019 brings a lot of improvements compared to any previous version. You can read the detailed information about this new version here. To try this new product, we can download the free trial that can be used for 180 days with all features unlocked. It’s a great deal if you want to try the SQL Server 2019 before deciding to purchase the license. I will show you every steps of the installation process.
My System Configuration
- Windows Server 2019 VM installed on Proxmox VE
- 8 GB of RAM
- 100 GB of disk space
- Remote Desktop enabled
Steps to Install Microsoft SQL Server 2019 on Windows Server 2019
Step 1. Download Installation file
Go to the following link to obtain the installation file for MS SQL Server 2019.
https://www.microsoft.com/en-us/evalcenter/evaluate-sql-server-2019?filetype=EXE
You will need to enter your details including email address to be able to download.
Step 2. Install the software
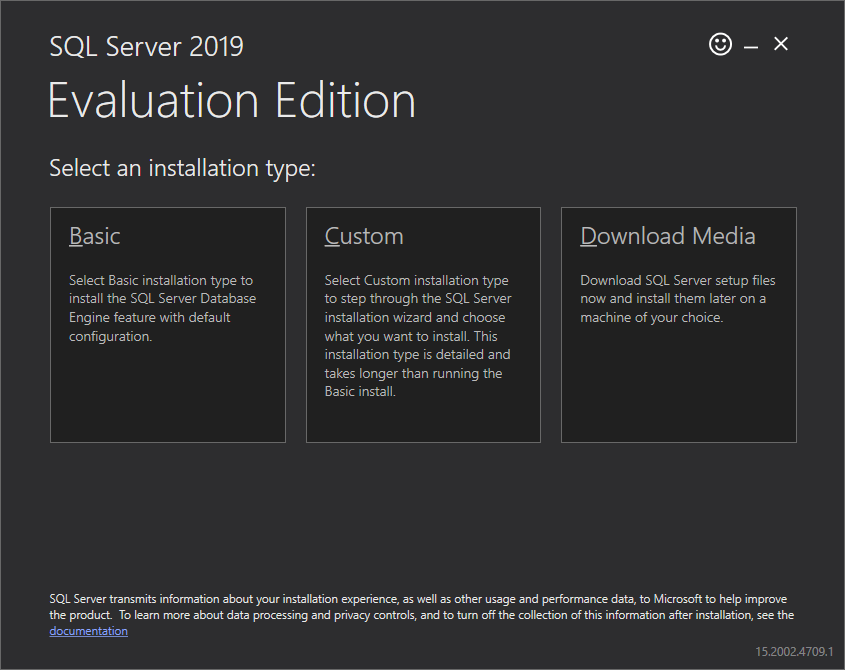
The installation is pretty straight-forward. On the first screen, we need to choose the installation type. Choose Download Media if you want to save the complete installation media for other computers/server.
Next. choose the language, format and the download location.
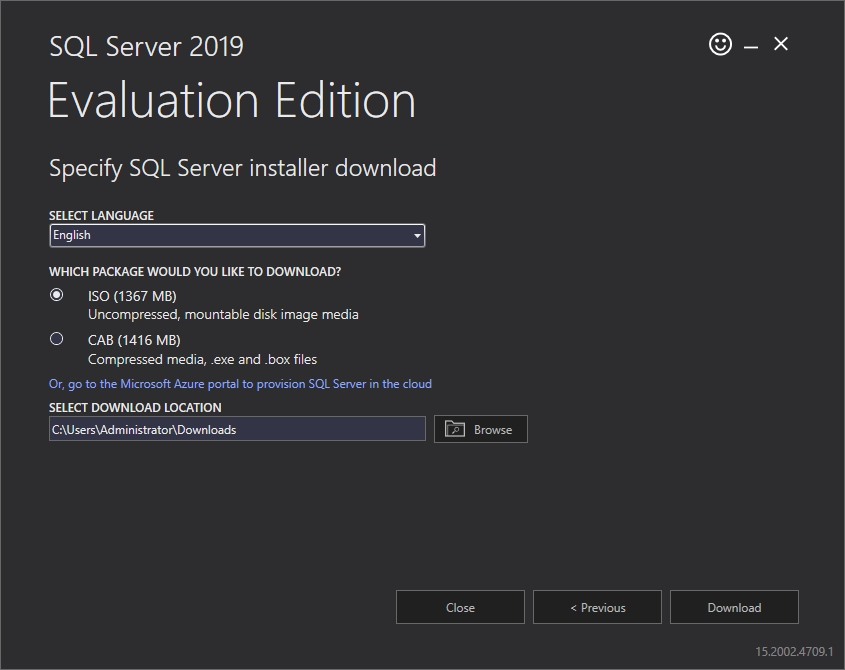
Click Download button to start the download process.

It will download 1.35 GB from the internet. Wait until the download process is completed.

Now it’s time to mount the ISO file we have just downloaded.
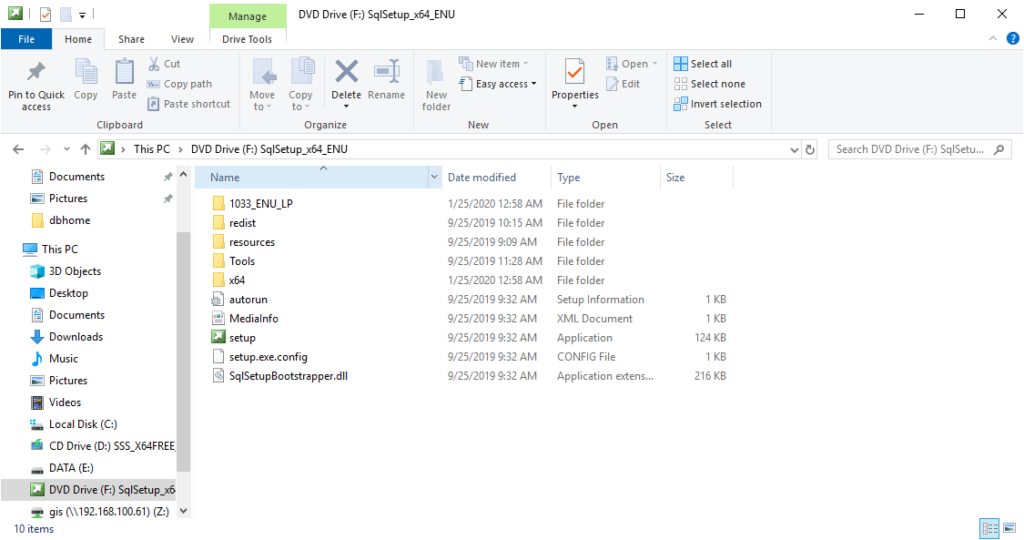
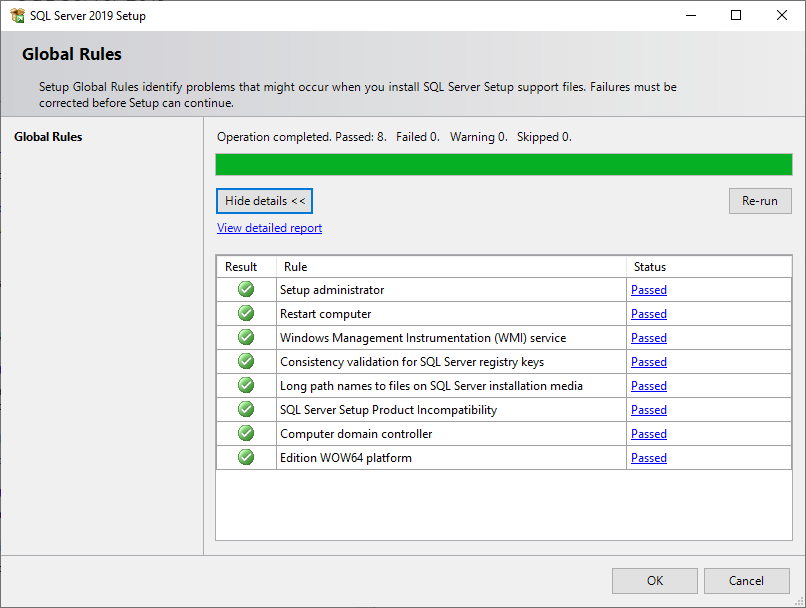
Double-click the setup file to start the installation. On the first screen, on the Planning step, click the System Configuration Checker to check our system before proceeding the installation.
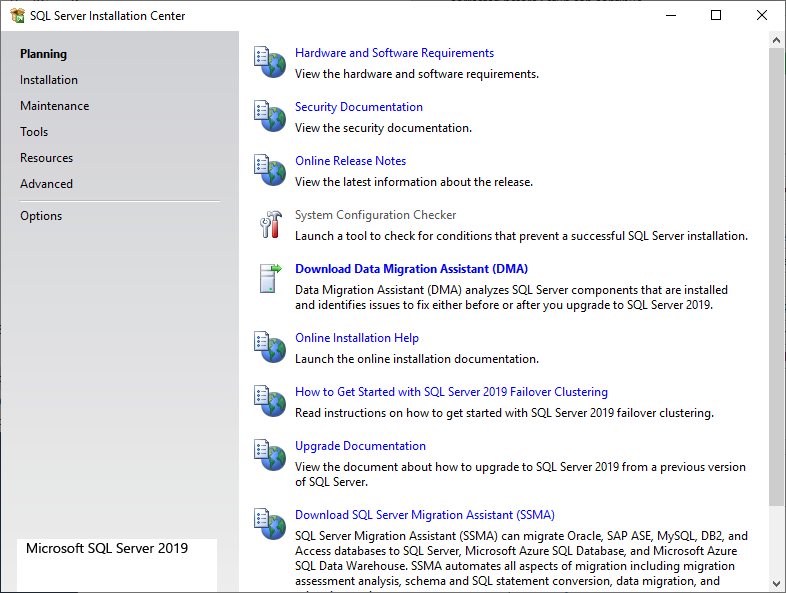
Make sure everything is passed as follow.
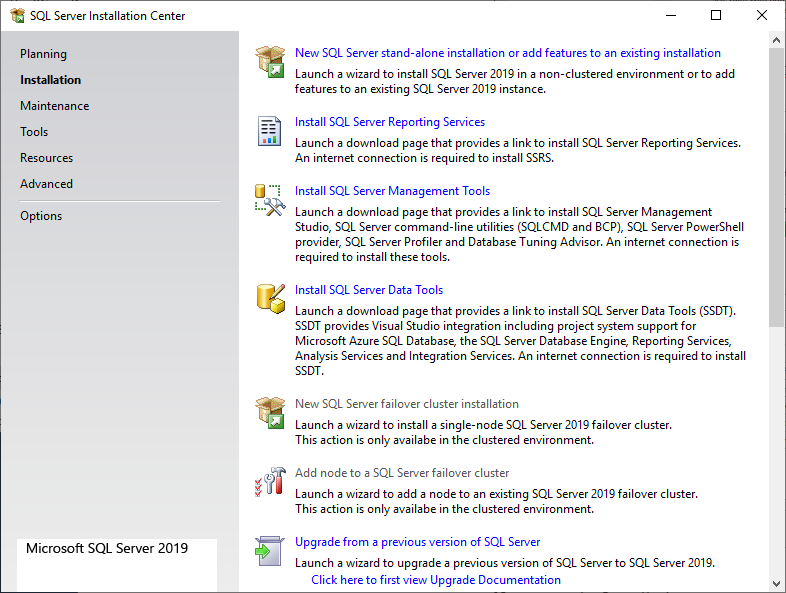
Now go to the Installation and click New SQL Server stand-alone installation…
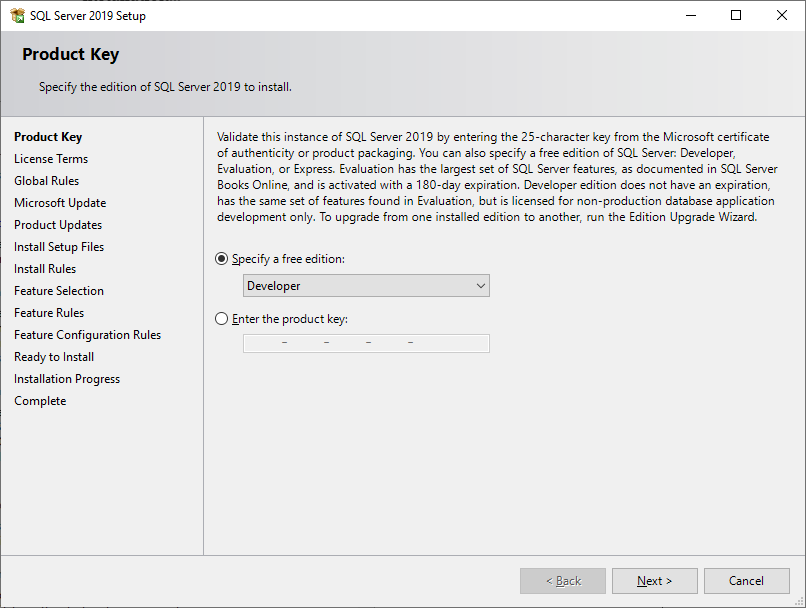
Next, select the edition or enter the license key. In this case, I choose the Developer edition which is free for personal use.
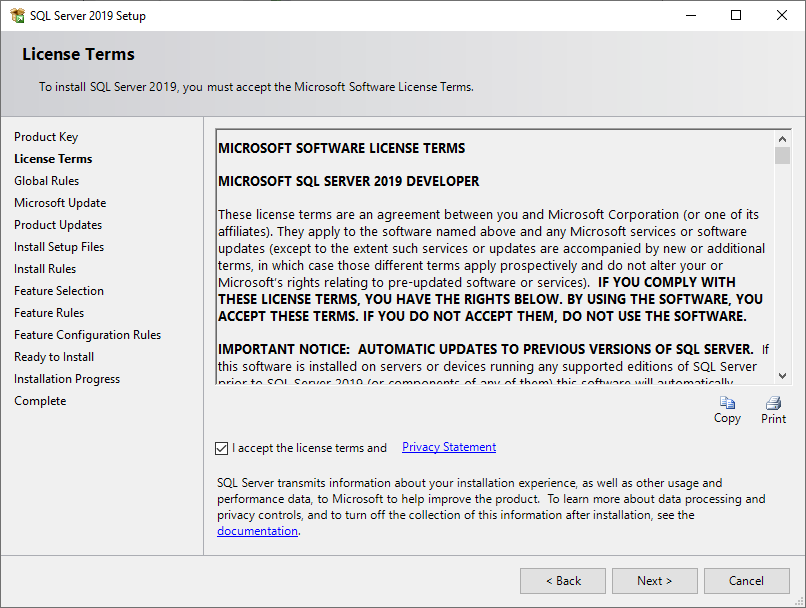
Accept the License Agreement
Next, choose to use Microsoft Update to check for any update.
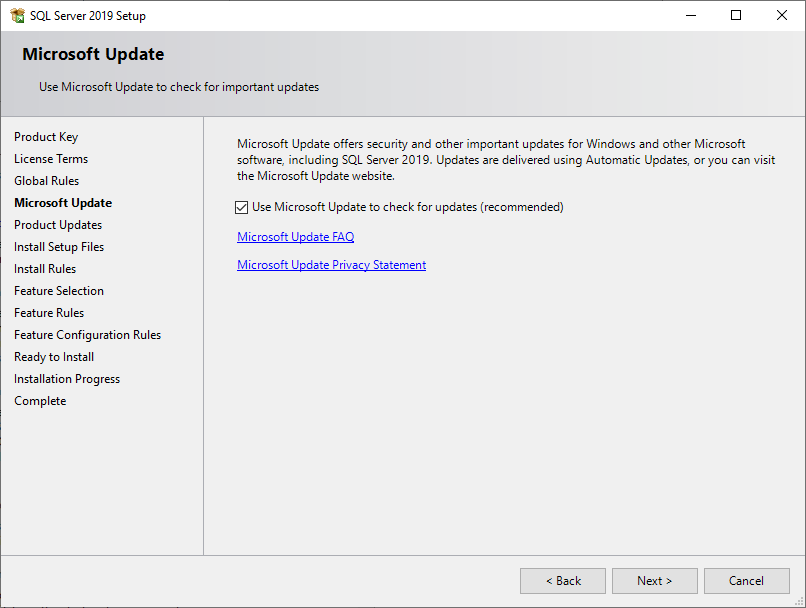
The installer then will check for any potential problems.

Next, we need to specify the features we want to install. In this case, I will only install the Database Engine Service.

Instance configuration. I leave the default value for this instance. The default instance ID is MSSQLSERVER.

Server Configuration
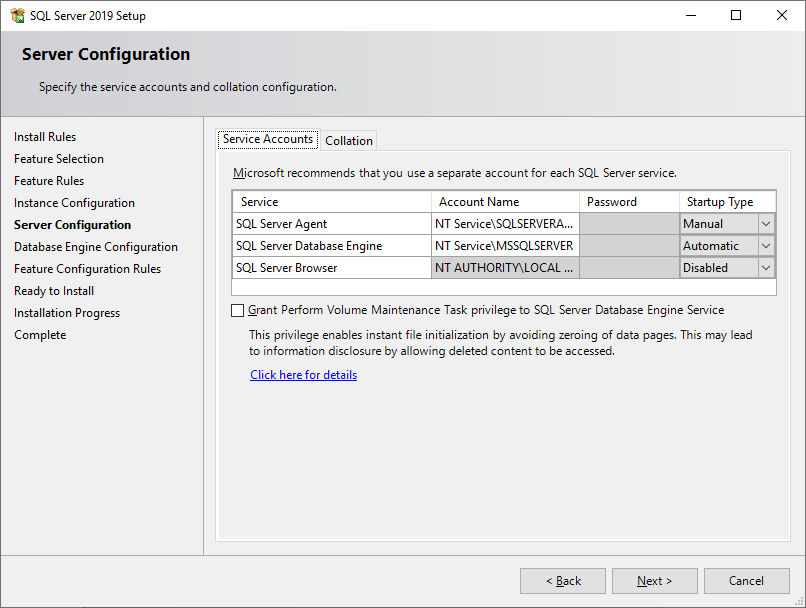
Now we need to configure the database engine. Choose the Authentication Mode. I would recommend to use Mixed mode. You can add current user if you want to use it as server administrator. Or you can create a new one.
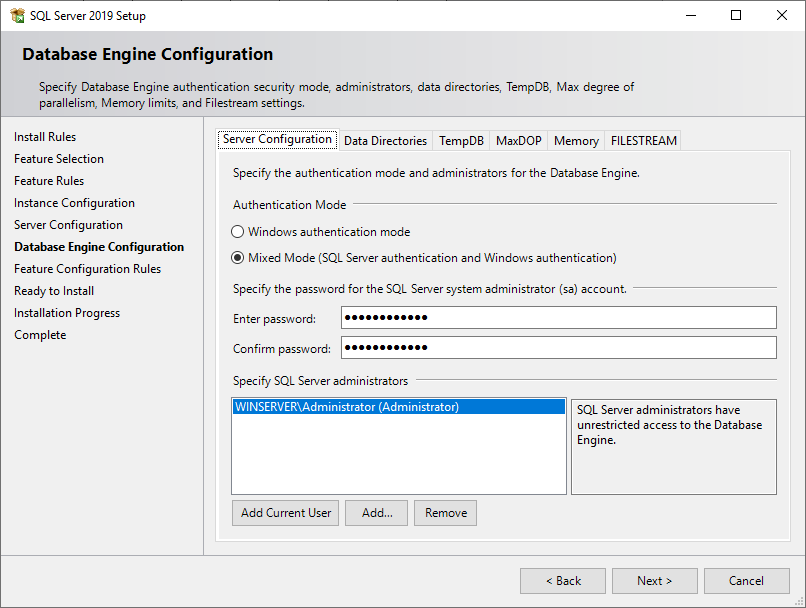
Switch to Data Directories tab to change the default location for database directories. You can leave the default value or change it as per you need.

Now lets do a final check before the installation take place.

Press Install to start the installation
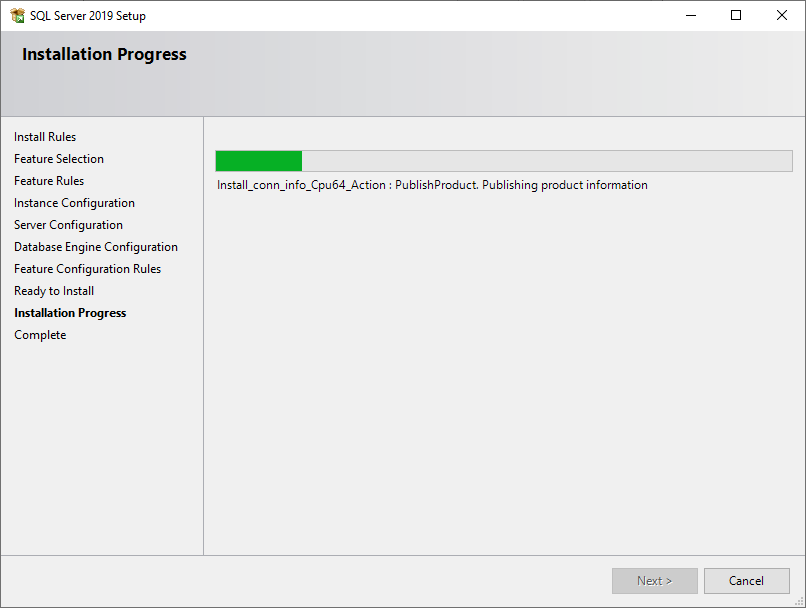
Now the installation completes. Make sure there are no errors shown on this page.
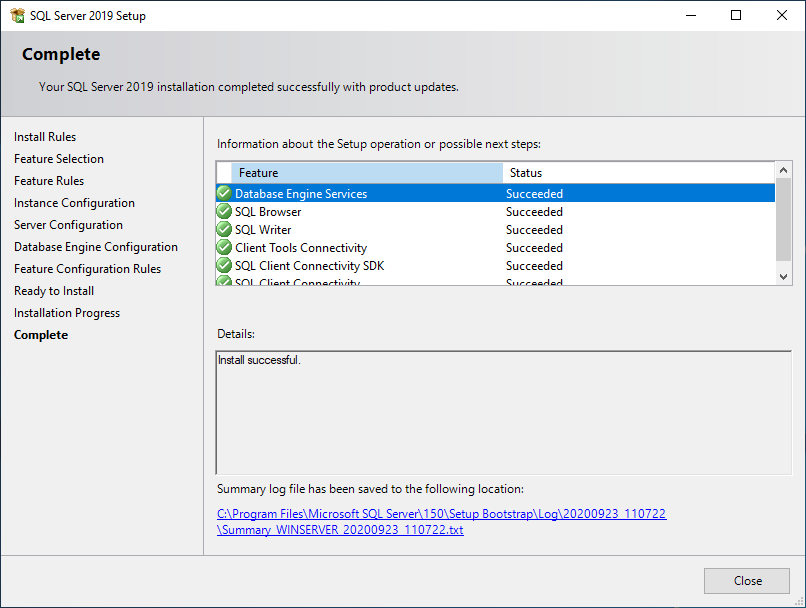
At this point, we have successfully install Microsoft SQL Server 2019 on Windows Server 2019. Optionally, you can install the SQL Server Management Tools from the SQL Server Installation Server. Or, download it from the link below
Enable Network/Remote Access for SQL Server 2019
If you are planning to access the SQL Server across your network, we may need to configure few things.
A. Enable TCP/IP Protocol Service
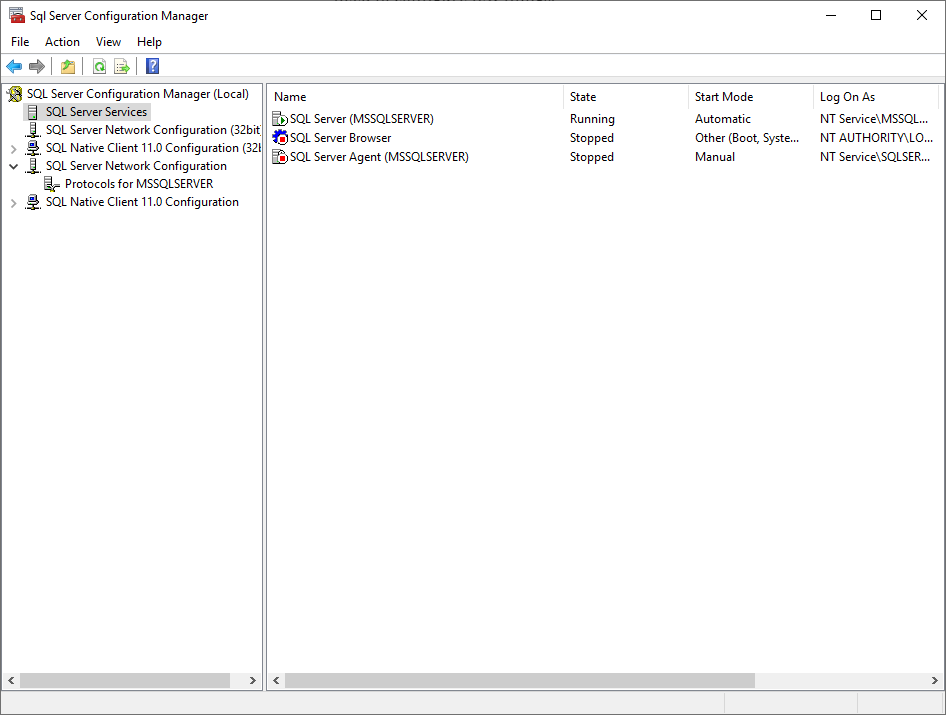
Open the SQL Server Configuration Manager and then go to SQL Server Network Configuration. Click the Protocols for MSSQLSERVER (this service name might be different with yours).

By default, the TCP/IP protocol is disabled. You need to enable it manually. And then we need to restart the SQL Server Service.
B. Configure Windows Firewall for SQL Server
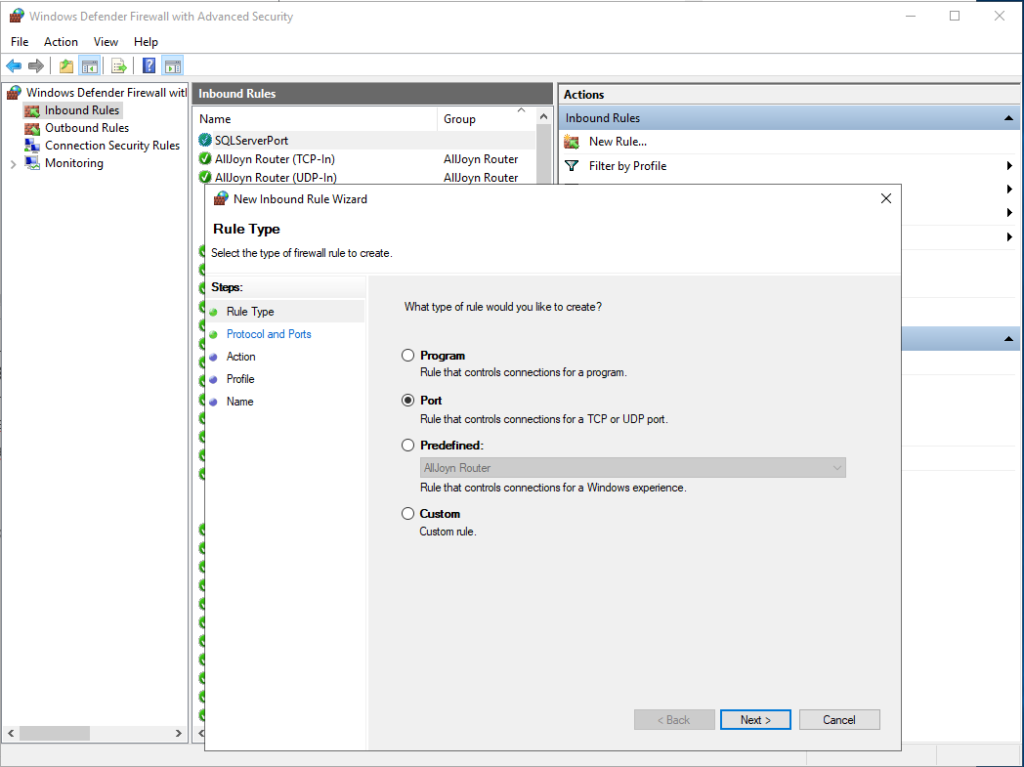
In most cases, we need to configure the firewall to allow the network users access our SQL Server. So, we need to add a new rule to the Windows Firewall. Click Inbound Rules and then New Rule. Choose Port and click Next.
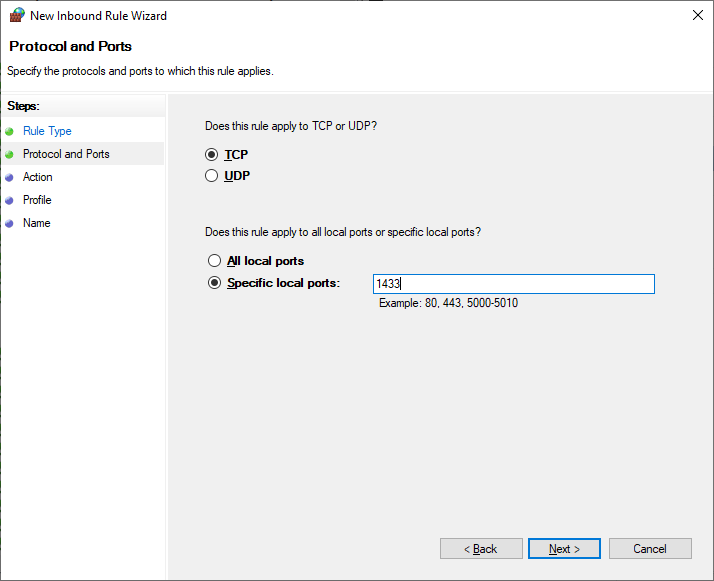
Now type the SQL Server TCP port. The default value is 1433.
On the next page, select allow connection

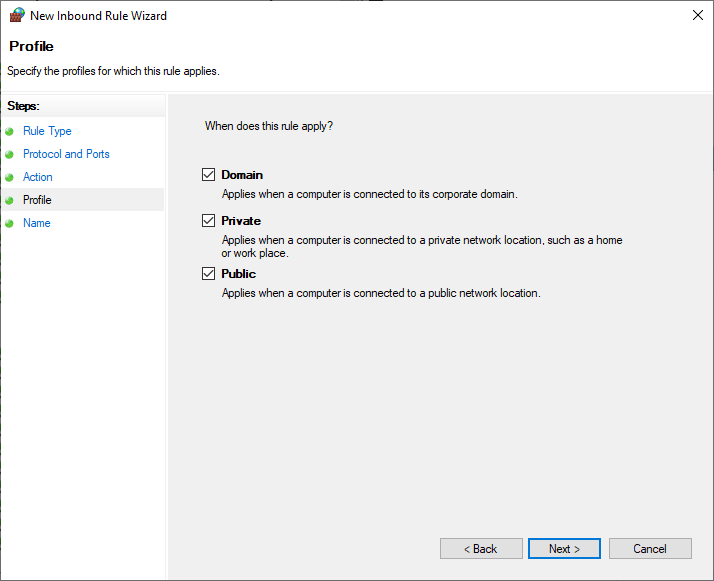
Finally save it and you can now connect to the SQL Server from the network.

Leave a Reply