

In this article, we will learn how to install Oracle 19c on Windows 10 Pro. In my previous article, we have learned how to install Oracle 19c on Windows Server 2019. Oracle 19c supports various operating systems including Windows. But please note that not all Windows versions are supported. If you are new to Oracle database installation, please read this article carefully. I will try to explain every steps as clear as possible but if you have any issues, please leave us comments and we will try to help as best as we can.
System Requirements
If you are planning to install Oracle 19c on Windows 10 Pro, then your system must meet the following requirements:
- Minimum 2GB free RAM.
- 10GB of empty space on Hard Disk Drive
- A process that supports Intel EM64T or AMD64 architecture.
- Display card with a minimum resolution of 1024×768 pixels.
- 16 GB SWAP (virtual memory) space if RAM is more than 16 GB.
When all those requirements are met, then we can continue to the next step.
Step by step Install Oracle 19c on Windows 10 Professional
Step 1. Download Oracle 19c
To be able to download Oracle 19c software, you will need an Oracle account. You can create if for free. And then go to the following link to download Oracle 19c for Windows.
https://www.oracle.com/technetwork/database/enterprise-edition/downloads/index.html
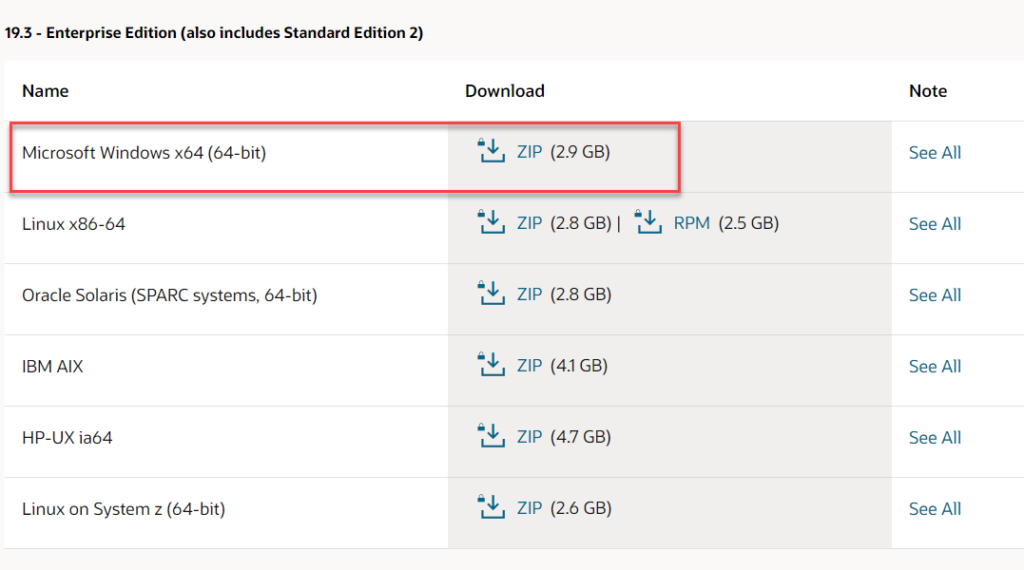
When this this article is written, the latest version of Oracle 19c is version 19.3. Click the link to download the zip file containing the software for Oracle 19c installation.
Step 2. Prepare the Installation
In this lesson, I will put the Oracle 19c installation files in C:/db_home. So, I will need to create a new folder called db_home in my C drive. And then extract the zip file downloaded from step 1 to this db_home folder. Now the folder should look like this

Step 3. Install Oracle 19c on Windows 10 Pro
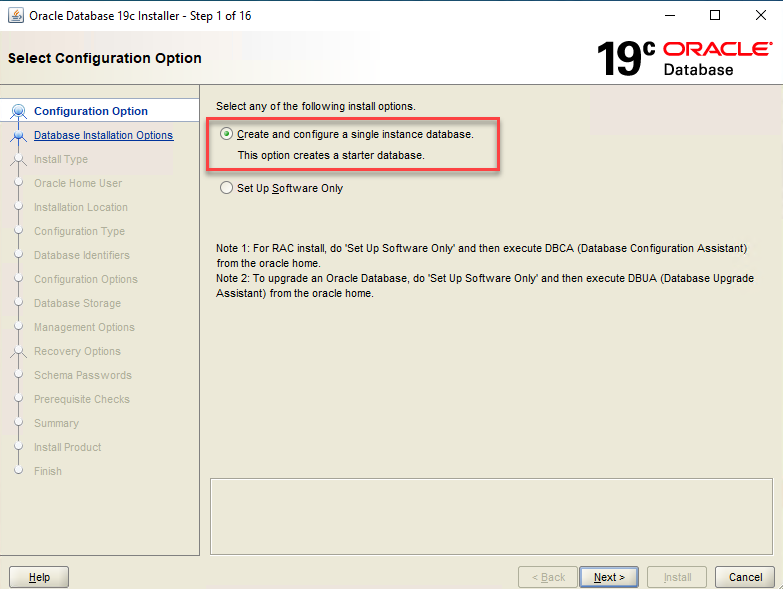
To start the installation, double-click the Setup file. The Oracle installation window will open up. Make sure you are login with administrative permission. On the first step, click and choose the first option to create and configure a single instance database.
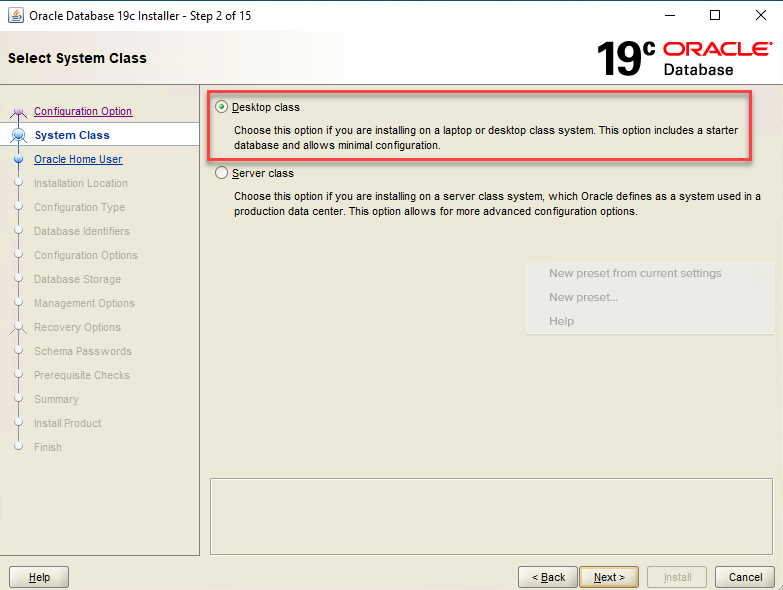
Hit Next to continue. Choose Desktop Class.
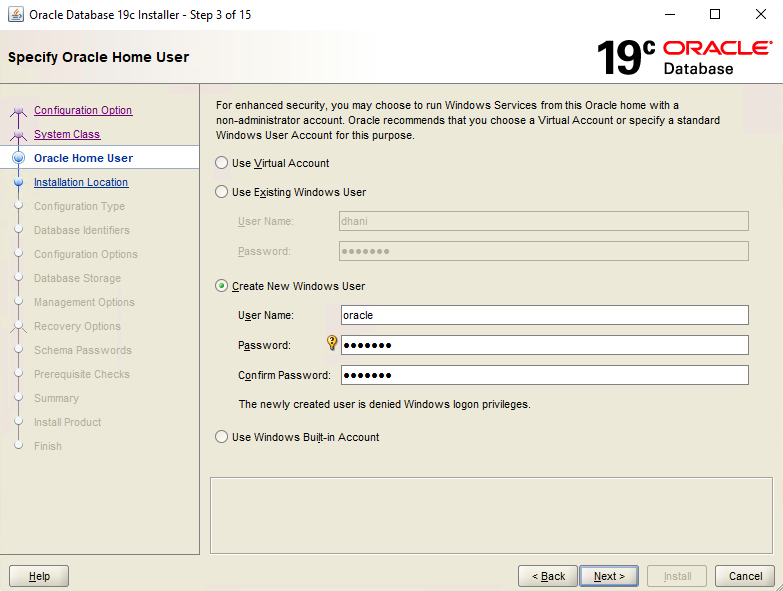
In the next step, we need to configure the user account. There are several options available. Depends on how you want to run Oracle in your environment, you can choose to create a new Virtual account, use an existing user or create a new one. In this example, I use will create a new Windows user called “oracle“
Next, we need to configure the database. On the Oracle base, click the drop-down list and choose the entry from there. When you change the Oracle base value, the Database file location will automatically be adjusted. Database Edition: Enterprise Edition. And then create a new password. I leave the default values on the rest.

Click Next and then the installer will check your system. In a few moment, you will see the installation summary.
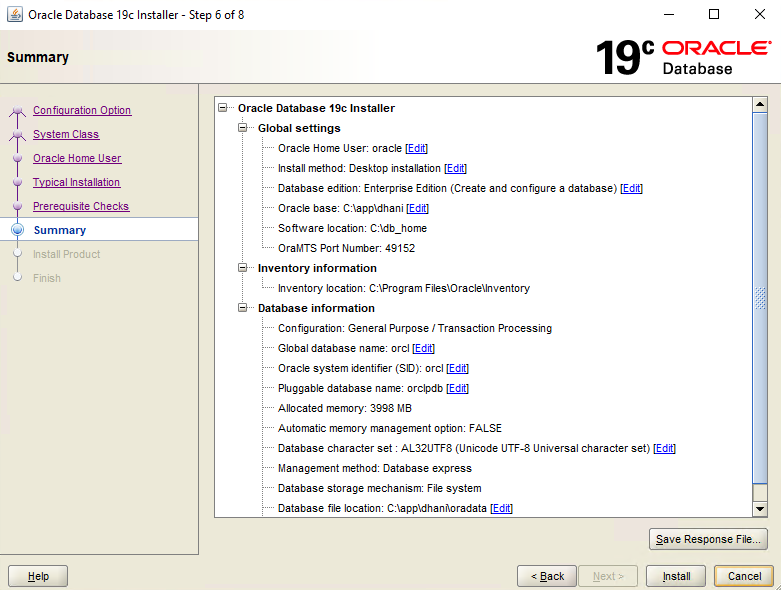
Click Install and the installation process will begin

Wait until the installation process completes. It will take some time to complete, so be patient.
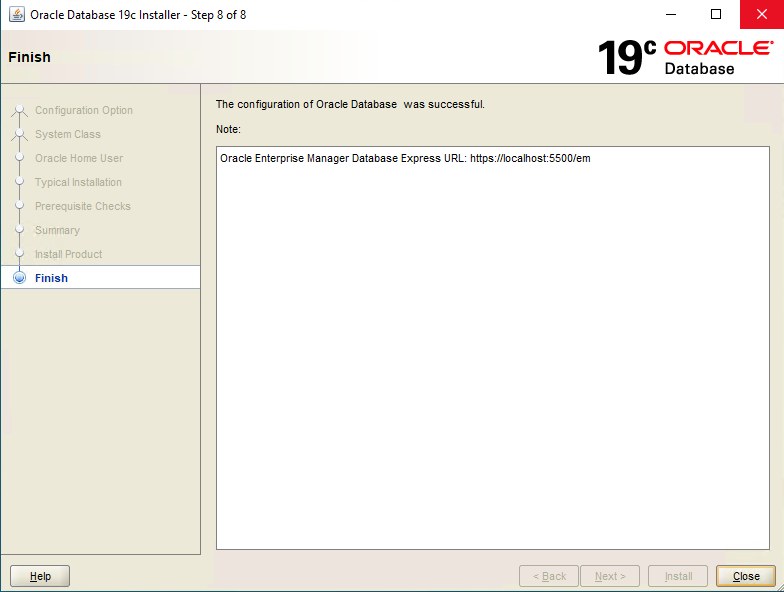
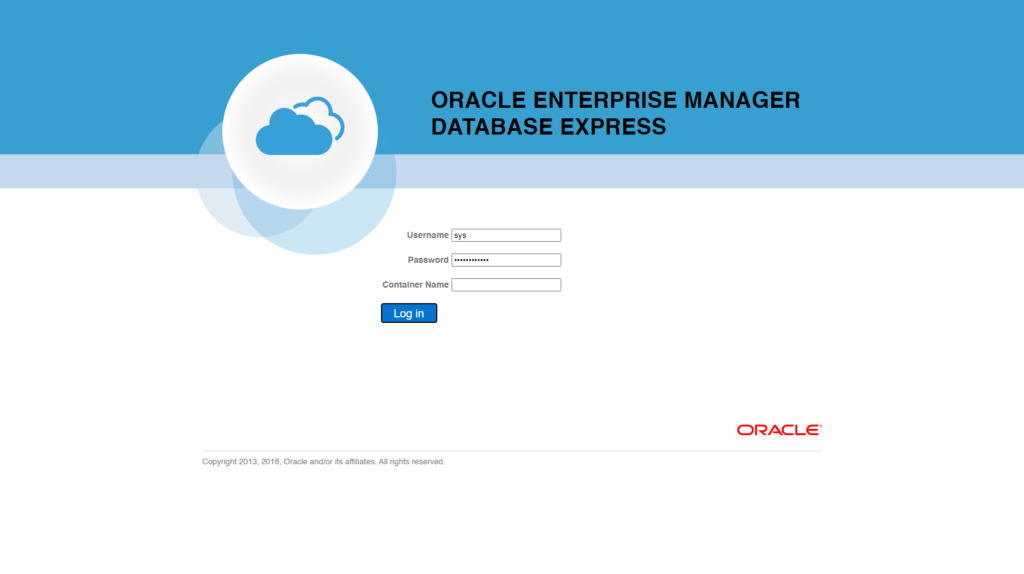
Now you can access the Oracle Enterprise Manager Database Express using the address shown above which is https://localhost:5500/em.
- User: sys
- Password: Use the password you created during the Oracle installation
- Container name: Leave blank
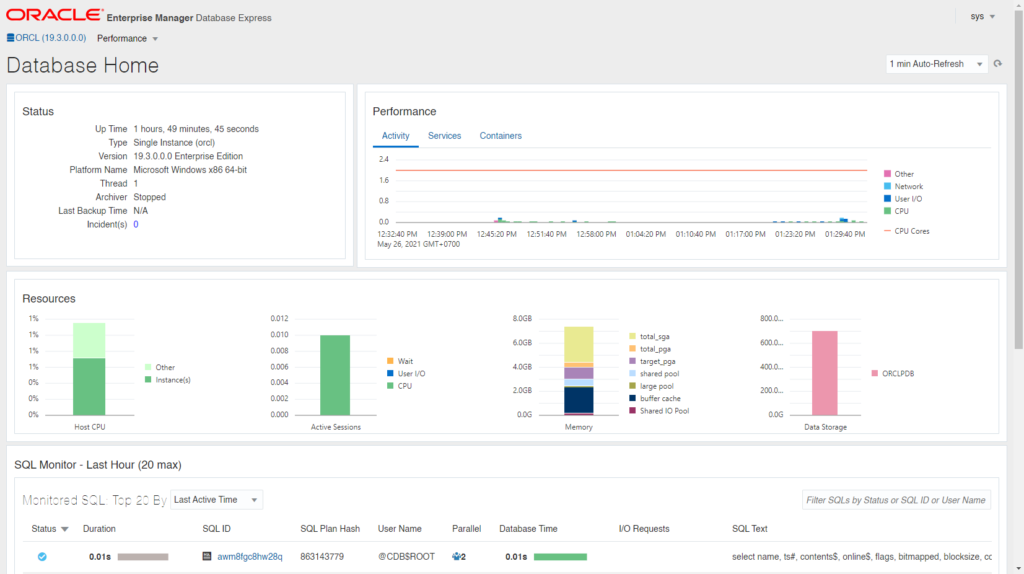
At this point we have successfully installed the Oracle Database 19c on Windows 10 Pro. Please stay tuned because I will post some article related to Oracle 19c for Beginners.
Leave a Reply