

As a database administrator, I need a reliable tool to manage my databases. MySQL Workbench is one of my favorite software to manage my MySQL Server. It is free, multi-platform and very stable. Well, it’s not as good as Navicat Premium but at least I can use it for some basic administrative tasks. Today, I want to try to install MySQL Workbench on Elementary OS Juno. I just switched to Elementary OS Juno and I want to share my experience with you.
Steps to Install MySQL Workbench on Elementary OS Juno
Step 1. Download the DEB installation file
First of all, you will need to download the MySQL Workbench installation file for Ubuntu (DEB) from this link. Save the file in your download directory. You should have a file called: mysql-workbench-community_8.0.13-1ubuntu18.04_amd64.deb.
Step 2. Install the Package
Open Terminal and cd to your download directory where you save the file. In this example, I save the file under my Downloads directory.
cd ~\Downloads
sudo dpkg -i mysql-workbench-community_8.0.13-1ubuntu18.04_amd64.deb
In case of dependency error, continue with this command
sudo apt-get -f install
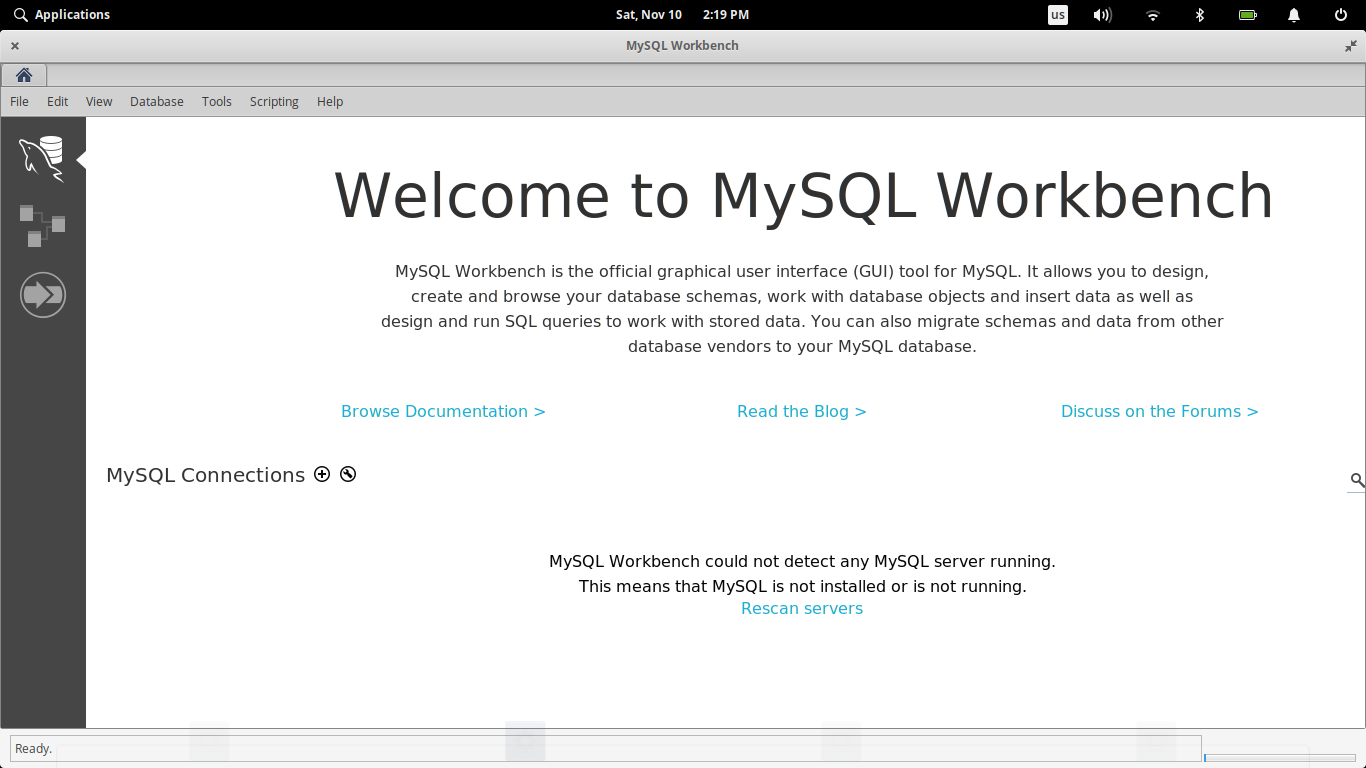
In a moment, MySQL Workbench should be ready.
Connect MySQL Workbench to The MySQL Server. Click the + symbol and it will open a new window to setup a new connection. Enter your MySQL Server details here.

You can connect to a local or remote MySQL server using Workbench.
Leave a Reply