

It’s been a while not playing with Docker. My article on how to install Docker on Manjaro got a very good response so far. Docker is a great piece of software that helps people like me to try and build a powerful applications or server at no time. Even Docker is not for everyone, but with some practice, you can easily understand and run your own Docker. In this article, we will show you how to install Docker on Ubuntu 19.04.
Docker community edition supports Ubuntu 19.04. It runs very well on my computer running Ubuntu 19.04. Before you install the latest Docker on Ubuntu, you will need to remove any previous version on your system.
Steps to Install Docker on Ubuntu 19.04
Step 1. Initial Setup
Before we setup the Docker repository, we need to make sure our system is up to date.
sudo apt update
Now execute this command to allow apt to use the https
sudo apt-get install \
apt-transport-https \
ca-certificates \
curl \
gnupg-agent \
software-properties-common
Step 2. Add Docker GPG Key
curl -fsSL https://download.docker.com/linux/ubuntu/gpg | sudo apt-key add –
Step 3. Setup the Repository
Now use this command to setup the Docker repository on Ubuntu 19.04.
sudo add-apt-repository \
“deb [arch=amd64] https://download.docker.com/linux/ubuntu \
$(lsb_release -cs) \
stable”
Step 4. Install Docker Engine
Finally, this command will install Docker engine on your system
sudo apt-get install docker-ce docker-ce-cli containerd.io
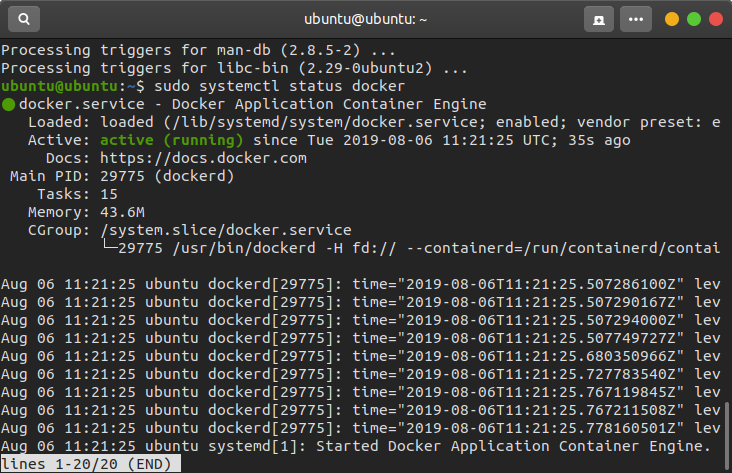
Once the installation completes, check the status of the Docker service with this command:
sudo systemctl status docker
If the Docker service is running you should see something like this
To test, run the following command
sudo docker run hello-world
Thanks for reading this article and see you on the next tutorial.
Leave a Reply