

There are numerous ways to create a macOS Catalina USB bootable disk. If you have a Mac, you can follow this guide to create your USB bootable disk that can be used to install a Hackintosh. But, in case you don’t have a Mac, you can use Windows 10 to create an installation disk for Hackintosh. In this article, I will guide you on how to create the macOS Catalina installation USB disk from a Windows 10 machine.
What you need
To accomplish this task, you will need the following
- 8 GB USB flash disk
- Internet connection
- gibmacOS software
- Python software
Step by step to create macOS installation USB disk on Windows 10
Step 1. Install Python
the gibmacOS requires Python to work. So, first thing first, make sure you have Python installed on your Windows 10. And also make sure it’s correctly set up in the Windows environment variables.

Also, make sure you check the installed version using command line and use this command
python --version
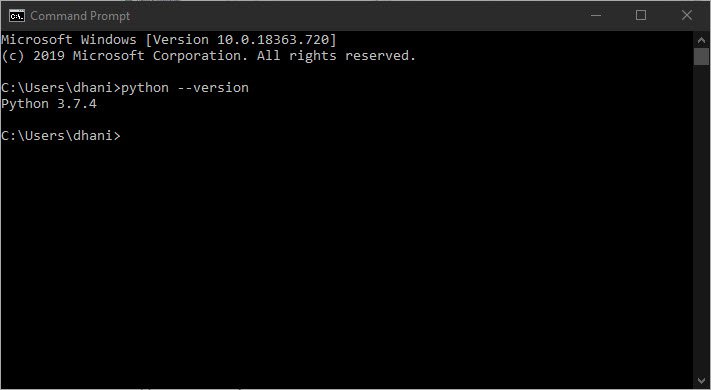
Once Python is installed and configured correctly, now move to the next step.
Step 2. Download macOS installer using gibmacOS
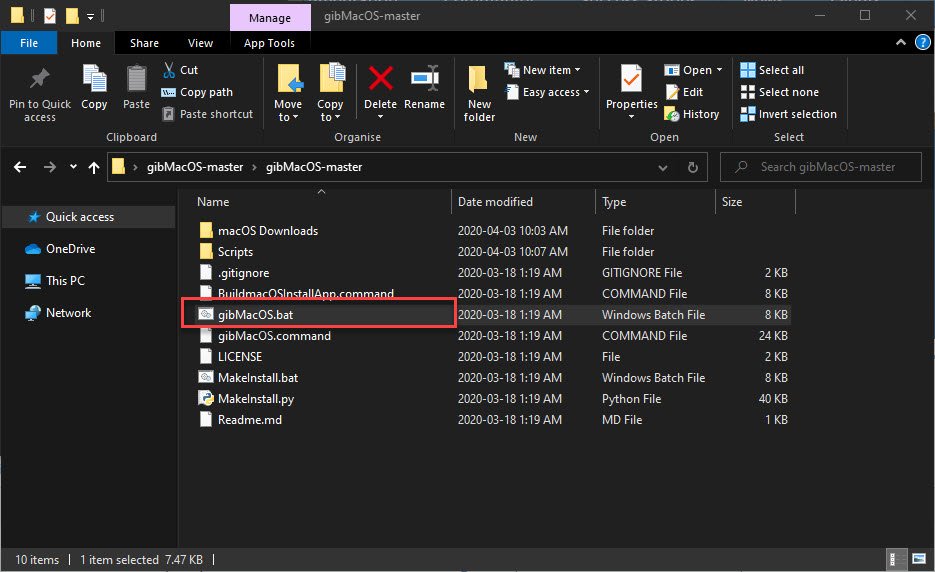
After you download gibmacOS, extract it and you will see the following files inside. Right-click the gibMacOS.bat and choose Run as Administrator.
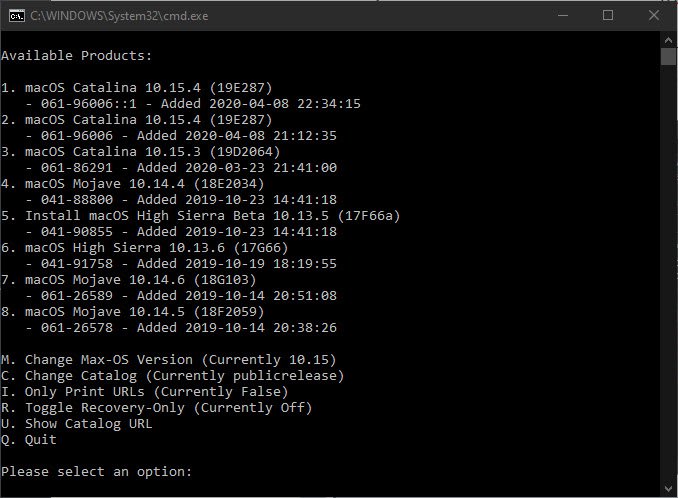
The command line window will appear. Type R and then press Enter to enable the Recovery option only.
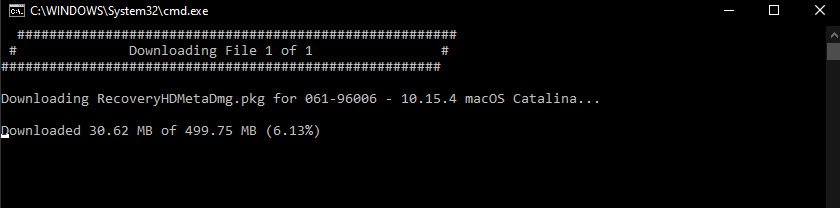
Now we are going to choose the macOS Catalina Full Install from the list. In this case, I choose number 5.
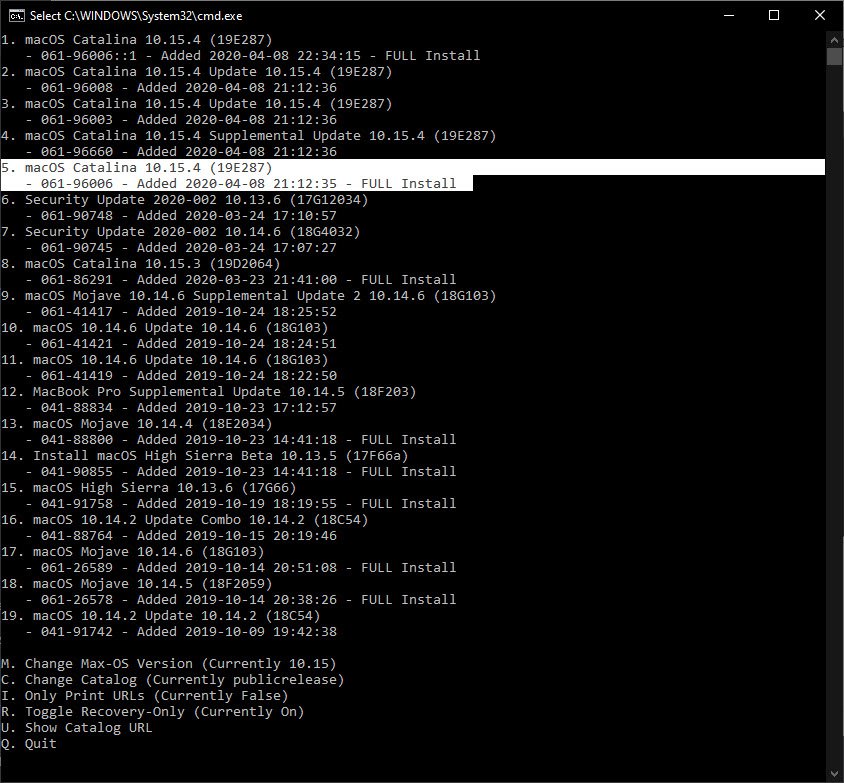
To proceed, simply type 5 and then press Enter. This will download the macOS Catalina 10.15.4 to the gibMacOS folder.
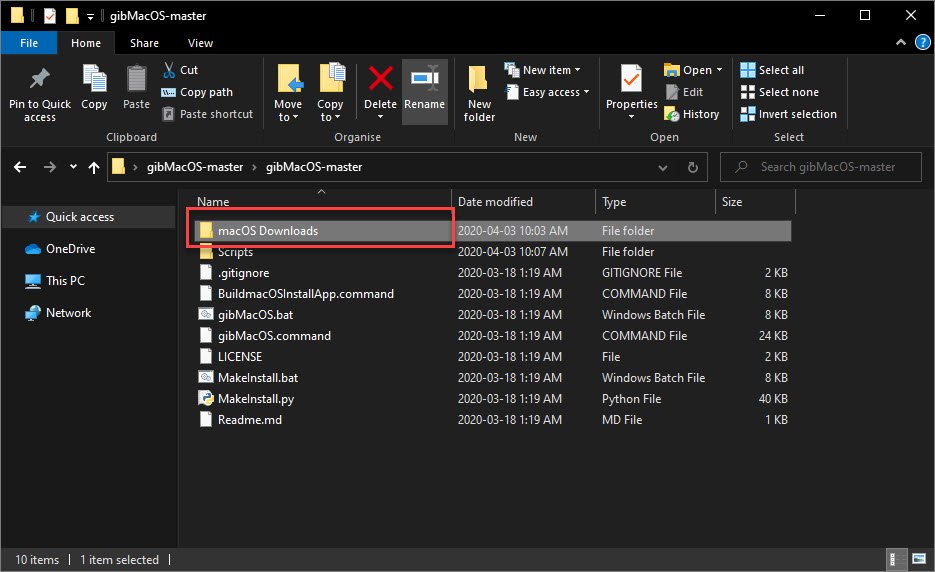
After the download process is completed, you will see new folder called macOS Download under the gibMacOS folder
OK so the second step of this project is completed. Now let’s continue to the next step.
Step 3. Create the USB installation disk
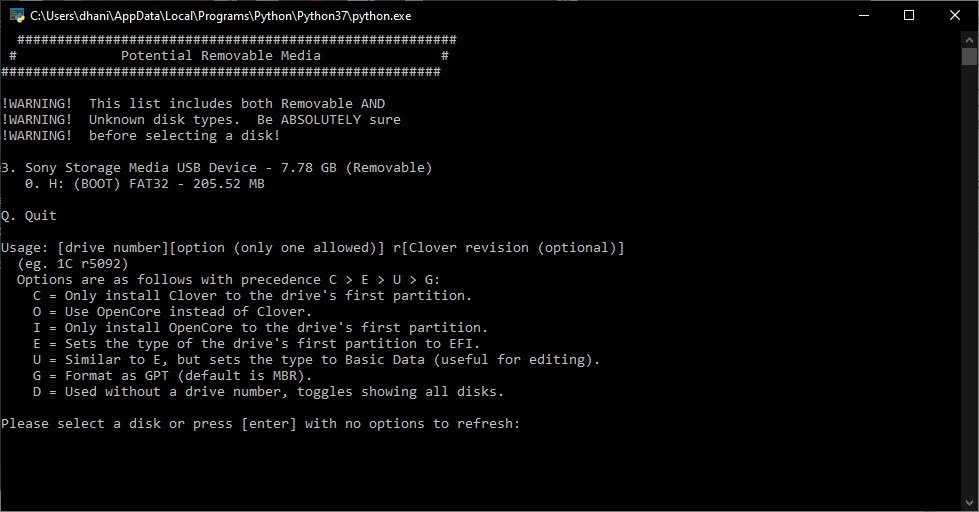
Plug your USB drive to one of your USB ports. And then open the gibMacOS folder once again. Now, right-click the file “MakeInstall.bat” and choose Run as Administrator.
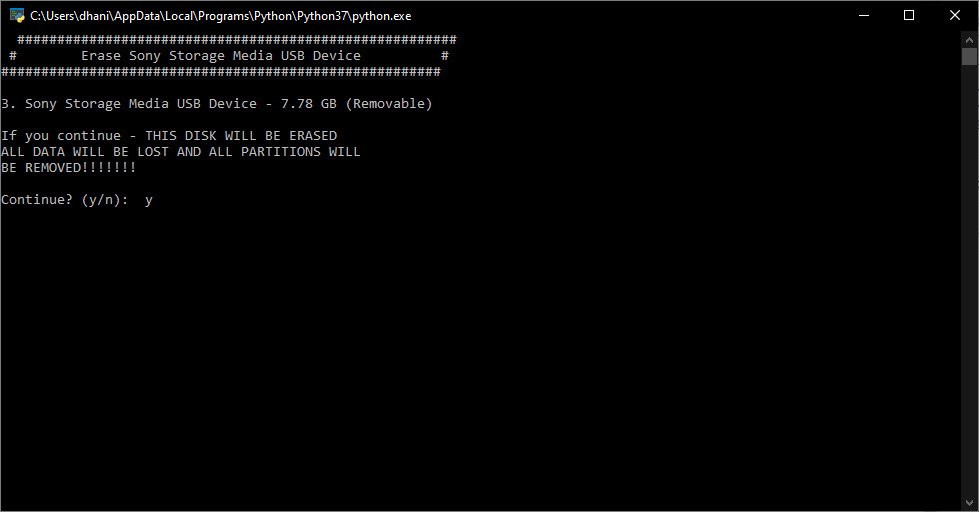
In the following window, make sure you see your USB drive. In this case, my Sony USB drive is shown with a number 3.
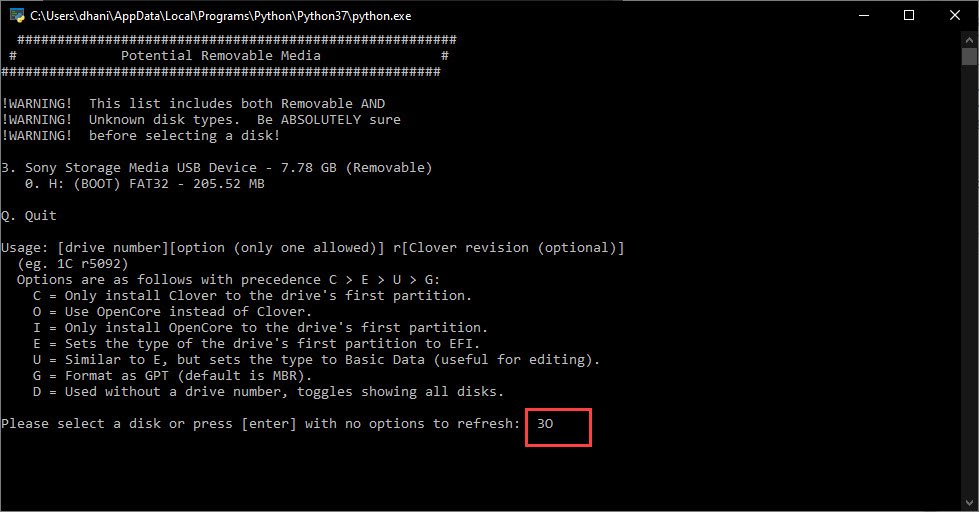
Now type 3O. This is letter O, not zero. Don’t forget to change the number based on your USB drive number shown on the makeinstall window. This will also install OpenCore on the USB drive.
Now confirm it by typing Y and press enter
Next, we need to provide the path for the macOS recovery file we downloaded on step 1.
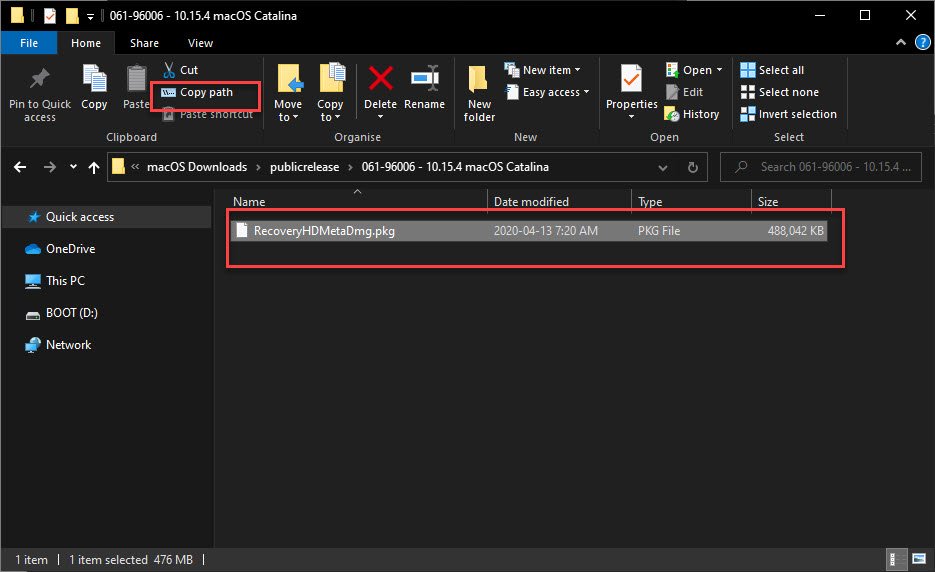
Click Copy path as shown above and then paste in the command line
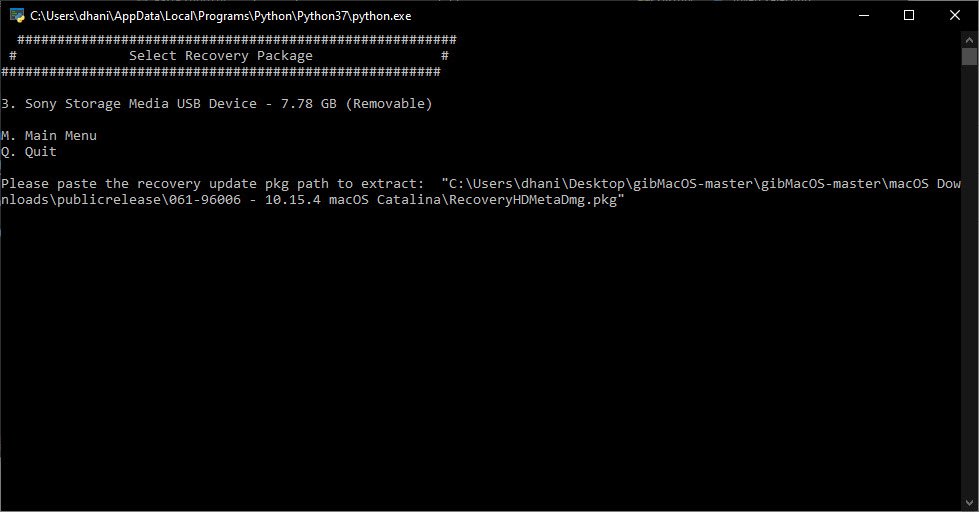
Press Enter and then it will start copying files to our USB drive. This process will take some times. Wait until the process is completed.
After this process completes, you are ready to configure the EFI folder. I hope I can show you some examples of how to configure the EFI using Open core.
Leave a Reply