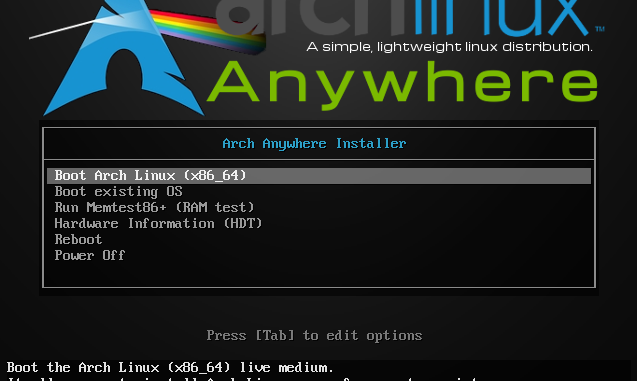
Please follow my previous part of Arch Linux Installation Guide in Easy Way Part 1. This post is the second part of the tutorial.
Select Type of system you wish to install. If you are unsure, select the first one or the second one (Base or Base-Devel).
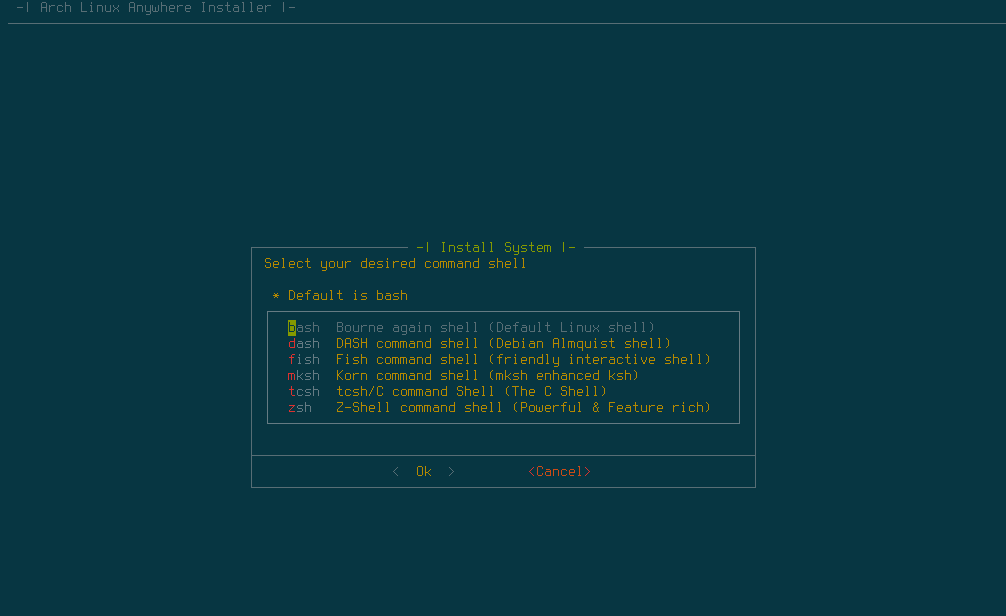
Select the command line. Bash is the default value.
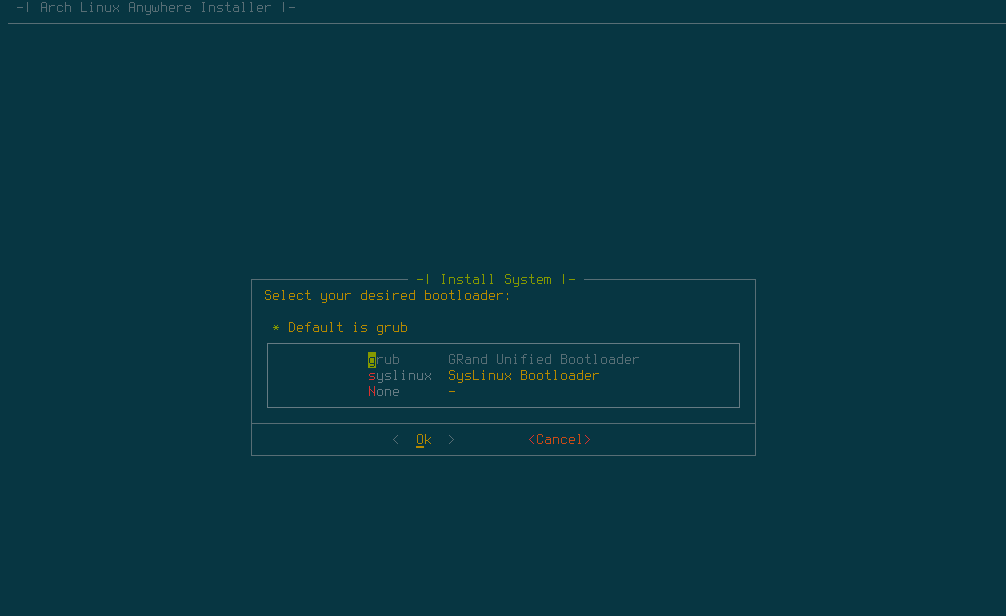
Select the boot loader
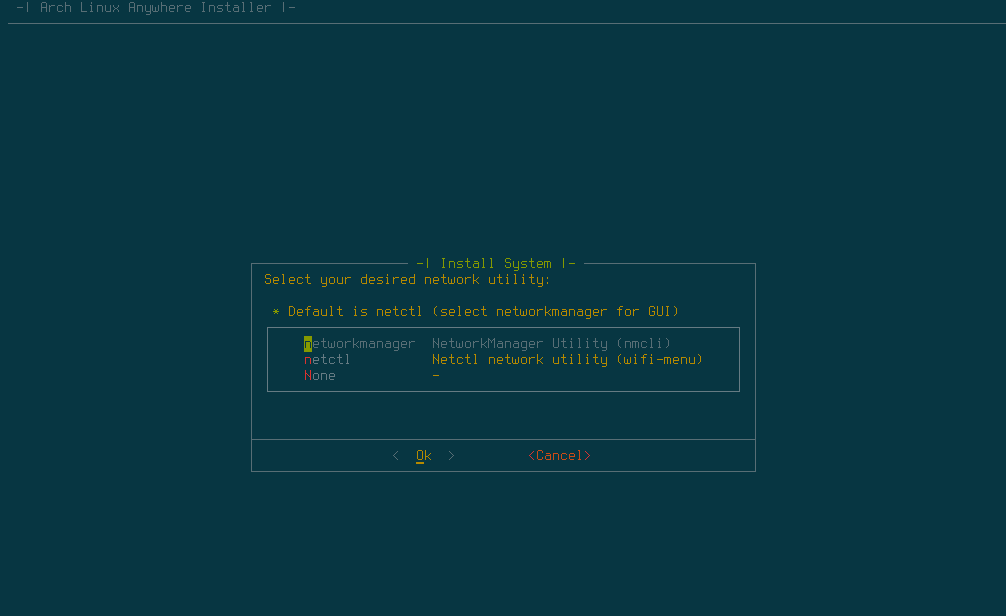
Select the network utility
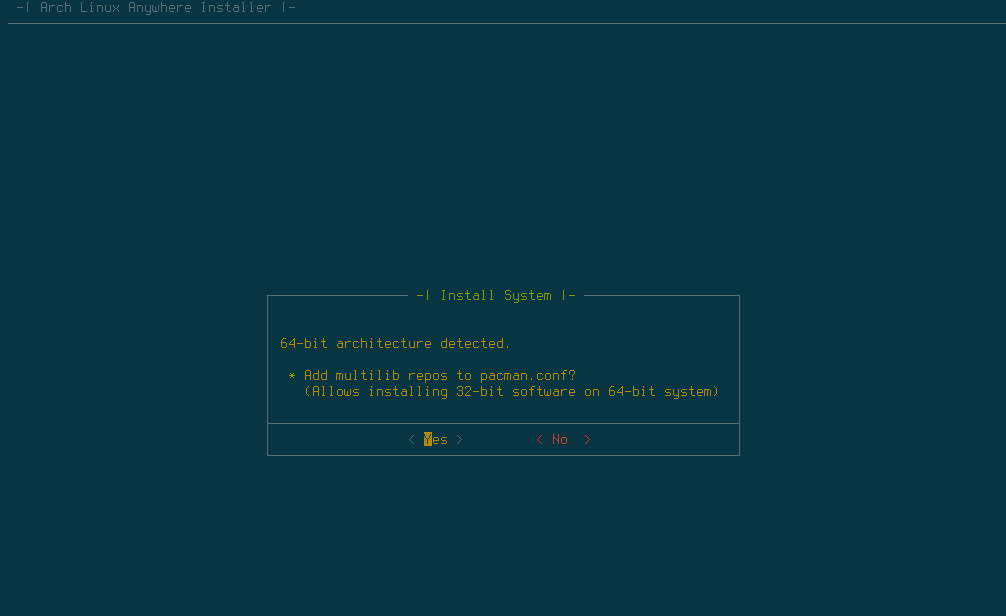
64 bit architecture option
DHCP Support. Enable this if you have DHCP server on your network. Arch Linux will get IP address from the DHCP server.

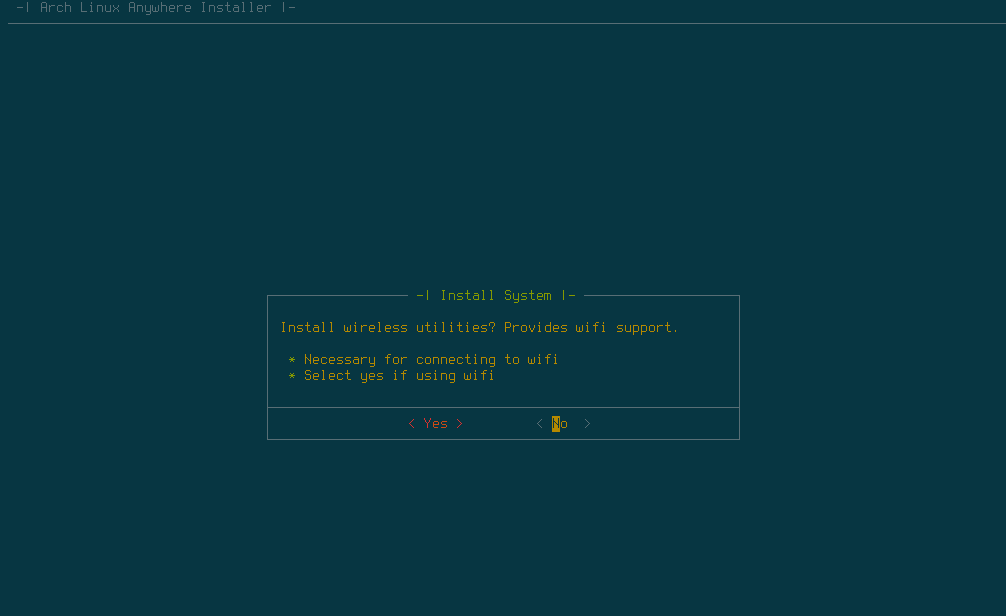
Select to install Wireless device (WiFi) support.
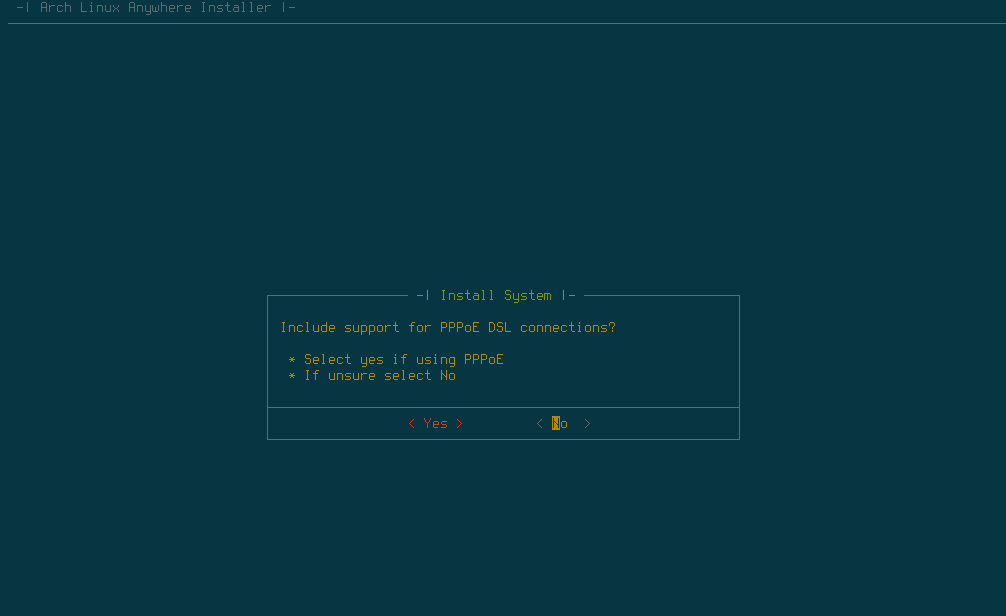
If you have a DSL modem connected, you can configure it here.
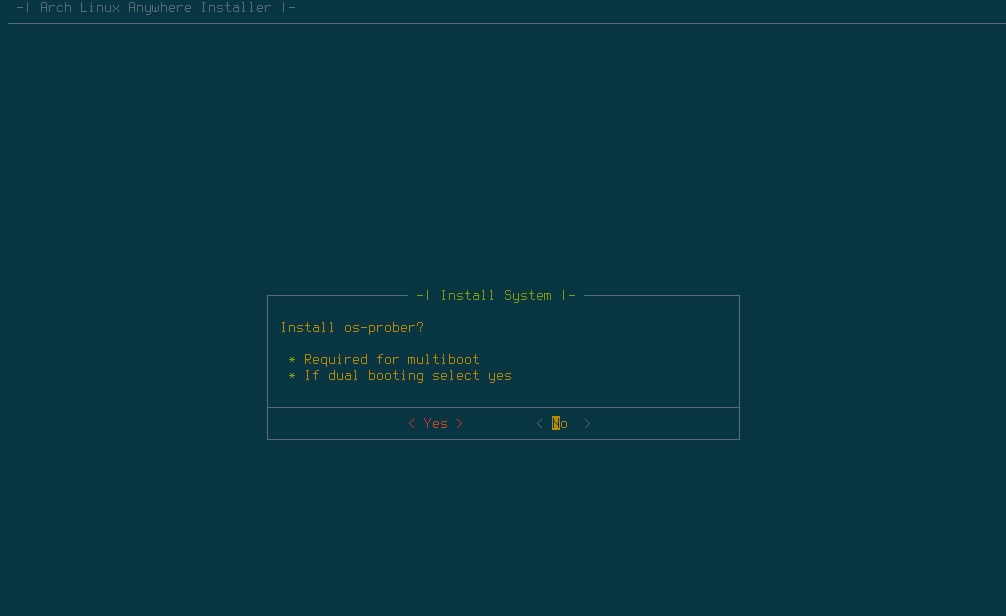
Configure the multiboot. If you have existing OS, it will be probed by the Arch Linux so you can dual boot them.
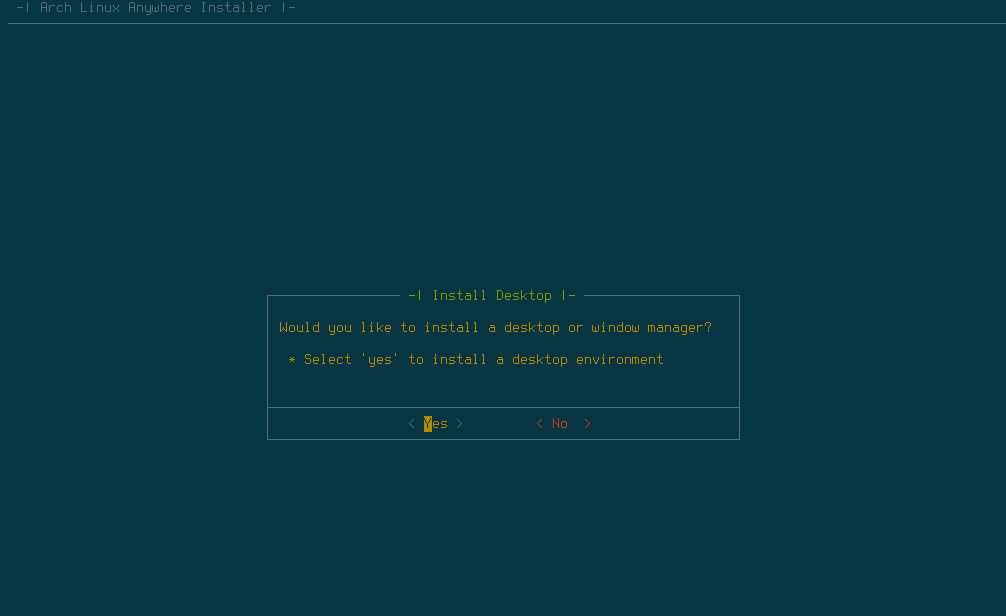
On this step, select Yes if you want to install Desktop Environment.
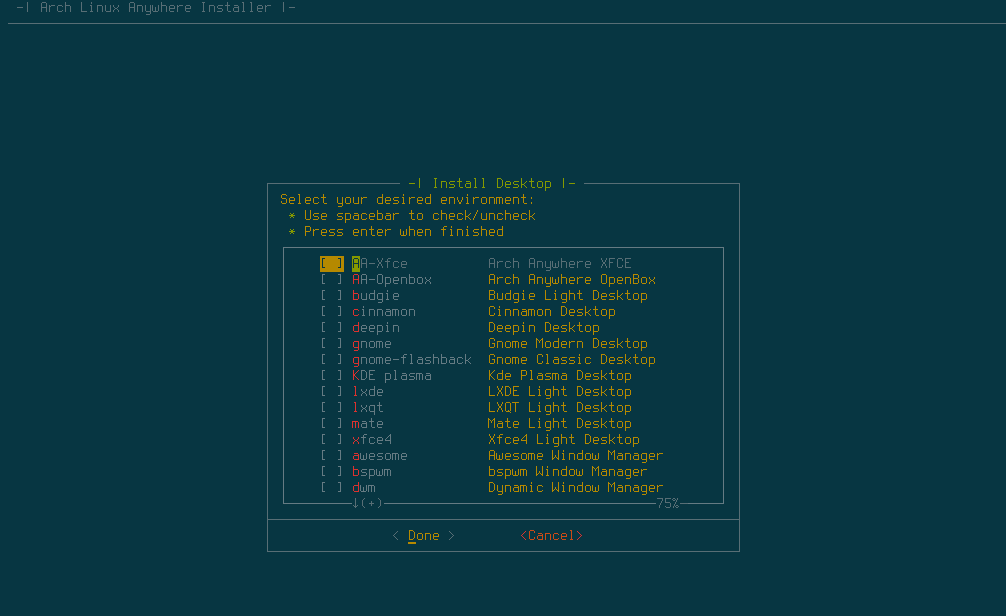
You can select from the available Desktop environment list
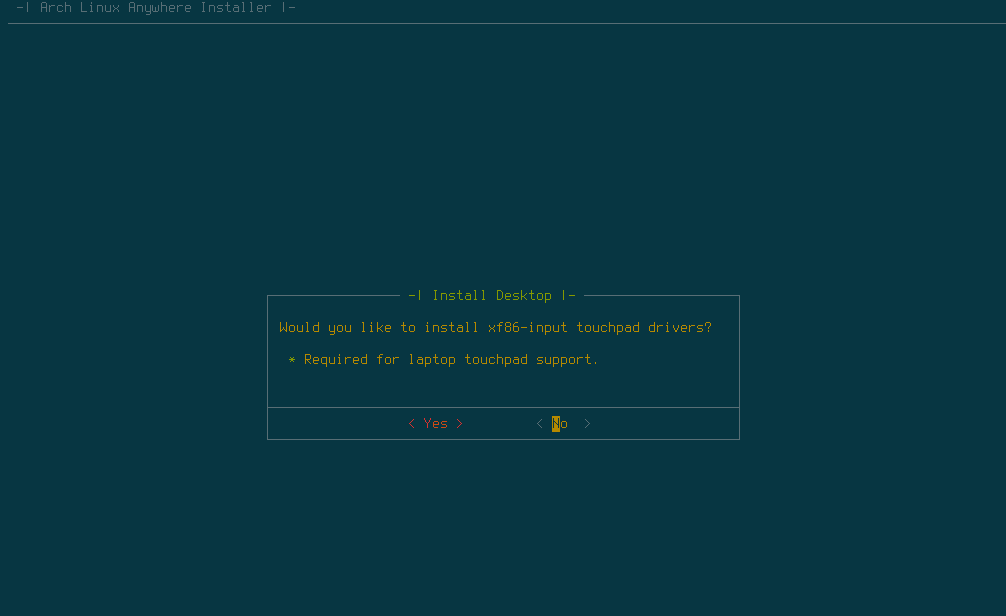
Touchpad driver
Display Manager Installation
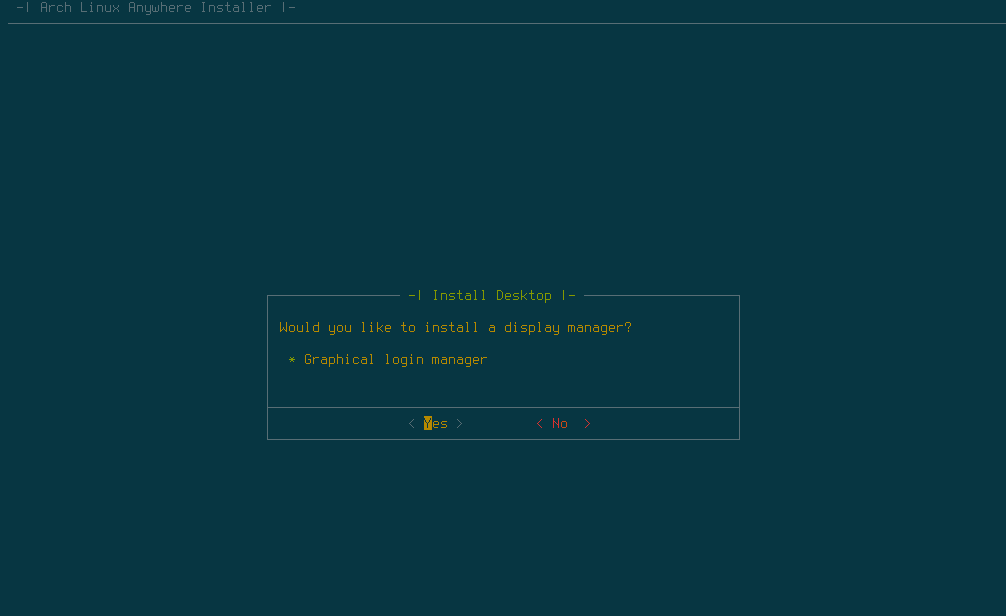
Select desired display manager from the list.

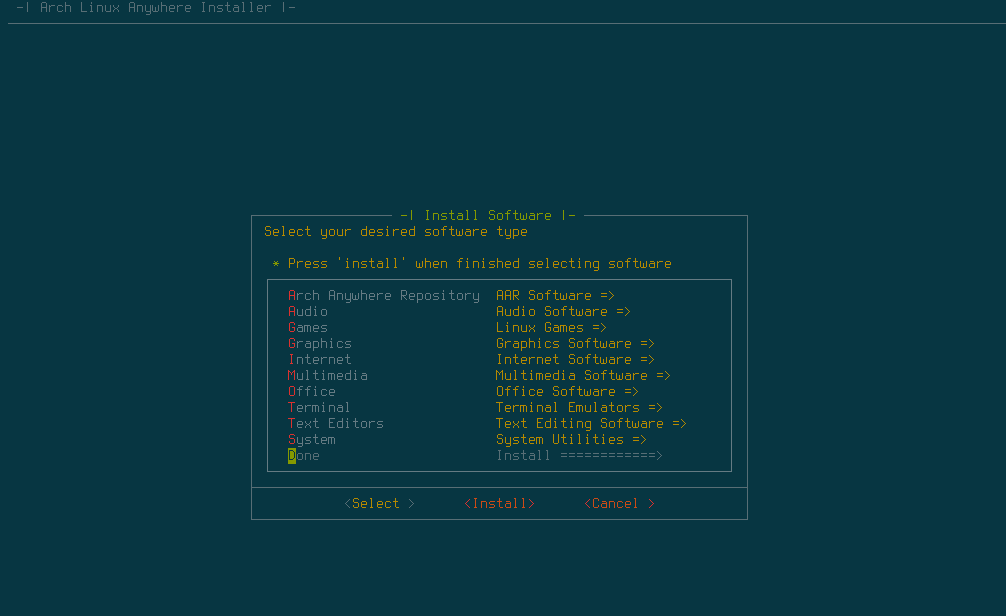
Install additional software. Select which software you wish to install.
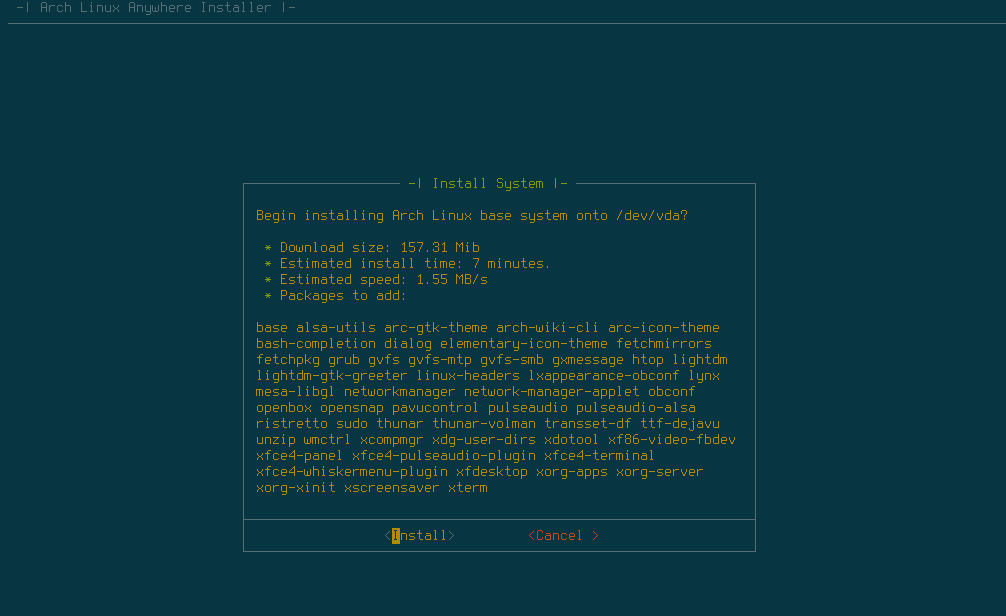
Installation confirmation. Select install to start the installation. It will download files from the internet, so make sure you have a working internet connection.
Wait until the installation is completed. Once finished, you can now use your newly installed Arch Linux. For more information and tutorial about Arch Linux, please consider visit my posts related to Arch Linux here.

Leave a Reply