

Have you tried to install Arch Linux? Most of new Linux users feels uncomfortable when they first time trying to install Arch Linux. The Arch Linux does not come with GUI installation tool like any other distribution. And this situation is not good for new Linux user that willing to try Arch Linux. But actually there is an easy way to get Arch Linux installed on our computer. We can use the popular Arch Anywhere, a special distribution/tool to help us install Arch Linux in easier way.

On this tutorial, we will show you how to install Arch Linux using Arch Anywhere and we hope this guide can help you try Arch Linux on your system. Arch Linux is a great Linux distribution you must try.
Requirements
Before we begin, make sure you have the following in hands:
- Arch Anywhere ISO. Download it from here.
- Good internet connection
Steps to install Arch Linux using Arch Anywhere
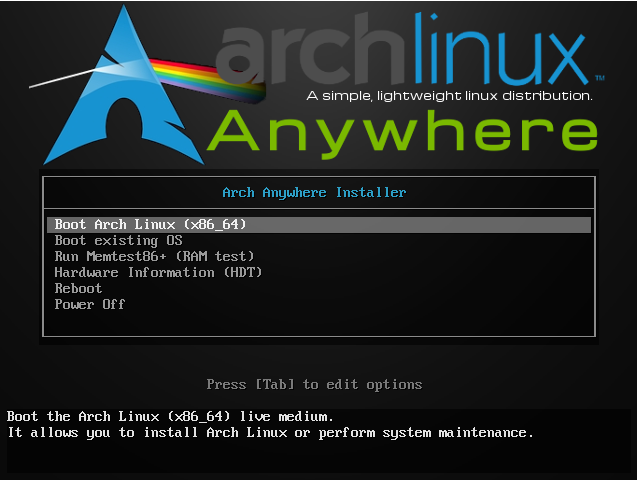
Boot your computer or Virtual Machine with Arch Anywhere. On the first boot screen, select Boot Arch Linux
It will boot to the Arch Anywhere environment where we can start install Arch Linux. On the following window, type arch-anywhere and then press Enter to start the installation wizard.

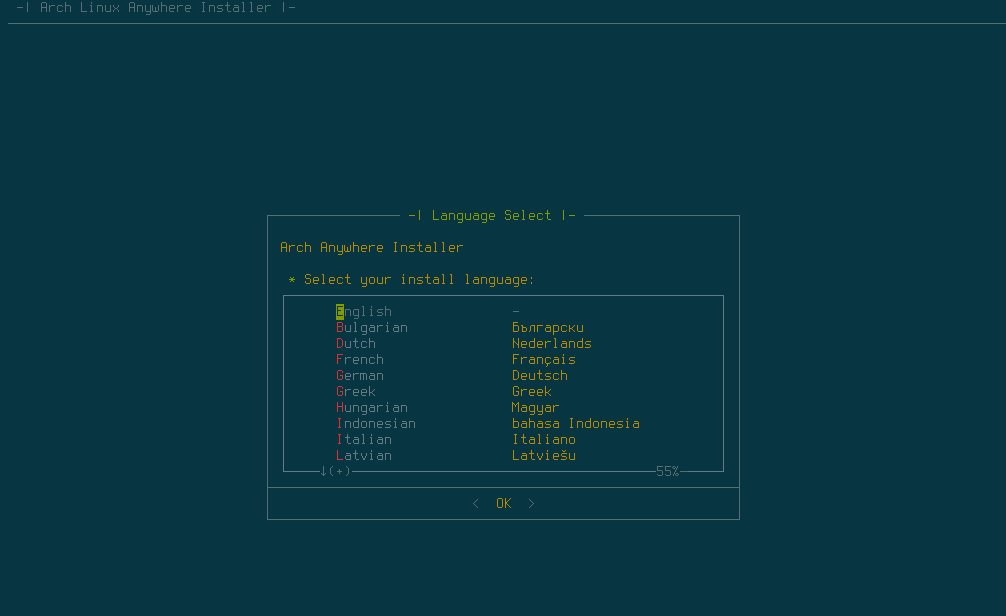
Select the installation language from the list. The default is English
Select Yes to begin the installation process.

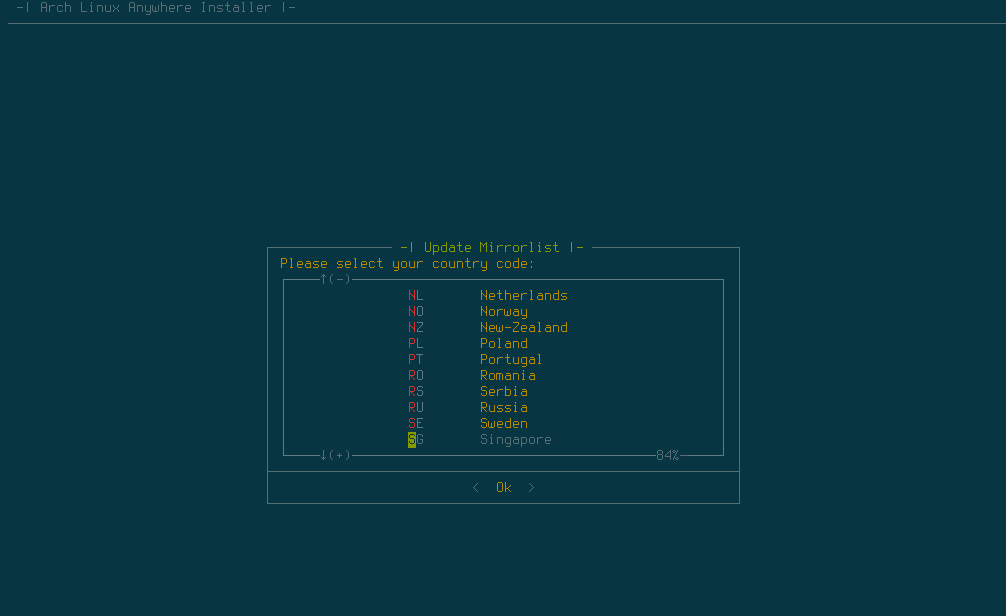
Select the mirror by selecting your country code. If your country is not listed, select the closest one.
Then the installer will start testing your connection and configure the mirrorlist. Next, select your keymap. Or leave it as is.

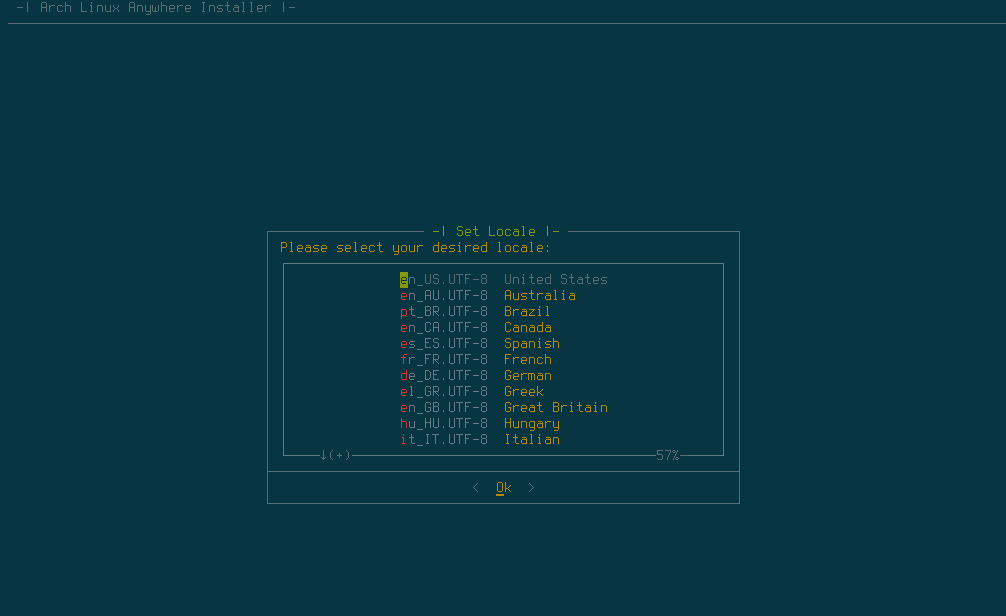
Select locale and then your time zone
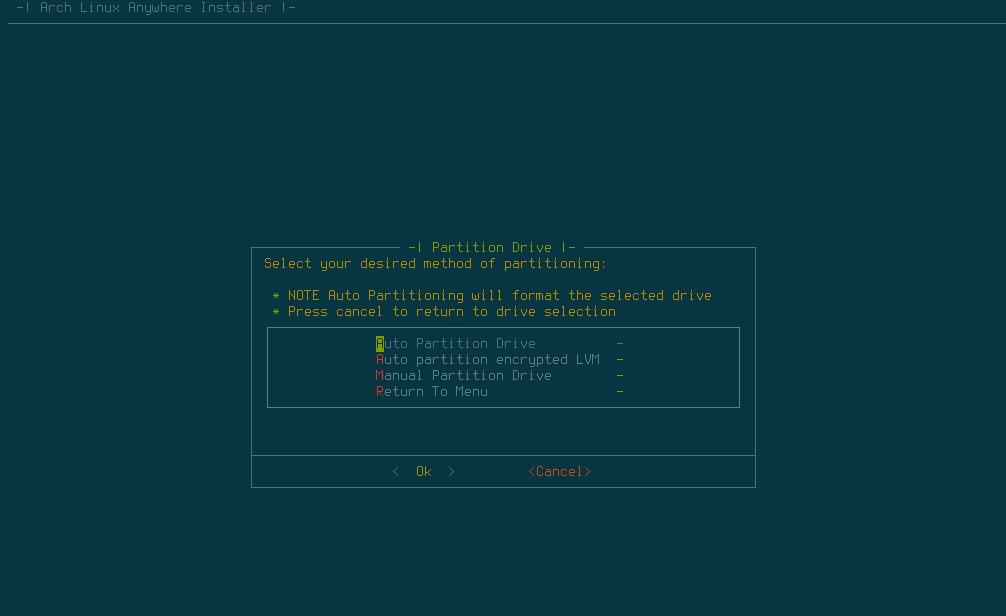
Select partitioning. You may select the partitioning from the list. I use Auto Partitioning Drive to automate the partitioning.
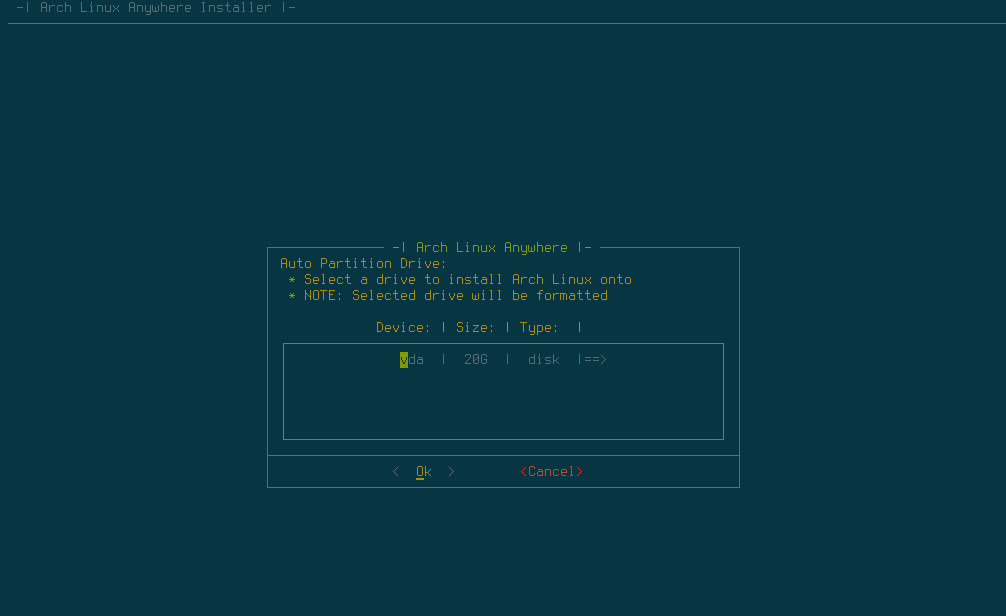
Select the installation disk. If you have multiple disks connected to your computer, select one. Make sure you backup the disk prior to this installation.
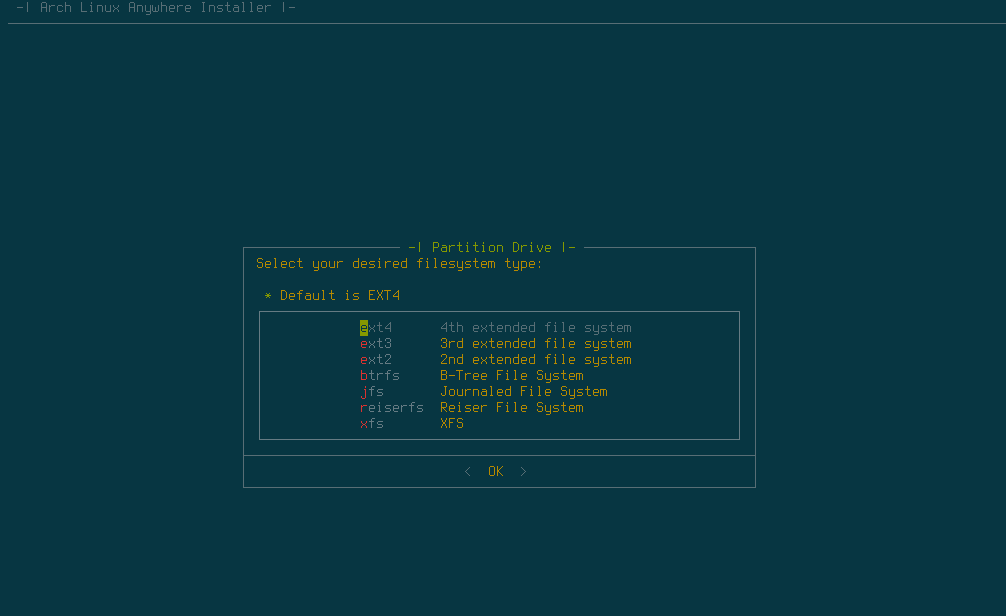
Select the file system
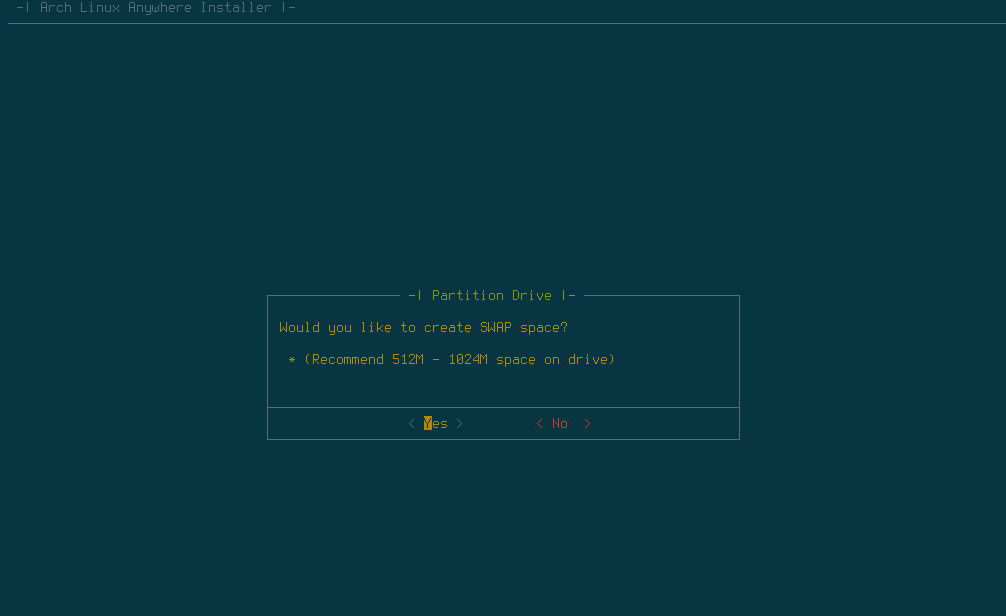
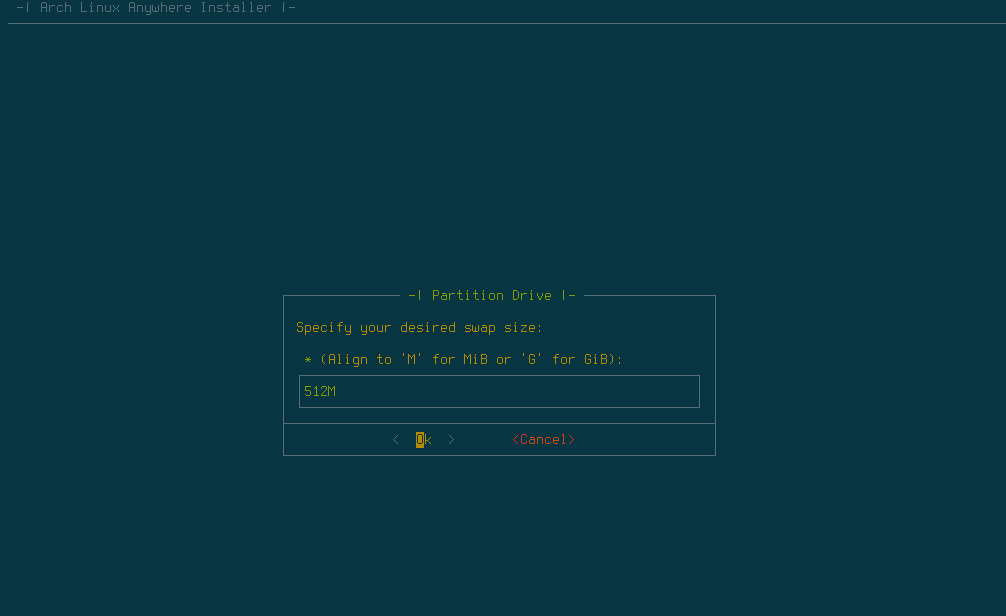
Create SWAP and swap size
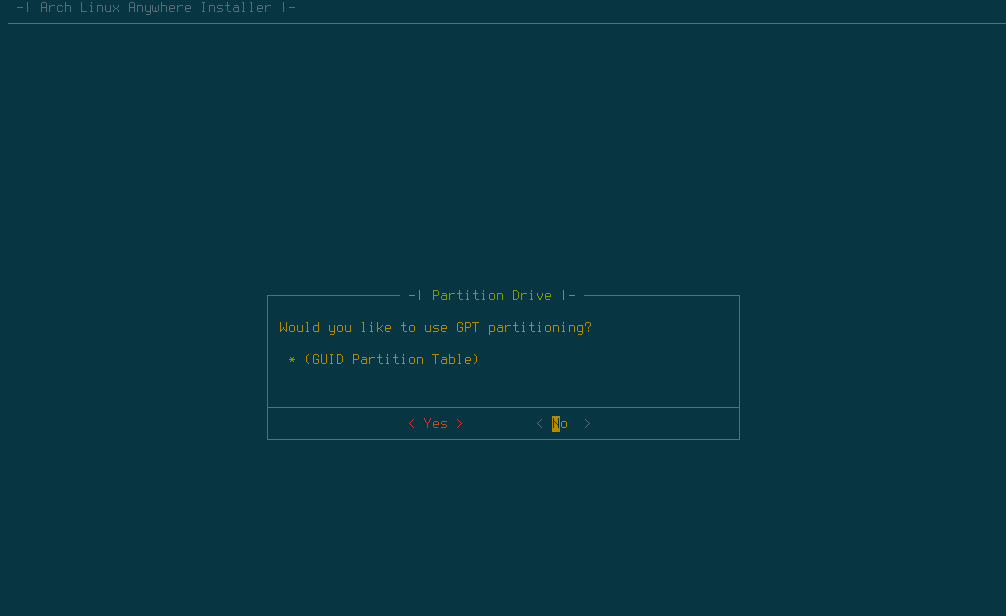
GPT option. I do not want to use GPT on my installation
Confirmation

After this, Arch Anywhere will start partitioning disk and some other tasks. There are several tasks to go. Please continue to Part 2.
Leave a Reply