

The new version of Manjaro 18.0 is on the way. Today, I am going to install Manjaro 18.0 on my Virtualbox and want to share the installation steps with you. Manjaro is an Arch-based Linux distribution. I am using the Gnome edition. It comes as a Live mode and you can install it to your PC or virtual machine using two different ways. The graphical installation and Manjaro-Architect (console). I prefer to use the graphical way because it is easier and straightforward.
Steps to Install Manjaro 18.0
Boot your computer or virtual machine with Manjaro 18.0 ISO. You can obtain the iso by downloading it from here. By the time I wrote this article, it still in Beta version. After boot, double-click the Manjaro Linux Installer icon on the desktop. It will open up the installation wizard as follow.
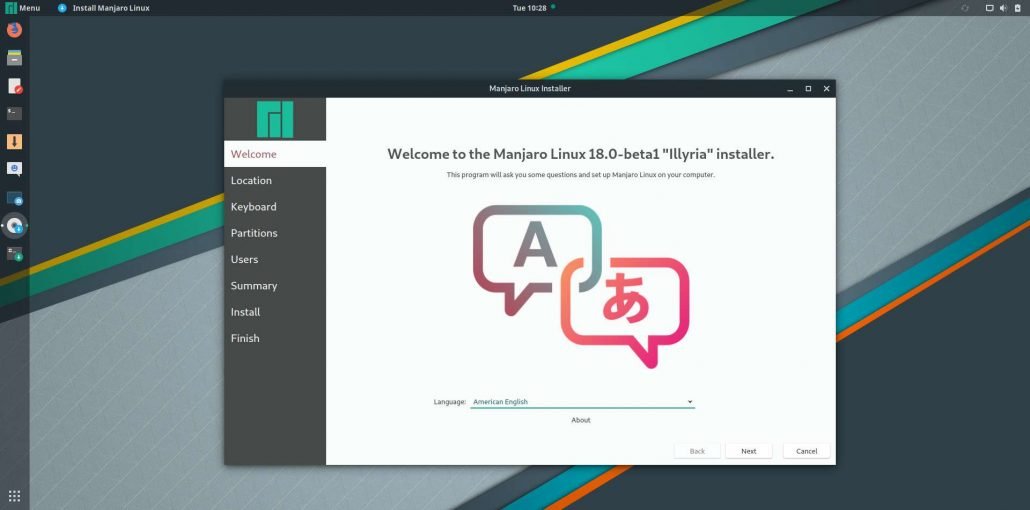
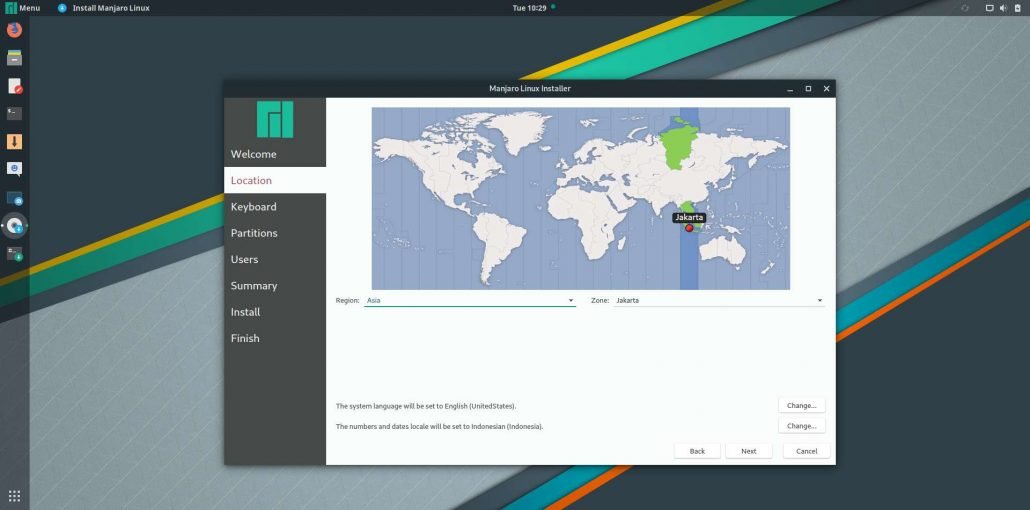
Select the installation language. The default is American English. Hit Next to continue. Next, select your time zone. If you are connected to the internet, the installer will detect your location automatically.
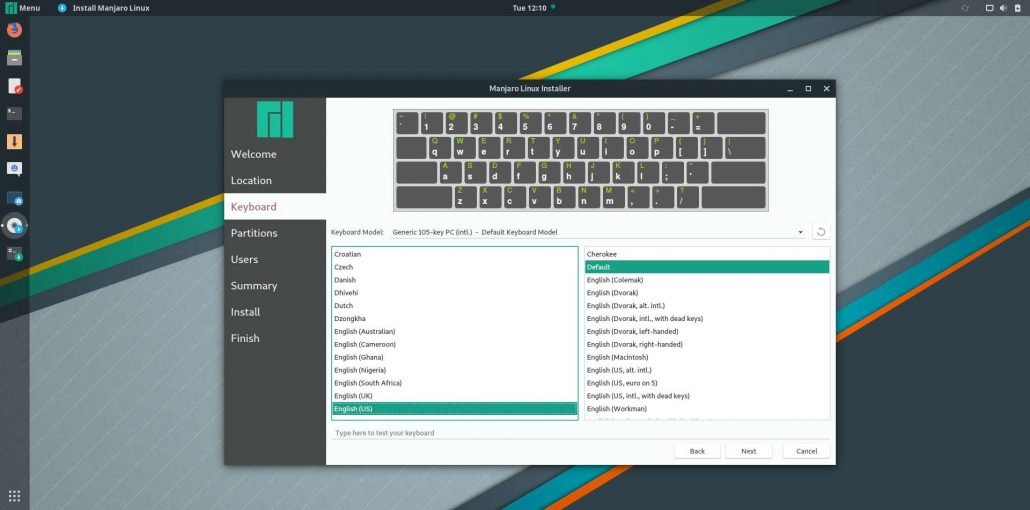
Click Next to configure the keyboard layout
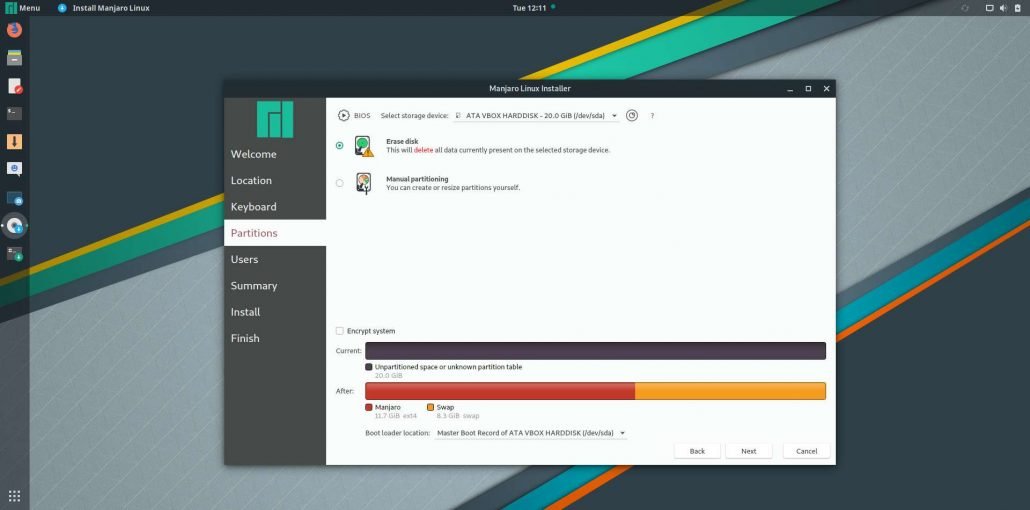
Now let’s partition the disk. There are two ways to partition the disk. The first option Erase Disk will replace your disk with Manjaro. This process is automatic. If you want manual partition, choose the second one.
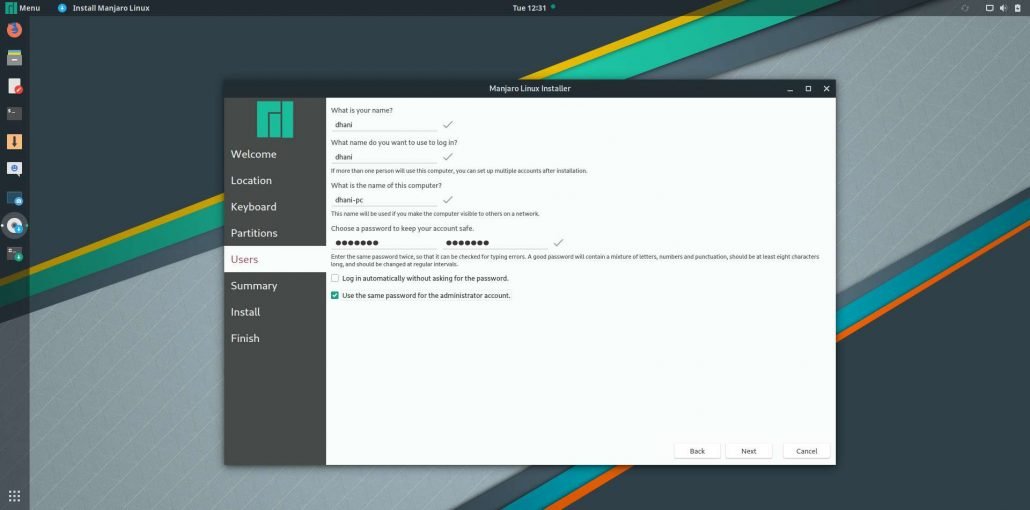
After the partition, we need to create a new user.
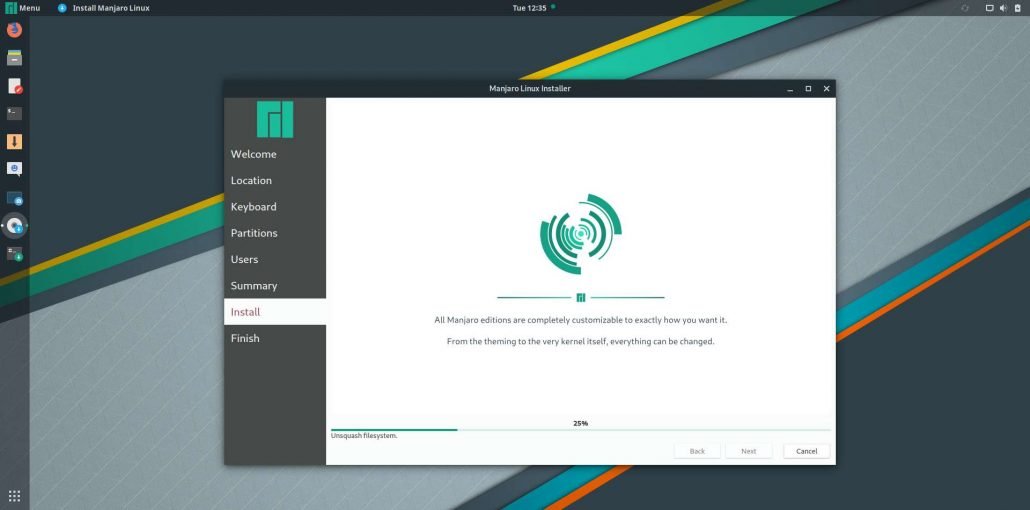
Final checkpoint before pressing the install button. Make sure everything is correct and press Install button to start the installation process.

The installation will take a few minutes.
Restart your computer when the installation finishes.
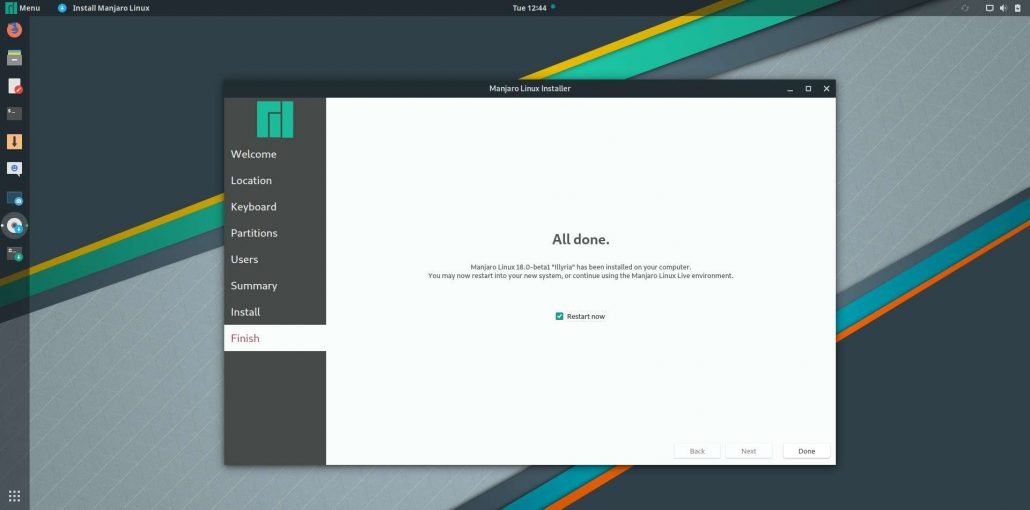
Now enjoy Manjaro 18.0.
Conclusion
Installing Manjaro 18.0 is super easy. With a few simple steps, you can get the new Manjaro 18.0 installed on your system.
Leave a Reply