
The new Ubuntu 22.10 is available for download. Today, I am going to install the latest Ubuntu 22.10 Server on my Macbook Pro M1. This Ubuntu server will be installed as a virtual machine. We will use UTM virtualization software. I will post any errors or issues that I got during the installation. This might work or might not work, but we will find out shortly.
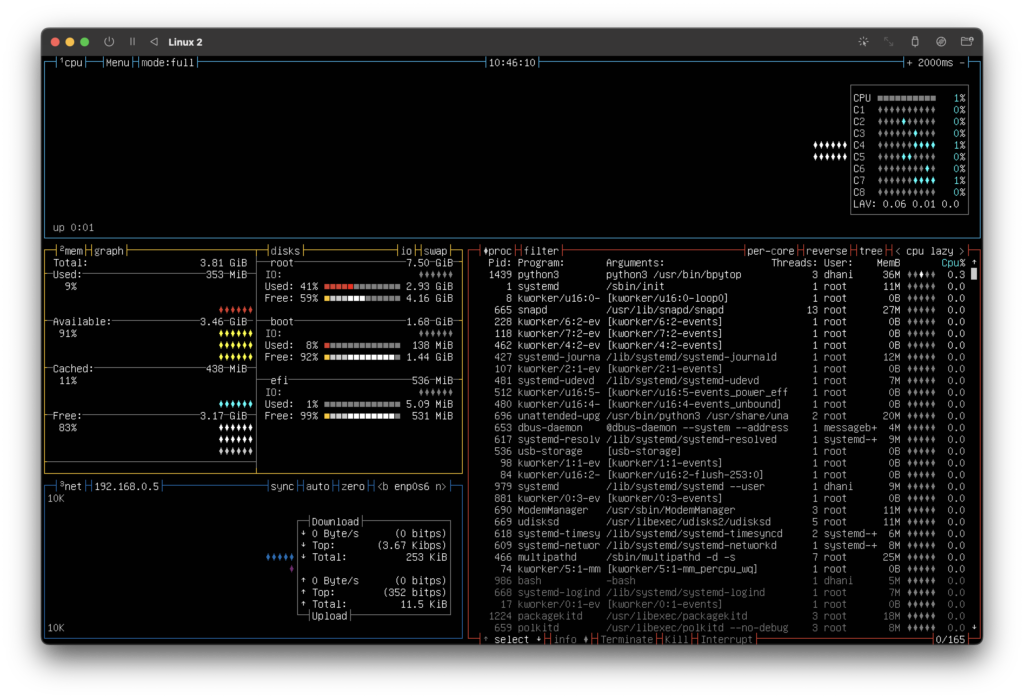
Steps to Install Ubuntu 22.10 Server on M1 Mac Using UTM
Step 1. Download and Install UTM
UTM is a free virtualization software for macOS. With this software, we will be able to run other operating systems on M1 or M2 Mac. You can download UTM using the link below.
Step 2. Download Ubuntu Server 22.10 ARM 64bit
Next, we need to download Ubuntu Server 22.10. Make sure you choose the ARM architecture. To download the ISO directly, please use the link below.
https://cdimage.ubuntu.com/ubuntu-server/daily-live/pending/kinetic-live-server-arm64.iso
Step 3. Create Ubuntu Server Virtual Machine on UTM
Let’s create the VM. Open UTM and then click the + button to create a new VM. Choose Virtualize from the menu.
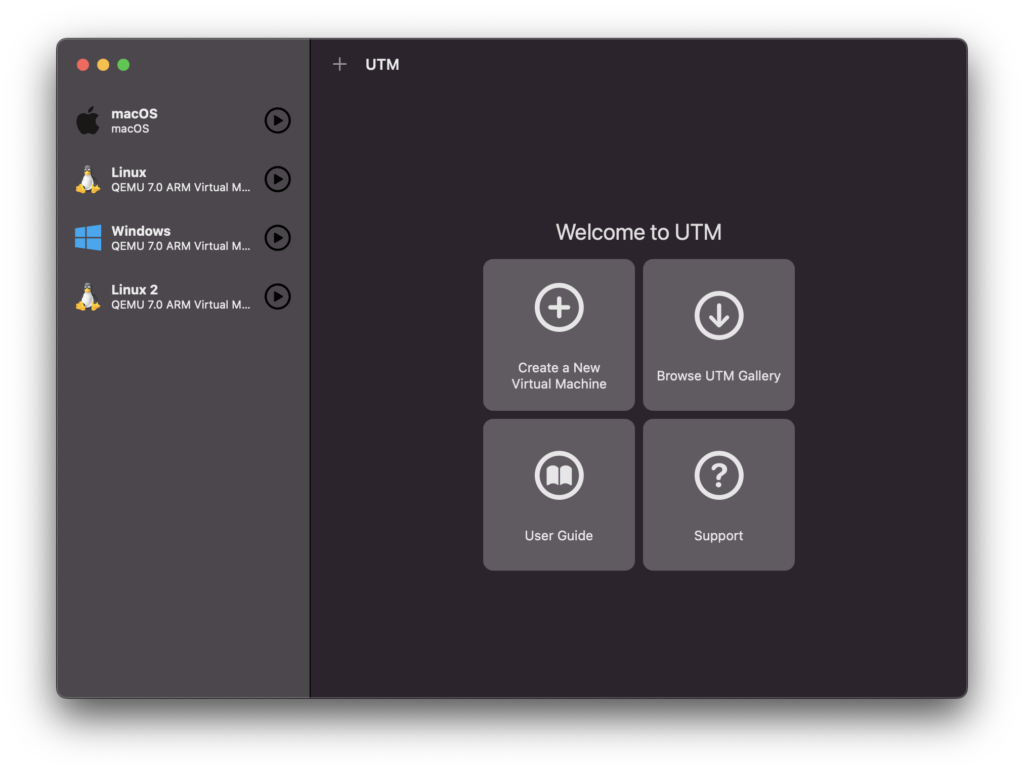
Click Virtualize
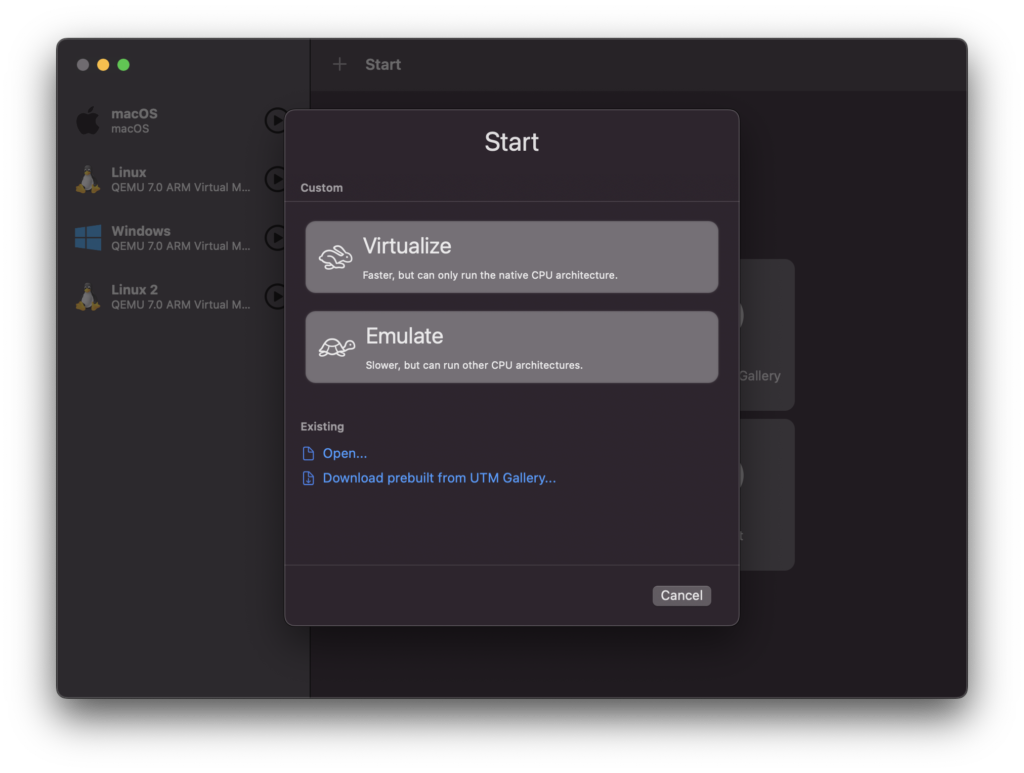
Click Linux from the list
Click Browse and select the Ubuntu Server ISO we downloaded earlier.
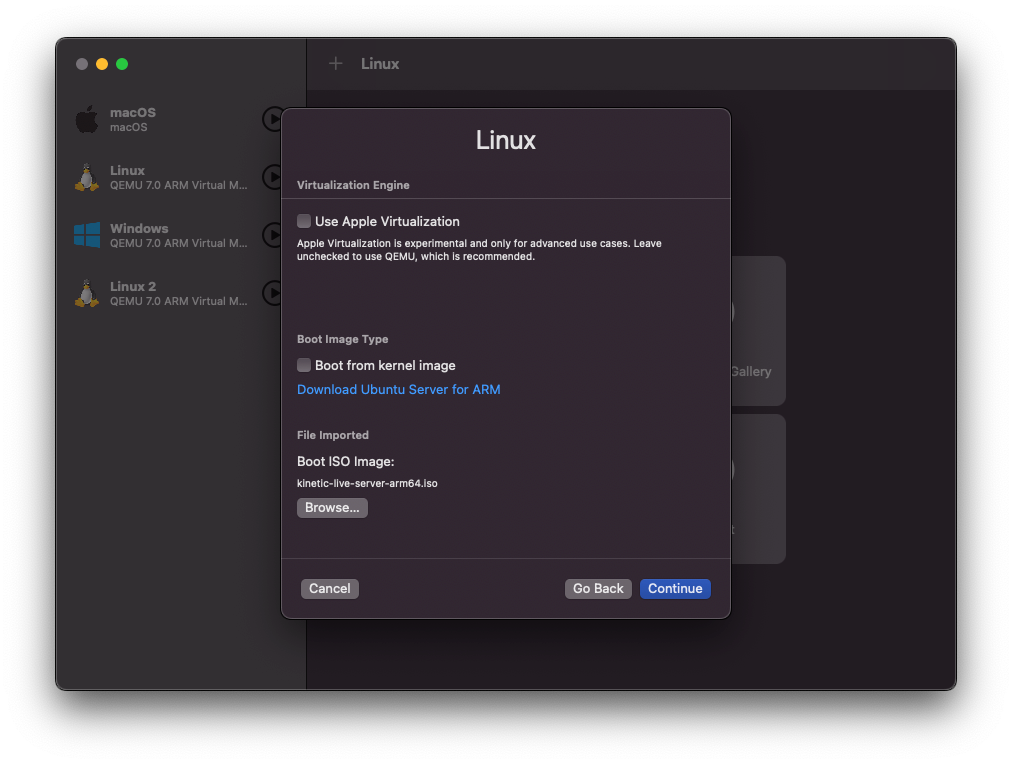
Now let’s configure the hardware for our virtual machine. I leave it as default.
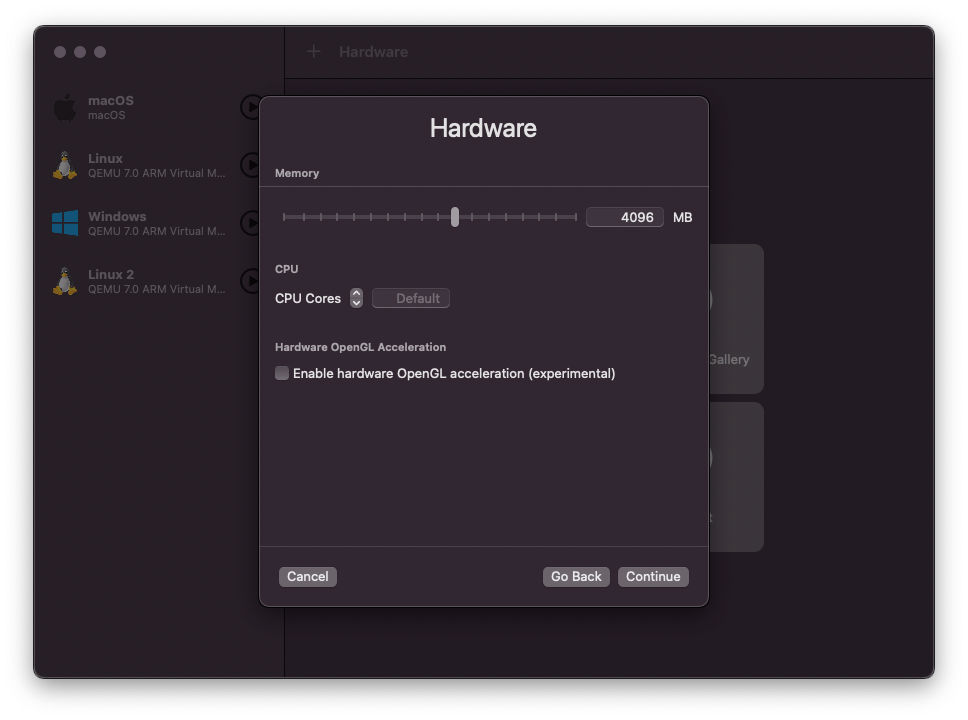
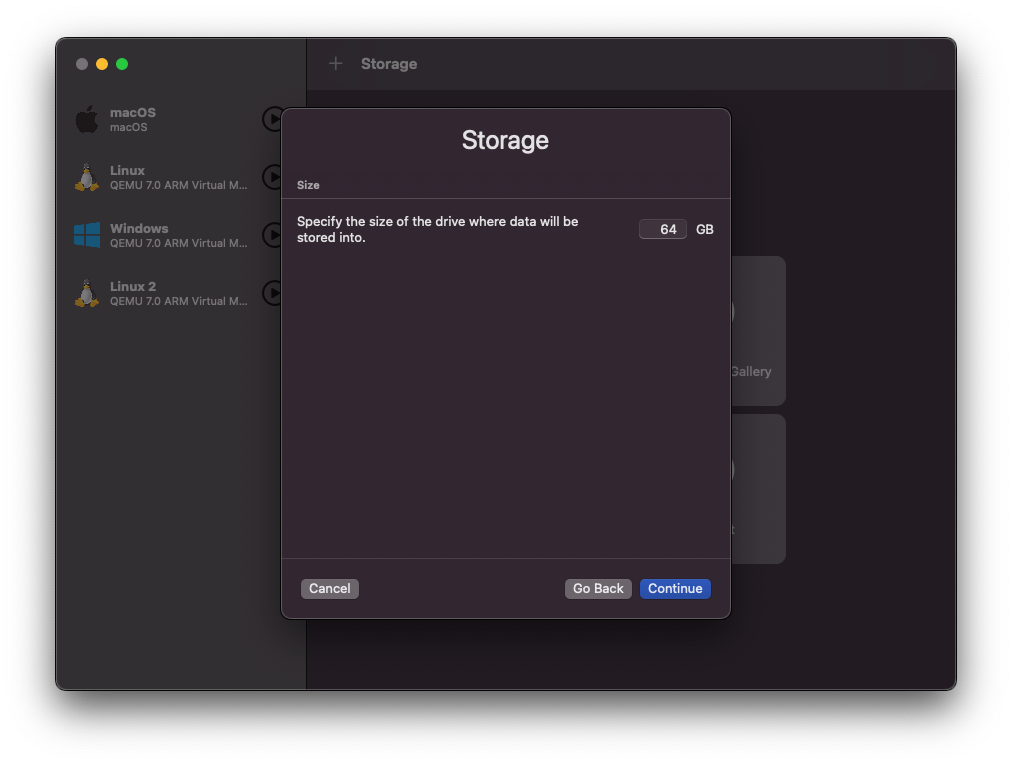
Since this is a server OS, no need to worry about OpenGL acceleration. It is still in the experimental stage either. Click Continue and configure how much storage you want to put into your server.
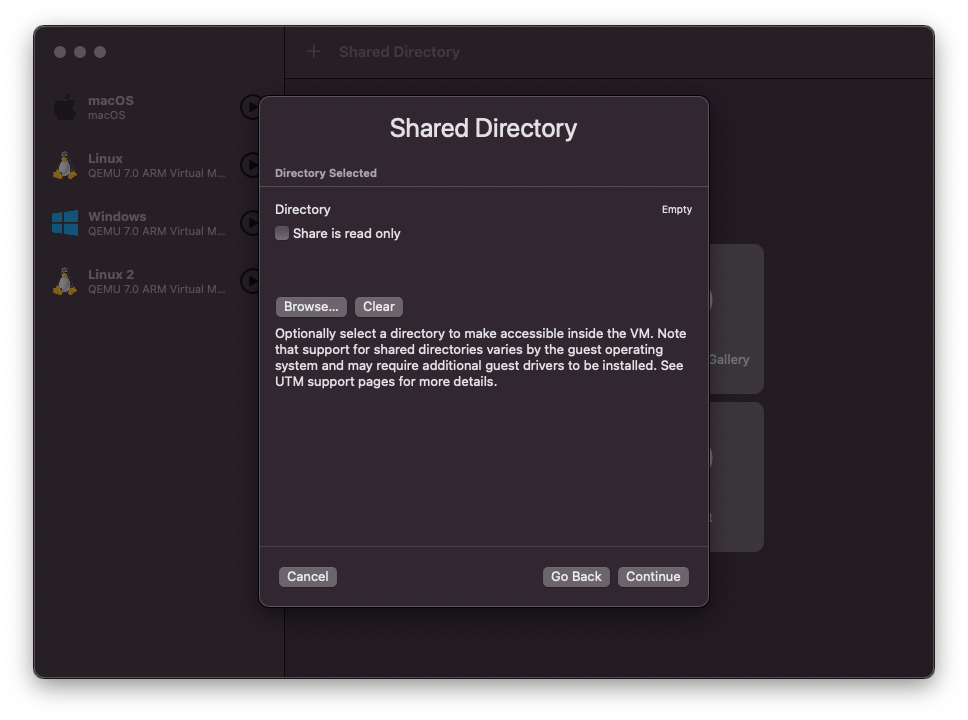
Shared Directory. You can enable this feature to have access to the host directory from the VM.
Review the system summary, give a name for your virtual machine
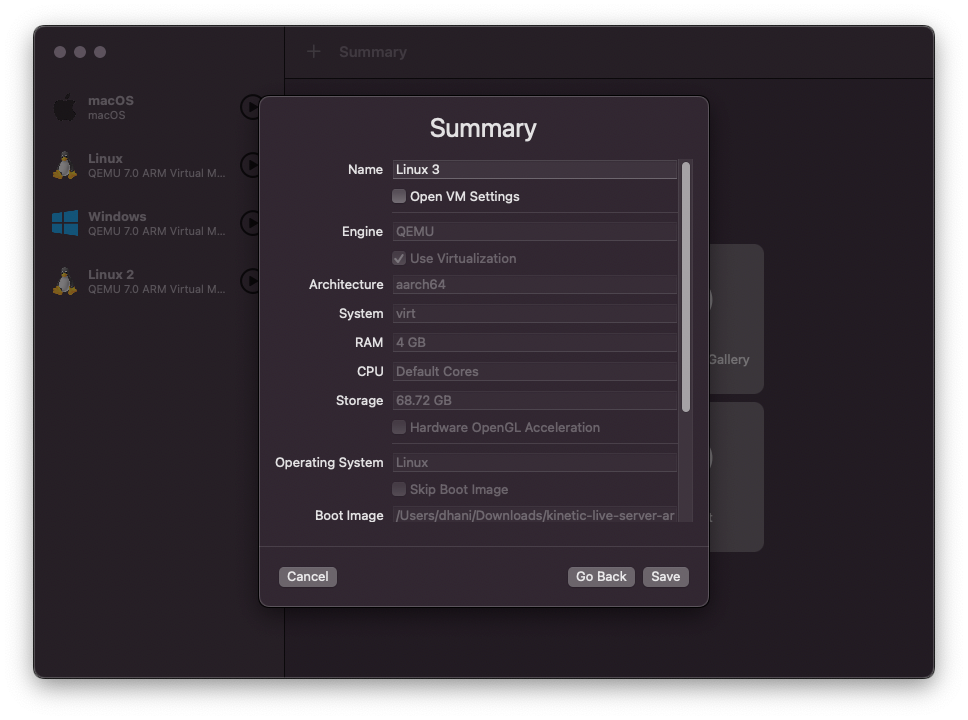
Click Save and then you can start the virtual machine to install the Ubuntu Server.
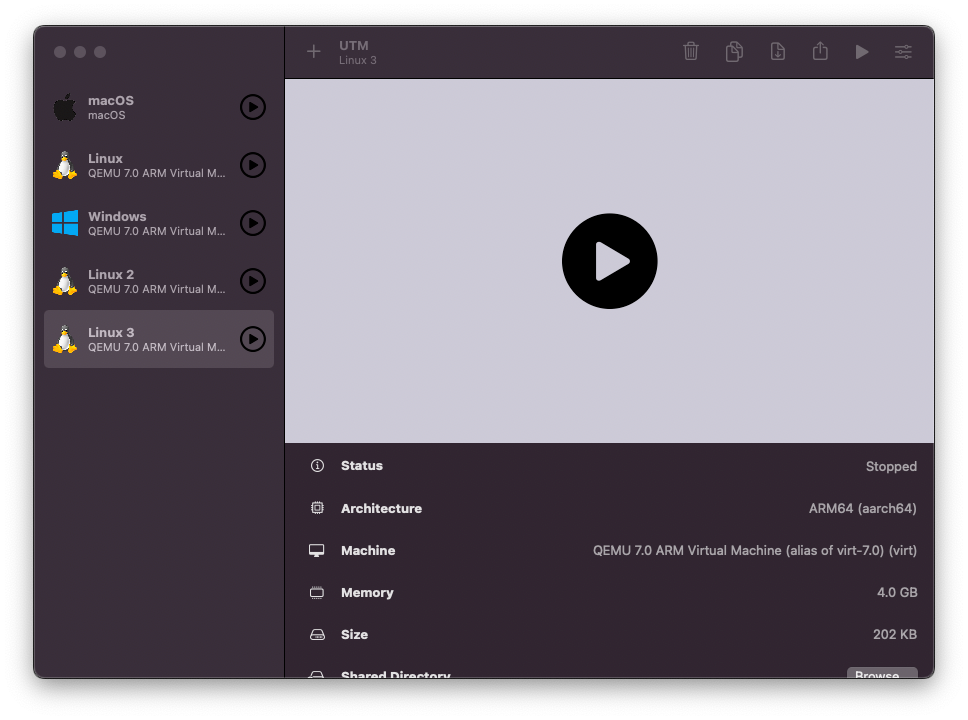
Start Ubuntu Installation
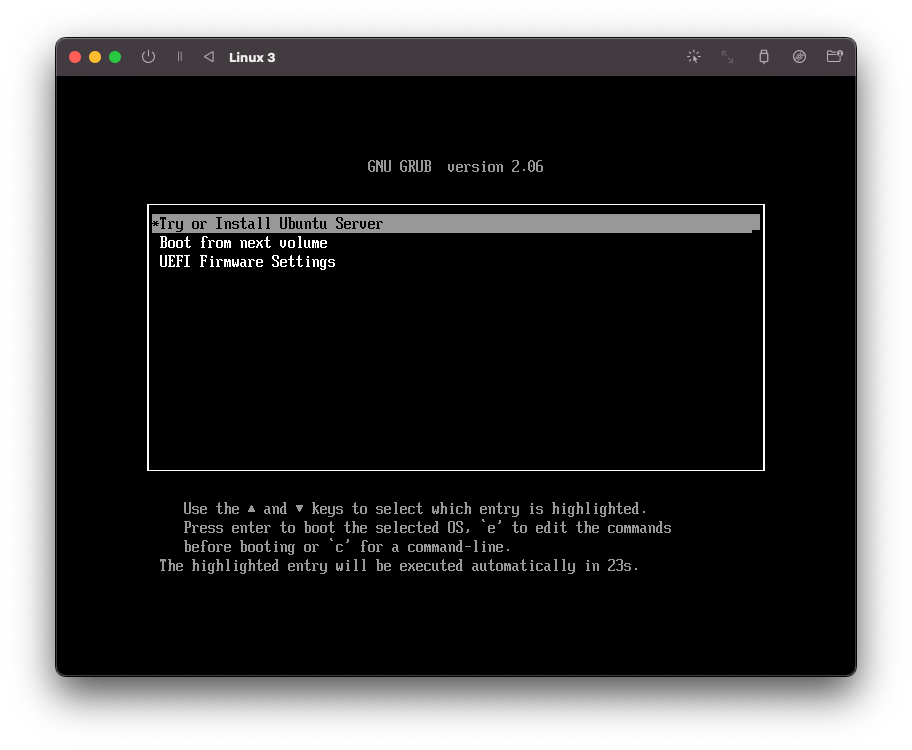
I will not be showing the whole installation process of the Ubuntu server. It is pretty straightforward. Thanks for reading this article and see you next time.

Leave a Reply