

In my previous article, we learned how to install macOS Monterey Virtual Machine on Macbook Pro M1 using UTM. It was great and running very well. Now I want to try installing Monterey VM on my M1 Macbook Pro using Parallels Desktop. Both UTM and Parallels are virtualization software that lets us install and run multiple operating systems on a single host. UTM and Parallels support M1 Mac but Parallels is commercial software and it cost around USD 100 for home and personal use.
Steps to Install macOS Monterey on Parallels
As I mentioned above, I am using Parallels Desktop on my Macbook Pro M1. And based on the official note, Parallels 18.0 supports M1 Mac.
First, we need to create a new VM on Parallels Desktop. You will see the Installation Assistant window below if you are on M1.
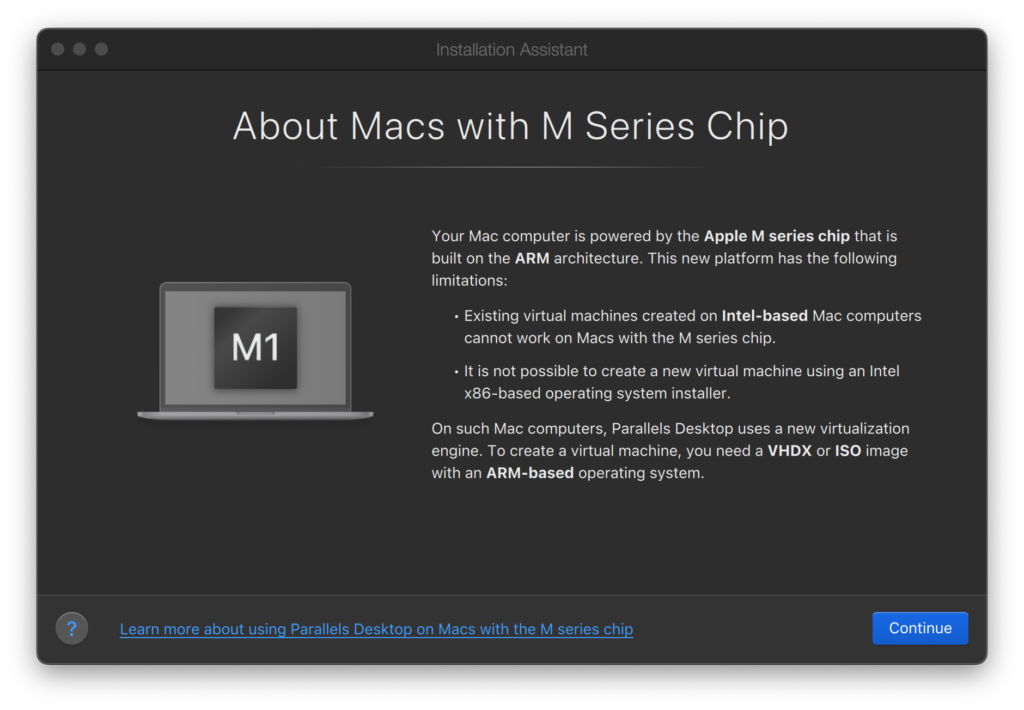
Hit the Continue button to proceed to the next step.
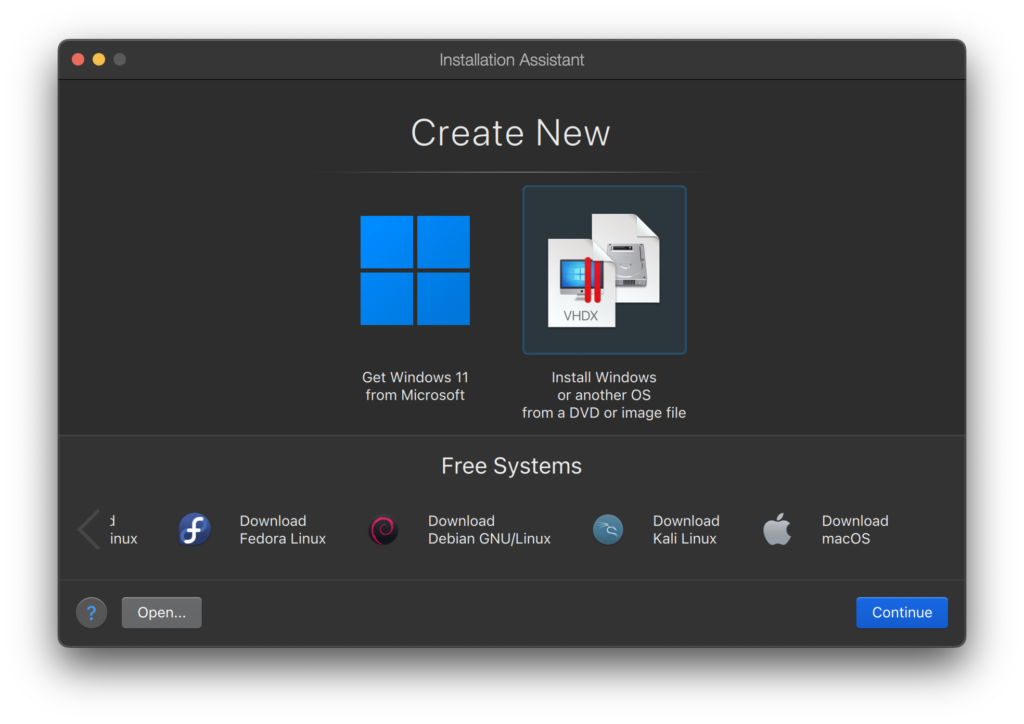
Click Download macOS from the list and click Continue. You will see the following screen showing which version of macOS we are going to install.
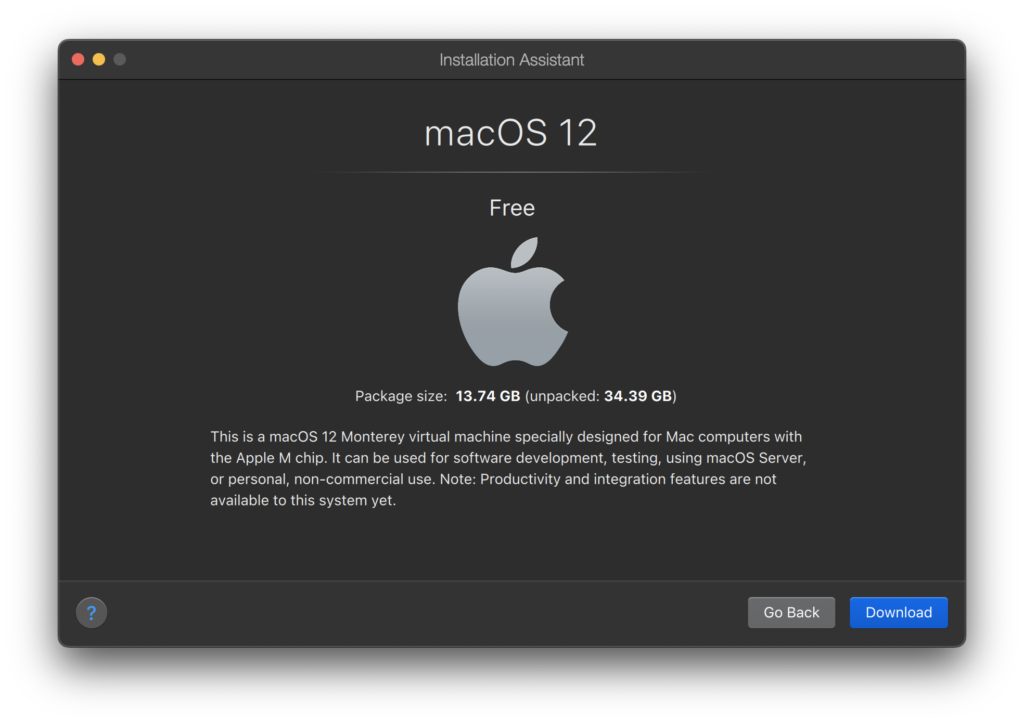
We are going to download macOS 12 (Monterey). Make sure you have a good internet connection because we need to download 13.7 GB from the internet.
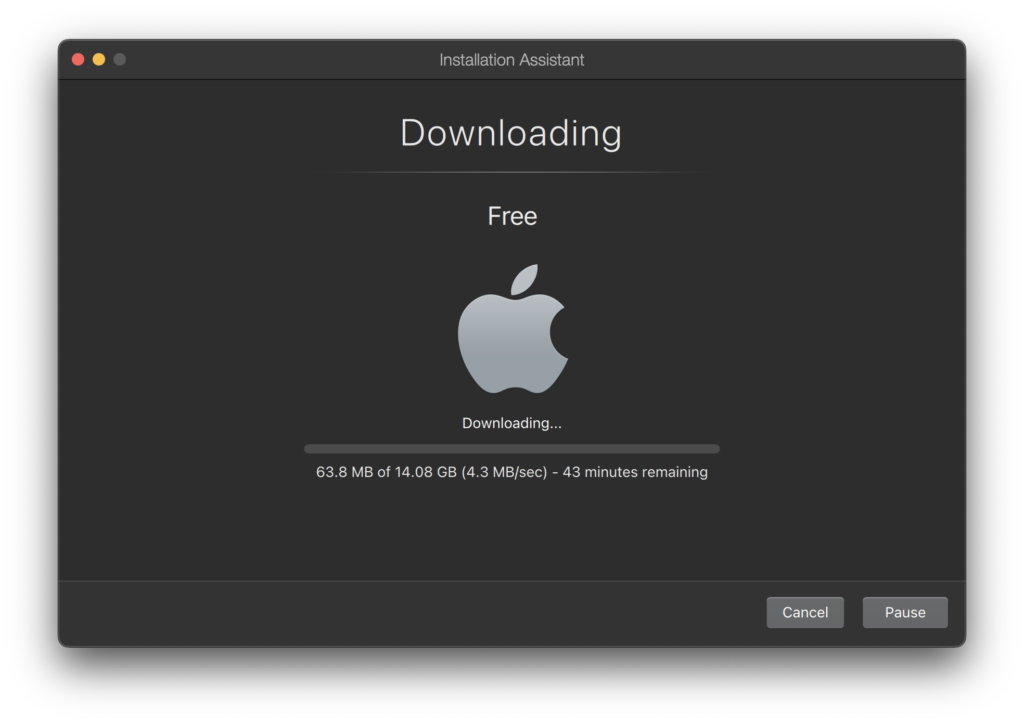
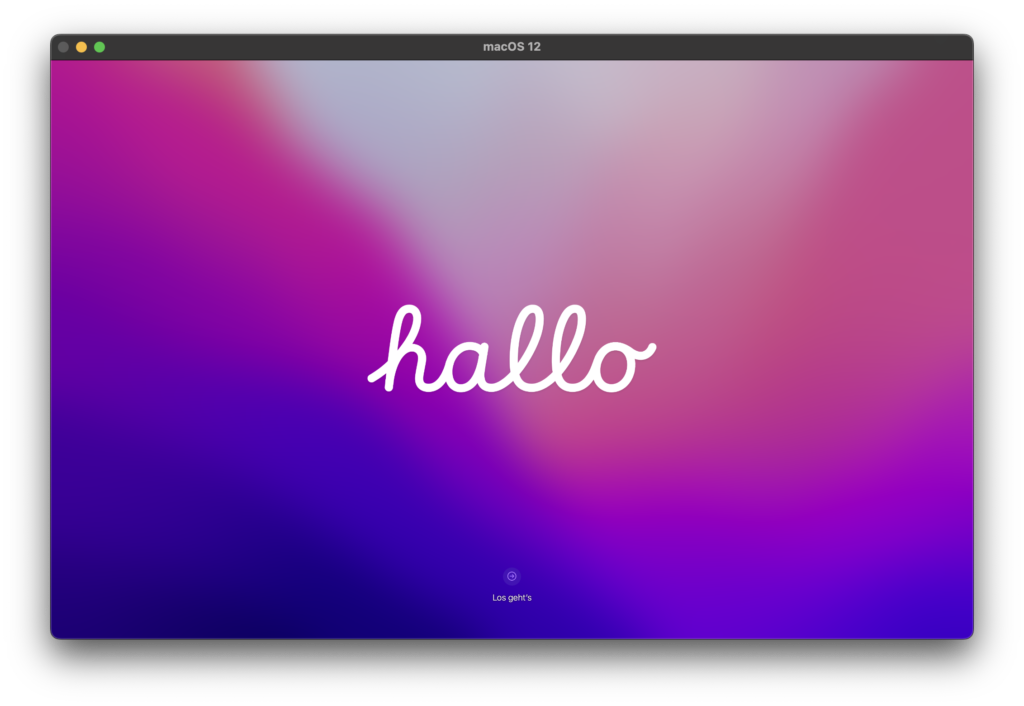
Once the download is completed, the macOS installer will start the installation process.
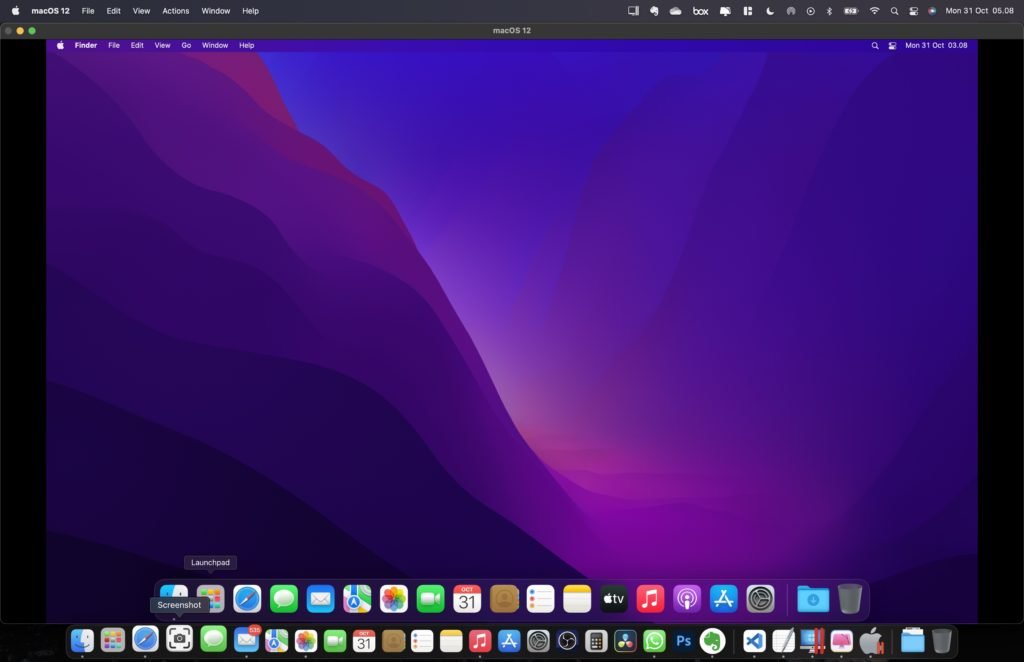
It is easy to switch between my original macOS with the macOS virtual machine. The full-screen mode works really well.
Final Thought
Parallels Desktop could be the best way to run other operating systems on M1 Mac. Linux, Windows, and macOS can be installed on your M1 Mac without issues. The overall graphic performance is great, with no laggy experience. One thing that you should know when you install macOS on Parallels, we cannot use AppleID.
Leave a Reply