

Welcome to Ubuntu Tutorial. Today we are going to install TeamViewer on Ubuntu 17.10. TeamViewer is the most popular remote desktop application. It is available in almost any operating system including Linux, Windows, Mac, Android and iOS. I mostly use TeamViewer to provide supports to my team in the remote location. I can easily fix and helps them using TeamViewer. This tutorial is going to show you how to install TeamViewer on Ubuntu 17.10 Artful Aardvark. The new TeamViewer 12.0 is now available for download.
Steps to install TeamViewer on Ubuntu 17.10
There are few steps to install TeamViewer in Ubuntu
- Download TeamViewer package
- Install Package
- Run TeamViewer
Step 1. Download TeamViewer for Ubuntu
You can use the link below to download TeamViewer DEB package for Ubuntu.
Step 2. Install TeamViewer
Before we install the DEB package we just downloaded, we need to add architecture to Ubuntu first. If you are using Ubuntu 64 bit, you must use this command first.
sudo dpkg –add-architecture i386
Now install the package with this command
sudo dpkg -i teamviewer_12.0.85001_i386.deb
sudo apt-get -f install
Done.
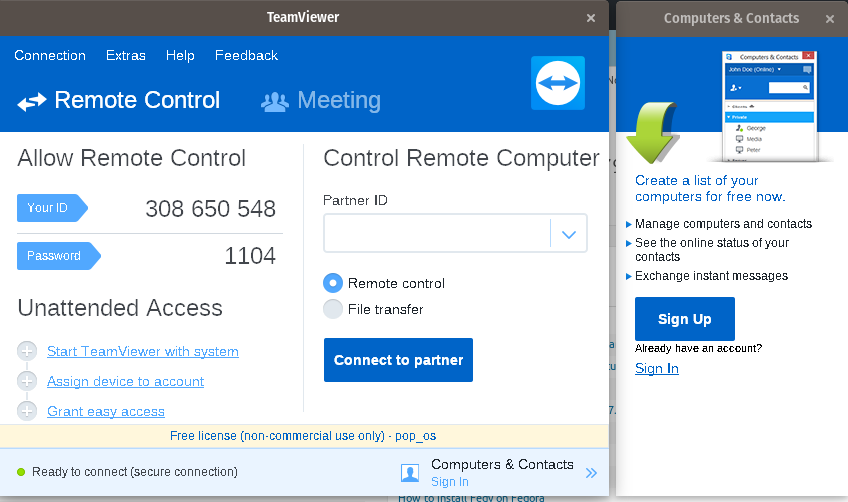
Step 3. Run TeamViewer
Now everything should works just fine and we can start using TeamViewer on Ubuntu 17.10. Enjoy
Final Thoughts
TeamViewer has become an essential software for me as a system administrator. It is free and very stable. I can rely on this software to connect to many computers from a single location in the company. TeamViewer is now fully supports Ubuntu 17.10 and all its derivatives.
Thanks for reading this How to install TeamViewer on Ubuntu 17.10. See you in the next tutorial. Cheers.
Leave a Reply