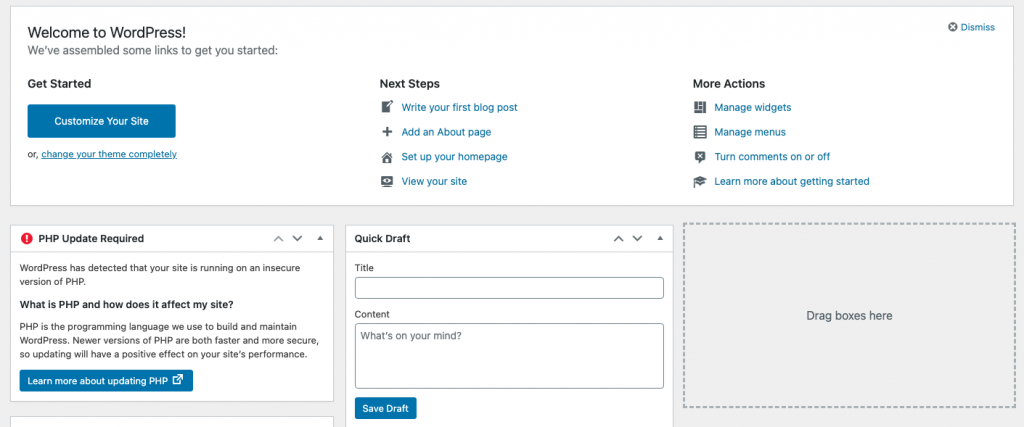
Hello everyone, in this article I am going to show you how I managed to update to PHP 7.4 for my WordPress Site. I am running some of my WordPress sites on top of Debian 9 Stretch. I had this notification on the WordPress dashboard telling that I should upgrade my PHP to the latest version. I was running PHP 7.0 on my sites.

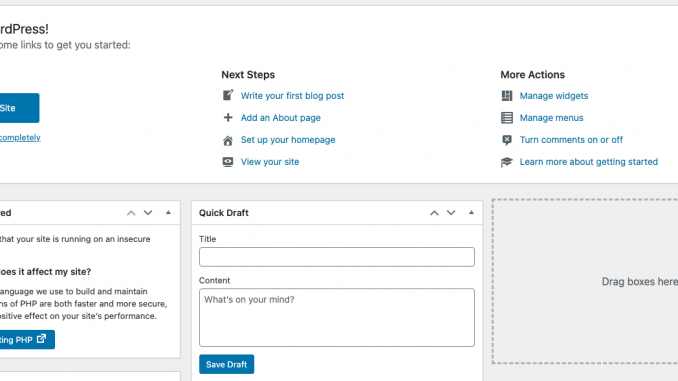
As you notice on the picture above, PHP Update Required. Since I do not host my websites on a managed hosting provider, I had to do this PHP update manually. So in this article, you will find out how to manually upgrade your PHP installation to version 7.4. Also you will see how to fix this “PHP Upgrade Required” issue on a WordPress site.
Step 1. Check PHP version
First, let’s check our PHP version installed on our system.
php -v
Output:
PHP 7.0.33-0+deb9u8 (cli) (built: Jul 5 2020 06:34:50) ( NTS )
Copyright (c) 1997-2017 The PHP Group Zend Engine v3.0.0, Copyright (c) 1998-2017 Zend Technologies
with Zend OPcache v7.0.33-0+deb9u8, Copyright (c) 1999-2017, by Zend Technologies
As you can see, my current PHP version is 7.0.33.
Step 2. Update System
It is recommended to update the Debian system prior to the upgrade
apt update && apt upgrade
Maybe you will also need to reboot Debian.
Step 3. Configure PHP 7.4 Repository
Run the following command to install some packages and download the gpg key for Sury repository.
sudo apt -y install lsb-release apt-transport-https ca-certificates
sudo wget -O /etc/apt/trusted.gpg.d/php.gpg https://packages.sury.org/php/apt.gpg
Finally, use this command to add the repository
echo "deb https://packages.sury.org/php/ $(lsb_release -sc) main" | sudo tee /etc/apt/sources.list.d/php.list
Next, update system
apt update
Step 4. Install PHP 7.4 on Debian 9/10
Use this single command to install PHP7.4 on Debian 9 or 10.
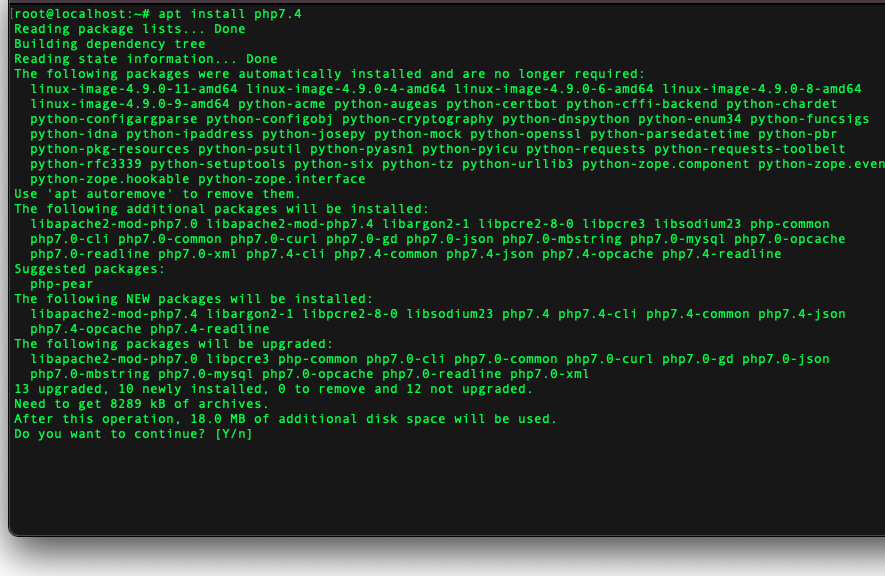
sudo apt install php7.4

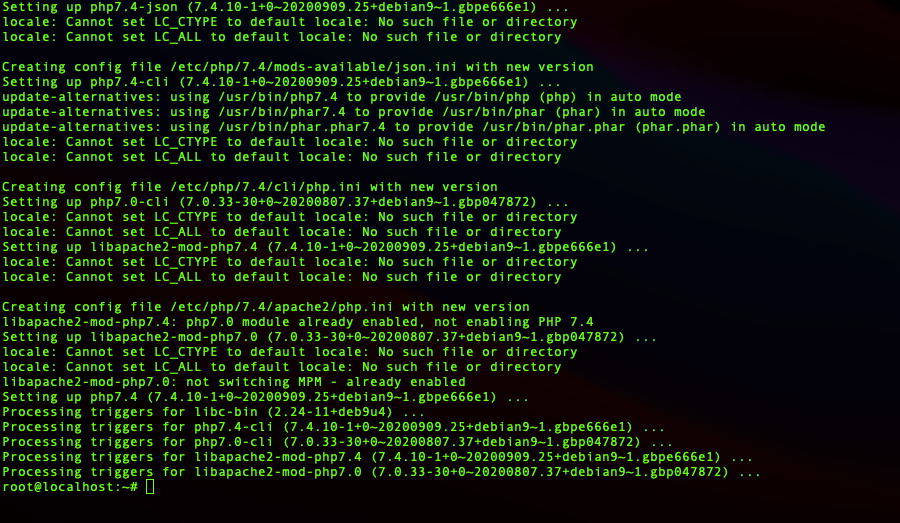
In a few moments, php7.4 should be installed. Make sure that there are no errors.

Now check the PHP version using php -v command again and you should see the new version is installed as follow
PHP 7.4.10 (cli) (built: Sep 9 2020 06:55:12) ( NTS )
Copyright (c) The PHP Group
Zend Engine v3.4.0, Copyright (c) Zend Technologies
with Zend OPcache v7.4.10, Copyright (c), by Zend Technologies
At this point we have successfully installed or upgrade PHP to version 7.4. But we still need to continue our journey to enable this new PHP 7.4 for our WordPress site.
Step 5. Install PHP modules
Copy and paste these commands to install some PHP7.4 modules needed by WordPress.
apt install -y php7.4-common php7.4-xml php7.4-mysql php7.4-pdo php7.4-phar php7.4-simplexml php7.4-curl php7.4-mbstring php7.4-imagick php7.4-zip php7.4-gd
Step 6. Disable PHP 7.0 module and Enable PHP 7.4 module
So now we are going to disable the PHP7.0 apache integration and enable the php7.4.
sudo a2dismod php7.0
sudo a2enmod php7.4
sudo systemctl restart apache2
Now, log in to WordPress again and the issue should be fixed. Your PHP installation is now up to date and you no longer see the “PHP Upgrade Required” error.
Thanks for reading.

Leave a Reply