

On this article, I will show you how to install WordPress on Ubuntu 20.04 with LAMP. LAMP stands for Linux Apache MySQL and PHP. Ubuntu 20.04 comes with many improvements and great for server. So there are several steps to get WordPress up and running on Ubuntu 20.04. If you are new to Ubuntu server, this tutorial is great for you because I will try to explain every steps.
In this tutorial, I already have a running Ubuntu 20.04 server installed on Proxmox VE as a virtual machine. If you want to build your own home labs, I would recommend Proxmox VE.
Step 1. Install and configure LAMP Stack on Ubuntu 20.04
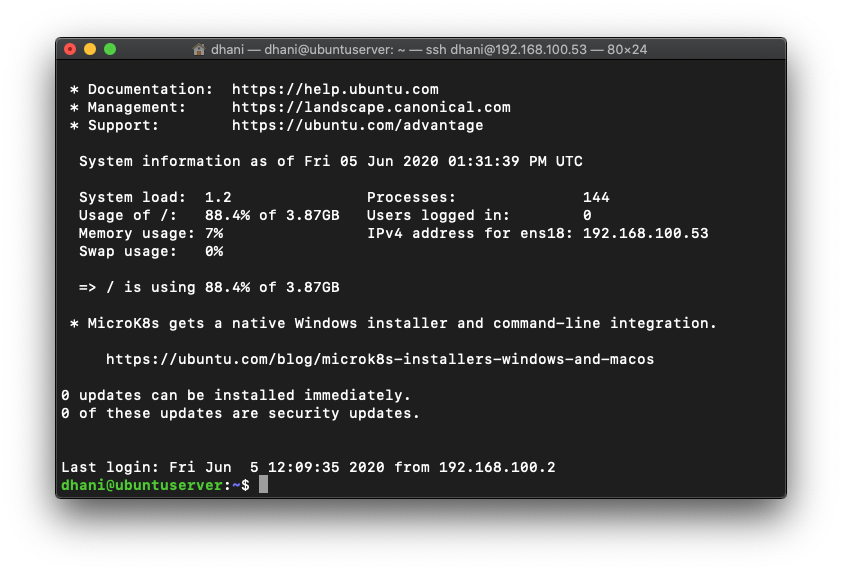
First, we are going to install and configure Apache web server in Ubuntu 20.04. Connect to the Ubuntu server using ssh. If you are using Windows, you can download and install Termius or Putty. On a Mac, you can use Terminal and connect to the server via SSH. For example:
ssh dhani@192.168.100.60
Change the IP address with your Ubuntu server IP address. Once connected, you will see something like this.
Install Apache Web Server
Now we can install Apache with this command
sudo apt install apache2
Now start and enable apache upon startup
sudo systemctl start apache2
sudo systemctl enable apache2
Use this command to allow the HTTP and HTTPS traffic to the apache server.
sudo ufw allow in "Apache Full"

Now open a web browser and type the server IP address. If the server is up and running, you will see this page displayed.

At this point, we have successfully installed Apache web server on Ubuntu 20.04.
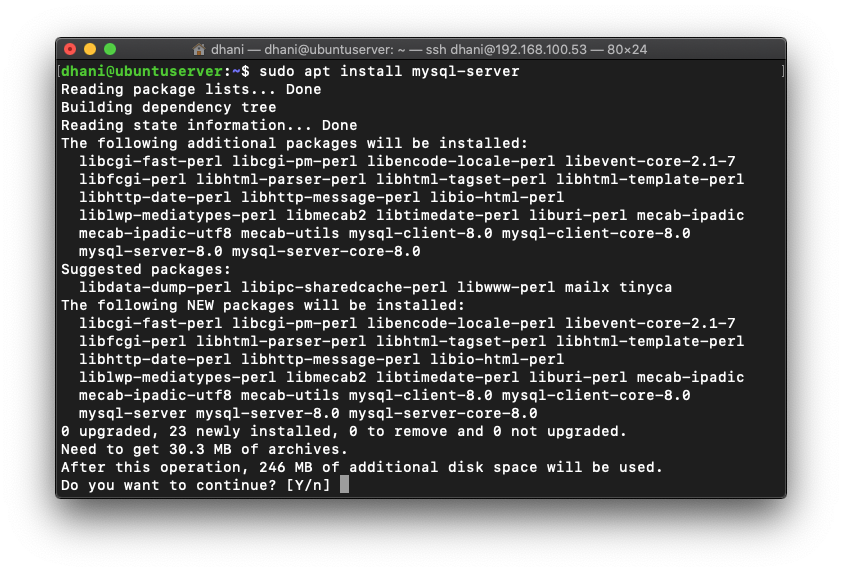
Install MySQL Server
Use this command to install MySQL Server on Ubuntu 20.04
sudo apt install mysql-server
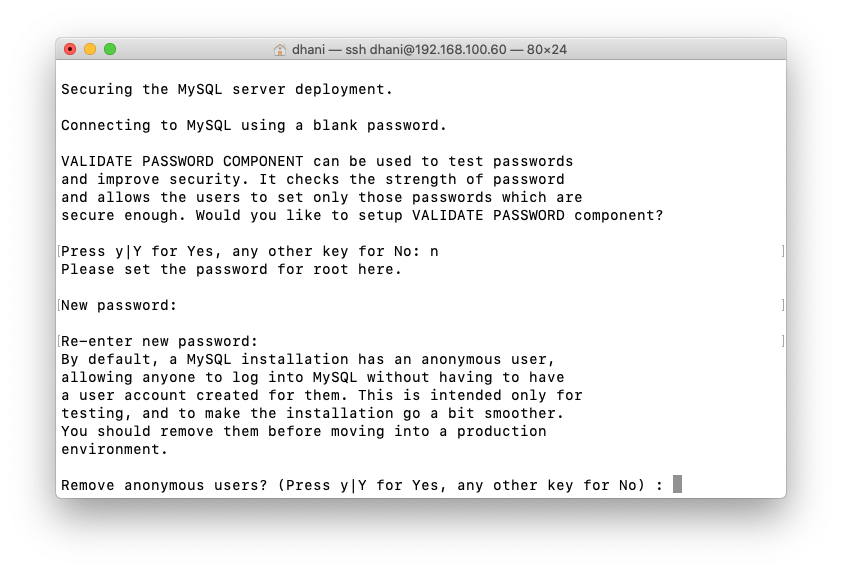
Configure MySQL Server
Execute this command to configure MySQL Server.
sudo mysql_secure_installation
You can setup VALIDATE PASSWORD component. But for now, I would disable this feature.
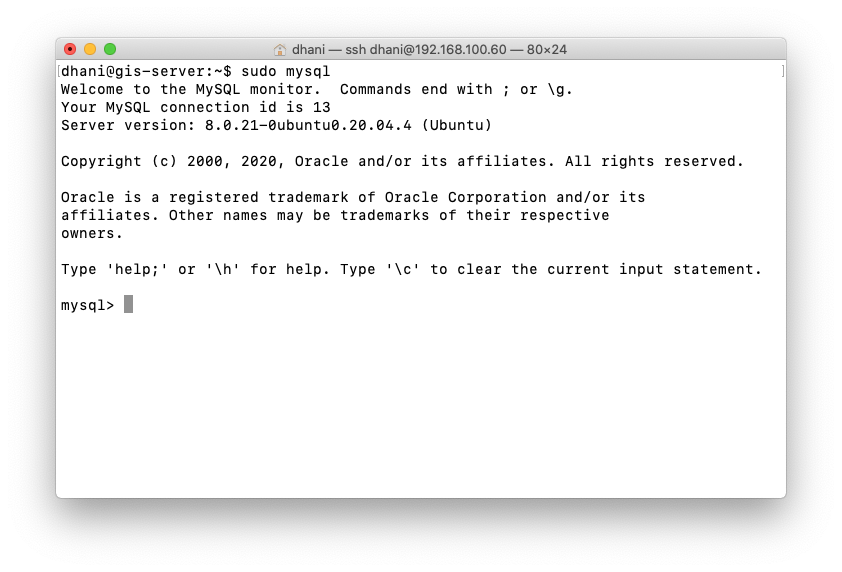
Once finished, you can try to login to MySQL console with this command:
sudo mysql
Install PHP
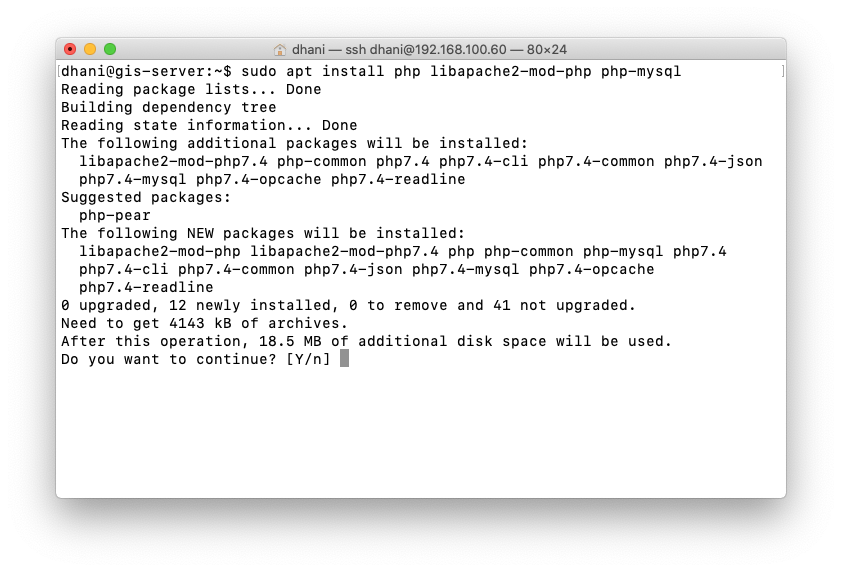
Next, we are going to install PHP on Ubuntu 20.04. Use this command to install:
sudo apt install php libapache2-mod-php php-mysql
Now check the PHP version
php -v
Output:
PHP 7.4.3 (cli) (built: May 26 2020 12:24:22) ( NTS )
Copyright (c) The PHP Group
Zend Engine v3.4.0, Copyright (c) Zend Technologies
with Zend OPcache v7.4.3, Copyright (c), by Zend Technologies
At this point, we have successfully installed LAMP Server on Ubuntu 20.04. Continue to the next step to install and configure WordPress on Ubuntu 20.04.
Step 2. Create a New MySQL Database and User for WordPress
Create a new Database
We are going to create a new database for WordPress. We will do this via console. First we need to login to MySQL Server.
sudo mysql -u root -p
And then let’s create a new database called wordpress.
mysql> CREATE DATABASE wordpress DEFAULT CHARACTER SET utf8 COLLATE utf8_unicode_ci;
Now create a new WordPress user. You can use any name but here we will create a new user called wordpress.
mysql> CREATE USER wordpress IDENTIFIED WITH mysql_native_password BY '12345';
Now grant the wordpress database to wordpress user.
GRANT ALL ON wordpress.* TO 'wordpress'@'%';
At this point, we have successfully created a new database and user for WordPress.
Step 3. Install PHP Extensions
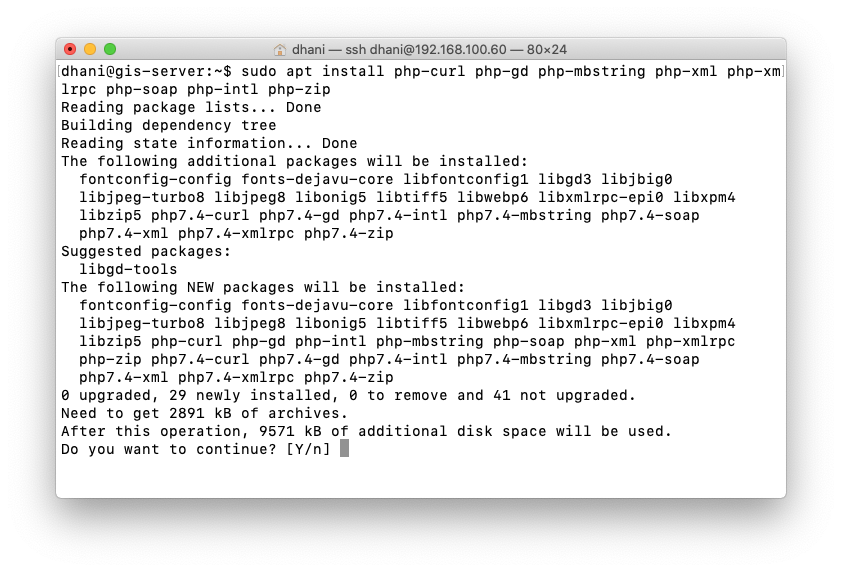
We are going to install some PHP extensions needed by WordPress.
sudo apt install php-curl php-gd php-mbstring php-xml php-xmlrpc php-soap php-intl php-zip
Upon completion, restart Apache web server.
sudo systemctl restart apache2
Step 4. Install WordPress on Ubuntu 20.04
Download WordPress
Now, we are ready to download WordPress package. I will put the downloaded file under /tmp.
cd /tmp
curl -O https://wordpress.org/latest.tar.gz
Extract Package
Now, let’s extract the package
tar -xzvf latest.tar.gz
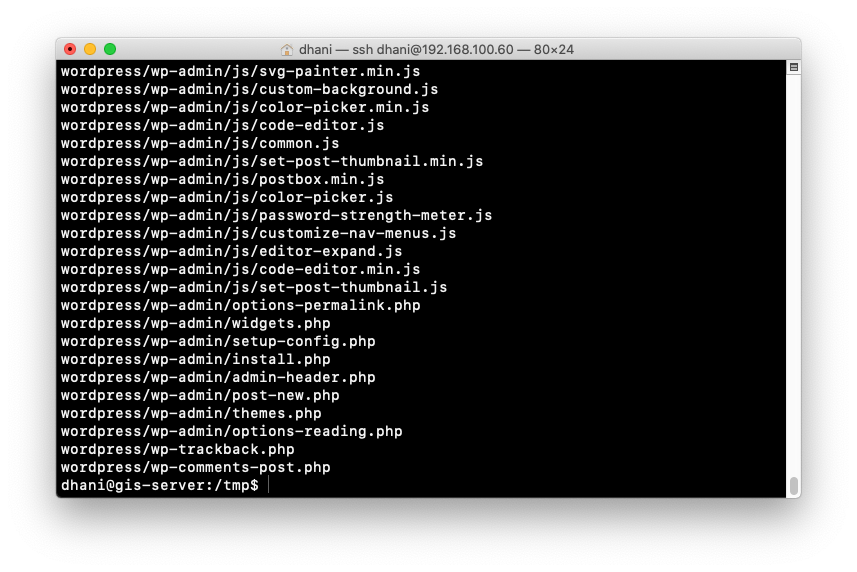
Move/Copy WordPress folder
The extract step will produce a new directory under /tmp called wordpress. Now we need to move this wordpress directory to /var/www/html.
sudo cp -R wordpress /var/www/html/griyaku.lan
As you can see, I copy the wordpress folder to /var/www/html/griyaku.lan. You can change the directory name as you like.

Change Permission
Now we need to change the permission for the folder (/var/www/html/griyaku.lan)
sudo chown -R www-data:www-data /var/www/html/griyaku.lan
sudo chmod -R 775 /var/www/html/griyaku.lan
Configure wp-config
Now we need to create a wp-config.php. We will use the existing file wp-config-sample.php as starting point.
cd /var/www/html/griyaku.lan
sudo mv wp-config-sample.php wp-config.php
Now, open it using nano or other text editor you like
sudo nano wp-config.php
Now find these blocks
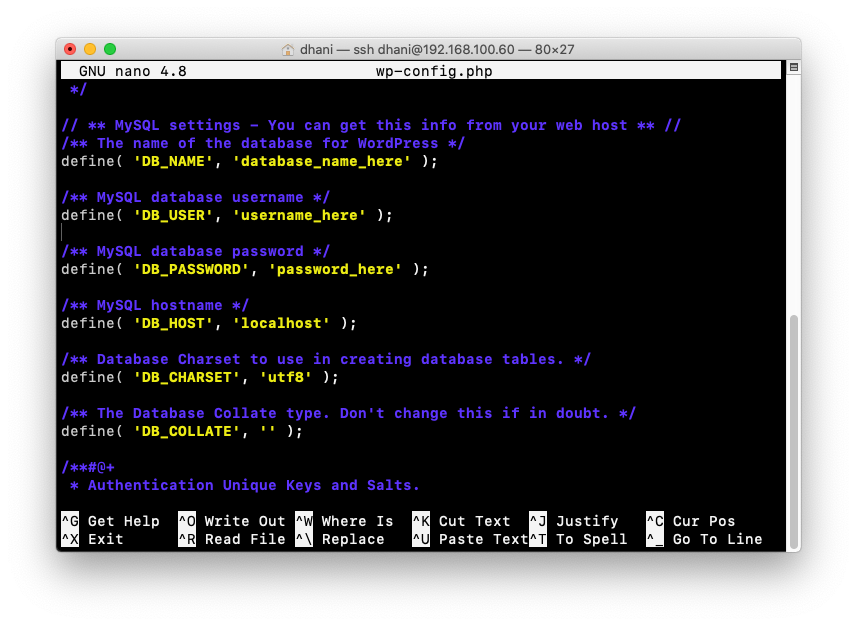
We need to enter the correct DB_NAME, DB_USER, DB_PASSWORD variables. On the previous step, we already created the database and user for WordPress. In my case, I use the following information:
DB_NAME = wordpress
DB_USER = wordpress
DB_PASSWORD = 12345
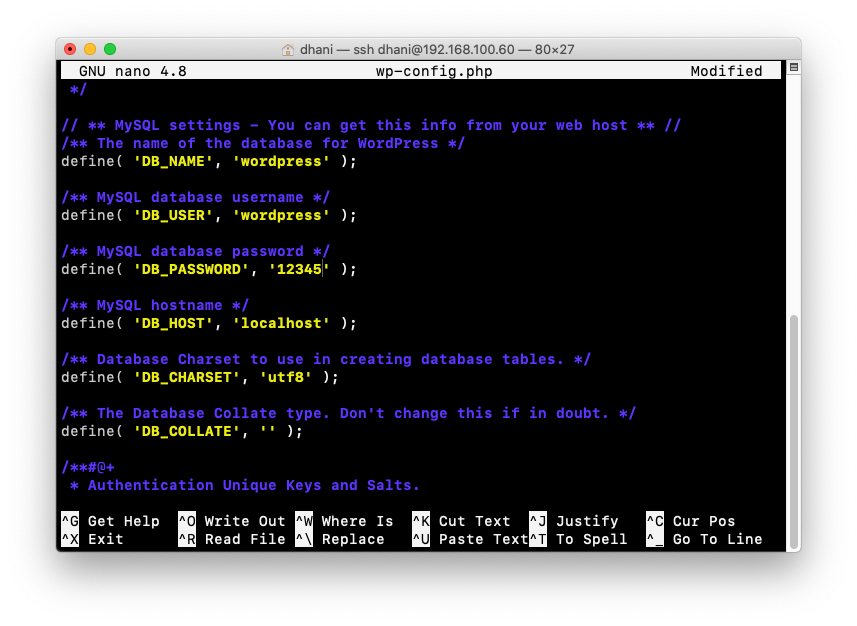
Now close and save the file.
Step 5. Create VirtualHost for Our WordPress site
Next, we need to create a new VirtualHost for the WordPress site. This is useful when we have multiple sites on our server.
Create a new file under /etc/apache2/sites-available/. In this example, I will call it griyaku.lan.conf. Please make sure the extension is .conf.
sudo nano /etc/apache2/sites-available/griyaku.lan.conf
Copy and paste these lines to it (modify as per your settings)
<VirtualHost *:80>
        ServerName griyaku.lan
        ServerAdmin webmaster@localhost
        DocumentRoot /var/www/html/griyaku.lan
        ErrorLog ${APACHE_LOG_DIR}/error.log
        CustomLog ${APACHE_LOG_DIR}/access.log combined
</VirtualHost>

Now close and save the file.
Check Apache Configuration
Now it is time to make sure everything is correct. Use this command to let Apache check the syntax.
apache2ctl -t
Output:
dhani@gis-server:/var/www/html/griyaku.lan$ apache2ctl -t
AH00558: apache2: Could not reliably determine the server's fully qualified domain name, using 127.0.1.1. Set the 'ServerName' directive globally to suppress this message
Syntax OK
Don’t worry about the error. We only care about the Syntax OK line.
Now let’s enable our new config
sudo a2ensite griyaku.lan.conf
sudo systemctl restart apache2
It is also recommended to disable the default VirtualHost.
sudo a2dissite 000-default.conf
sudo systemctl restart apache2
Completing the WordPress Installation
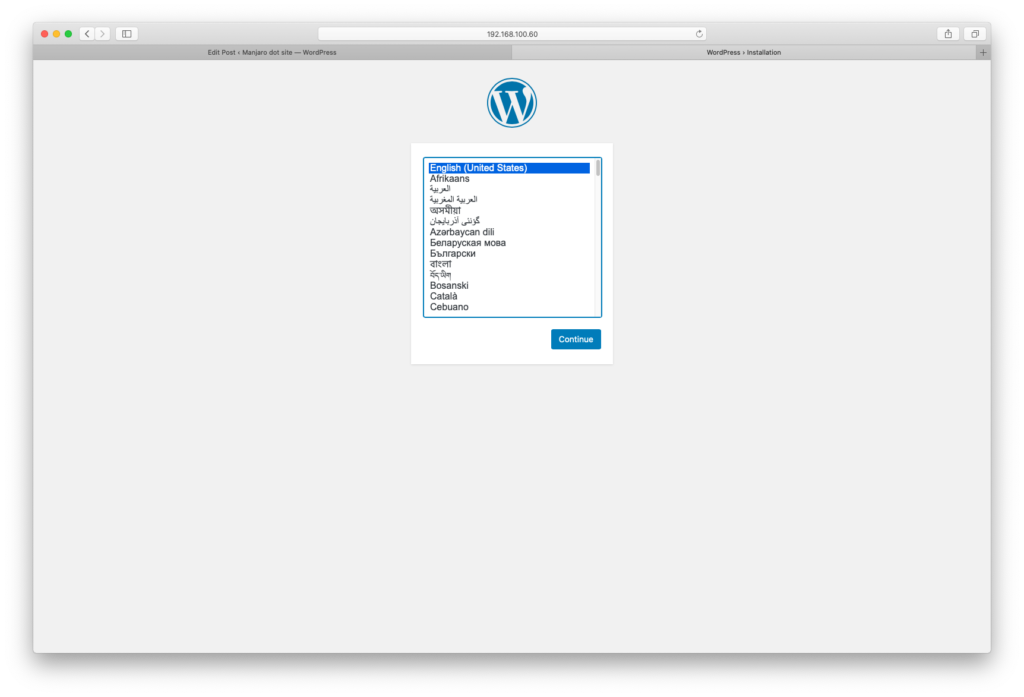
Open a web browser and then type the IP address of the Ubuntu 20.04 server to complete the WordPress installation. In my case, the server IP address is: 192.168.100.60
First, choose the installation language
Enter the information required
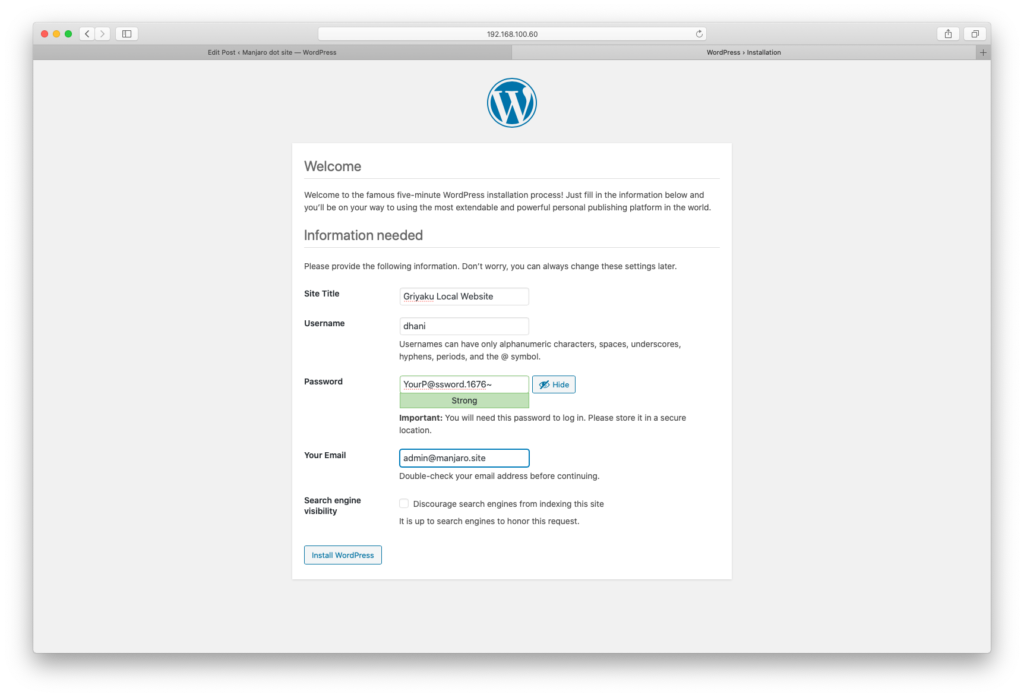
Press Install WordPress to continue
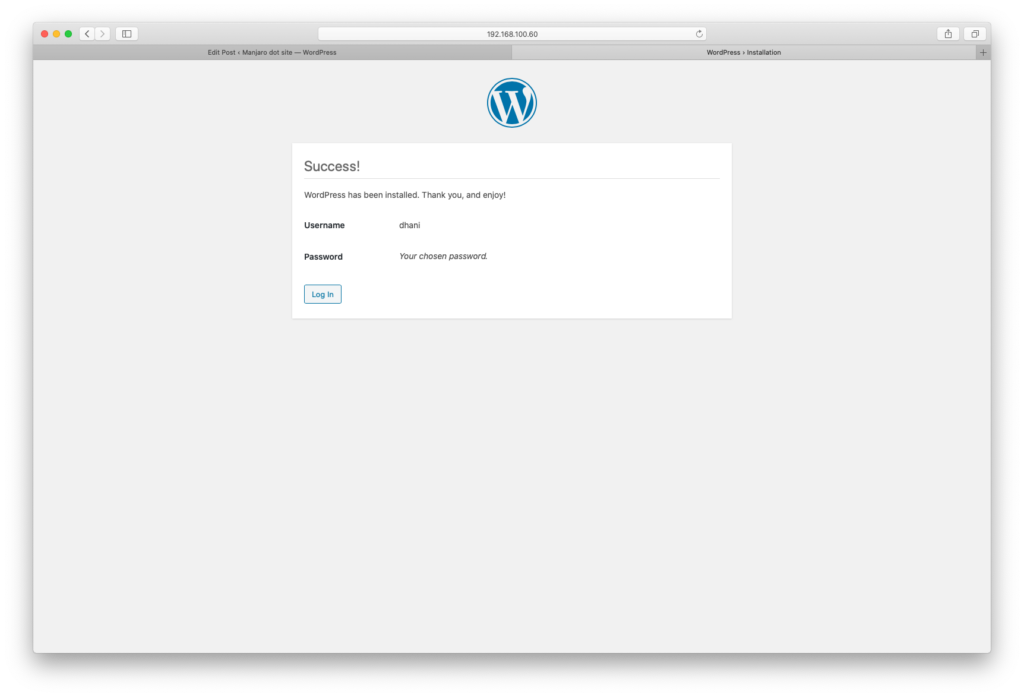
Done. Now we can log in to the WordPress Dashboard
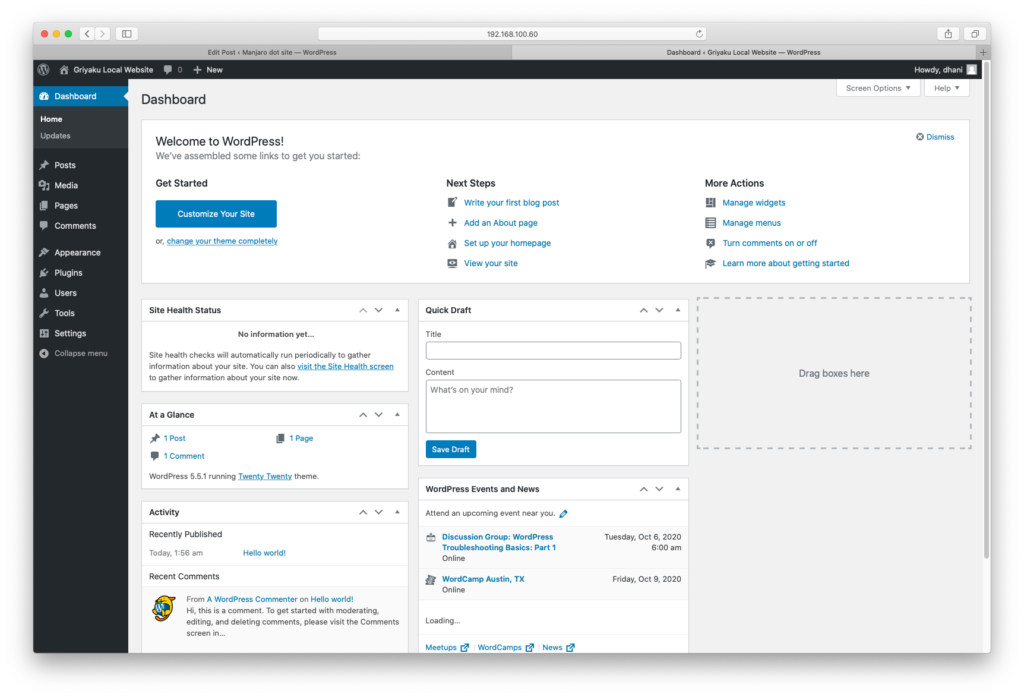
Now we have successfully install WordPress on Ubuntu 20.04. Please let me know if you think this article is useful for you. Leave us comments and see you on the next tutorial.
Leave a Reply