

This tutorial is going to show you how to install WordPress on Ubuntu 18.04. WordPress is the most popular CMS software that can be used to build a powerful dynamic websites on top of your Linux. WordPress is so powerful and has been used by millions of users around the world. We can easily install WordPress on Ubuntu 18.04. Please follow these guide to install WordPress on Ubuntu 18.04.
On this tutorial, we are using Ubuntu 18.04 Server. You may want to read our guide how to install Ubuntu 18.04 Server.
Steps to Install WordPress on Ubuntu 18.04
You can either connect to your Ubuntu 18.04 directly or via SSH. If you are running Windows, we recommend to use Putty or Termius.
Step 1. Install Apache web server
First of all, lets install Apache web server on Ubuntu 18.04. From the Terminal console, execute this command to install Apache web server.
sudo apt update && sudo apt upgrade
sudo apt install apache2
Enable Apache on startup
sudo systemctl enable apache2
sudo systemclt start apache2
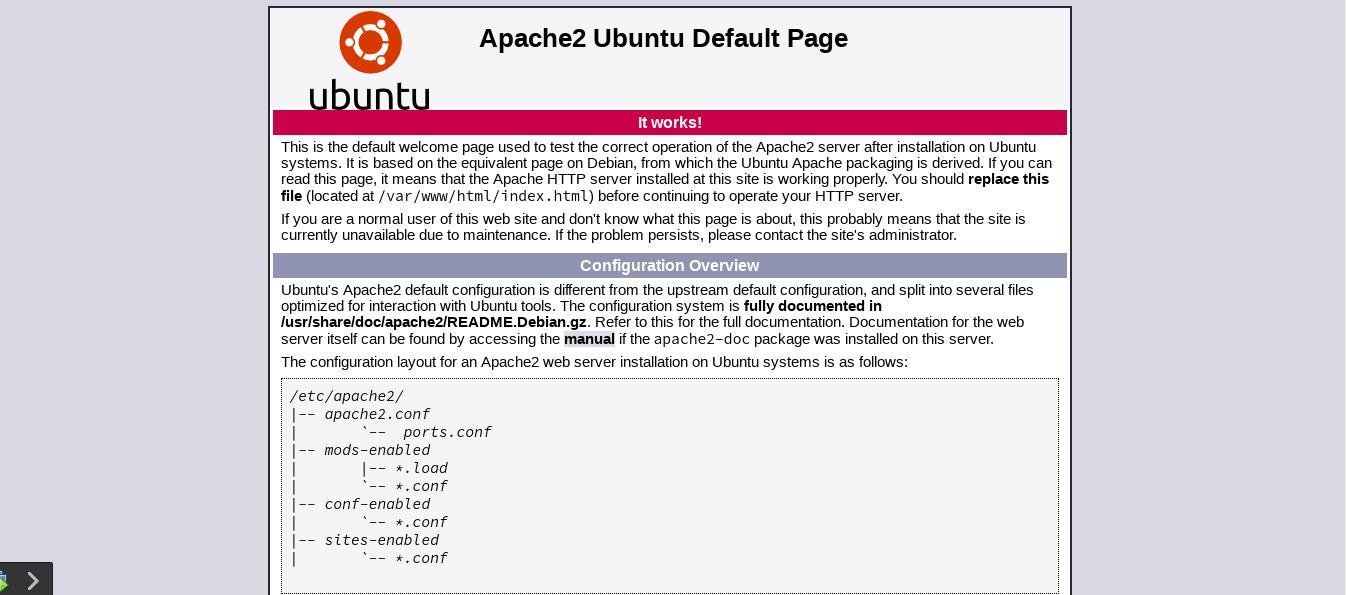
At this point, our Apache web server is ready. You can open a web browser and type the Ubuntu 18.04 IP address. You should see the following
Step 2. Install MySQL Database Server
Next, we are going to install MySQL database server. MySQL is a free but powerful database server which is widely used my millions of websites.
sudo apt install mysql-server
Now lets start MySQL Server
sudo systemclt start mysql
Now secure MySQL
sudo mysql_secure_installation
You will be asked to enter current MySQL root password which is usually blank. And then you will need to create new password for MySQL root user.
Create New User and Database for WordPress
Now we are going to create a new user and database for our WordPress installation. On this example, I am going to create new “wordpress” user and “wordpress_db” database.
Login to MySQL Console
sudo mysql -u root -p
Now Create New User
CREATE USER wordpress@localhost IDENTIFIED BY '12345';
Create Database
CREATE DATABASE wordpress_db;
Grant privileges
GRANT ALL PRIVILEGES ON wordpress.* to wordpress@localhost IDENTIFIED BY '12345';
Flush Privileges and Exit
FLUSH PRIVILEGES;
EXIT;
At this point we have successfully install MySQL Server, create new user and new database for WordPress.
Step 3 Install PHP
Now lets install PHP and some modules
sudo apt install php php-mysql php-curl php-zip php-mbstring php-intl php-xml php-xmlrpc php-soap php-gd php-common libapache2-mod-php
Now lets edit the PHP configuration
sudo nano /etc/php/7.2/apache2/php.ini
Scroll down and make change to the following lines:
file_uploads = On
allow_url_fopen = On
memory_limit = 256M
upload_max_file_size = 100M
max_execution_time = 360
Now restart Apache
sudo systemctl restart apache2
Now let’s test the PHP installation. Create a new info.php under /var/www/html/
sudo nano /var/www/html/info.php
And then paste this line
<?php phpinfo( ); ?>
Now open web browser and type the Ubuntu IP address for example: http://192.168.43.208/info.php
You should see the following
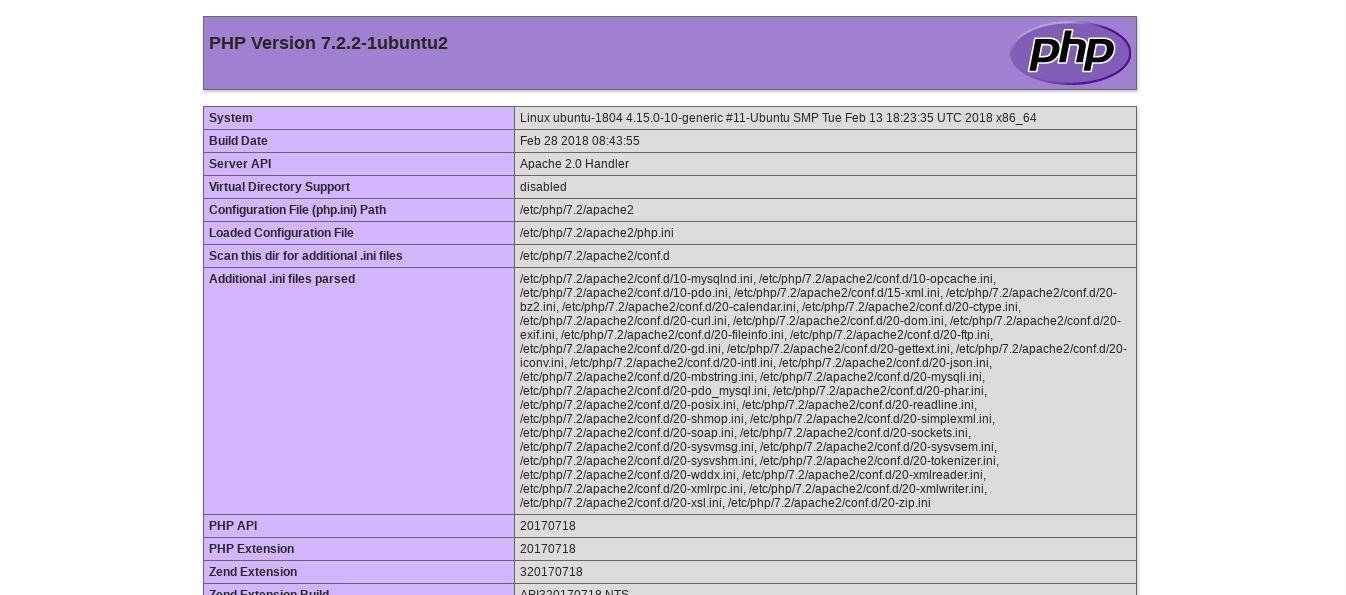
OK now, we have our PHP installation and we are ready to proceed to the next step.
Step 4. Install WordPress
There are several steps to install WordPress. First of all, lets download the latest WordPress package
cd /tmp && wget https://wordpress.org/latest.tar.gz
Extract the package
tar -xvf latest.tar.gz
This will produce a new “wordpress” directory. Then, change the permission and move this directory to /var/www/html
sudo chown -R www-data:www-data wordpress
sudo chmod -R 755 wordpress
sudo mv wordpress /var/www/html/
Step 5. Configure Apache2
We need to configure Apache2 in order it to work with our WordPress installation. First, lets create wordpress.conf under /etc/apache2/sites-available/
sudo nano /etc/apache2/sites-available/wordpress.conf
Now paste these lines
<VirtualHost *:80>
 ServerAdmin admin@example.com
 DocumentRoot /var/www/html/wordpress/
 ServerName YourSite.com
 ServerAlias www.YourSite.com

<Directory /var/www/html/wordpress/>
 Options +FollowSymlinks
 AllowOverride All
 Require all granted
 </Directory>

ErrorLog ${APACHE_LOG_DIR}/error.log
 CustomLog ${APACHE_LOG_DIR}/access.log combined

</VirtualHost>
Now enable our WordPress site and enable some modules
sudo a2ensite wordpress.conf
sudo a2enmod rewrite
sudo systemctl restart apache2
Step 6. Configure WordPress
Now we are ready to configure our website via Web Browser. Prepare your MySQL user and database. You will need it.
http://ip-address/wordpress
Change ip-address with your Ubuntu server IP address
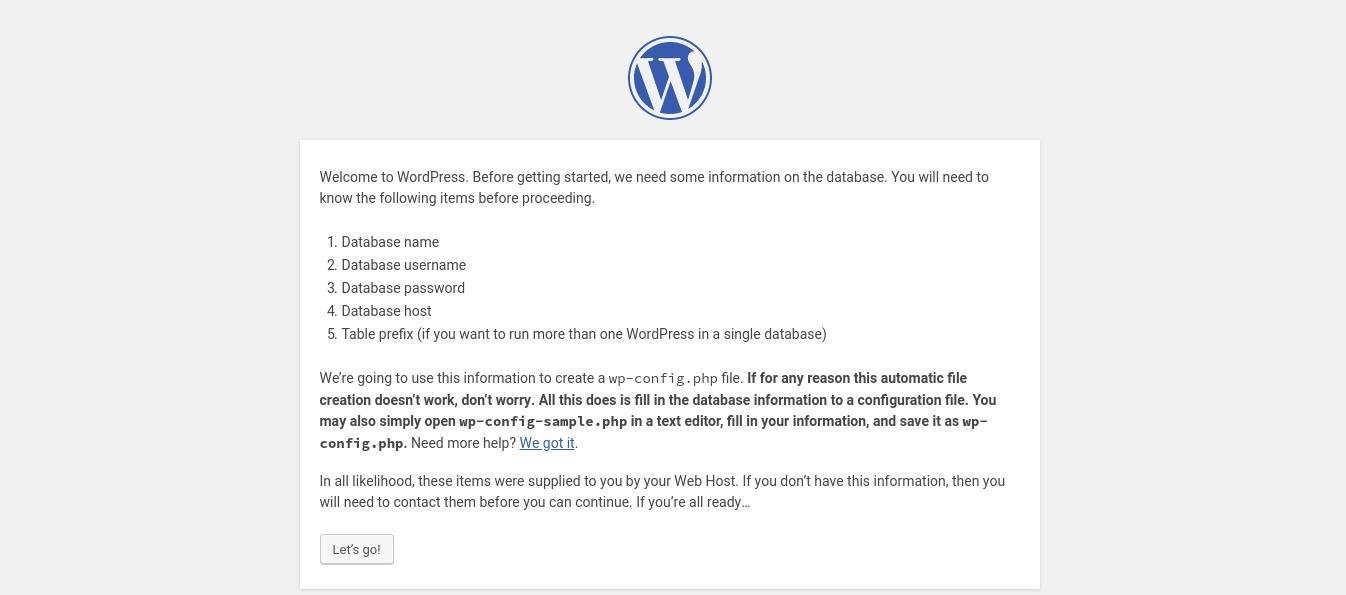
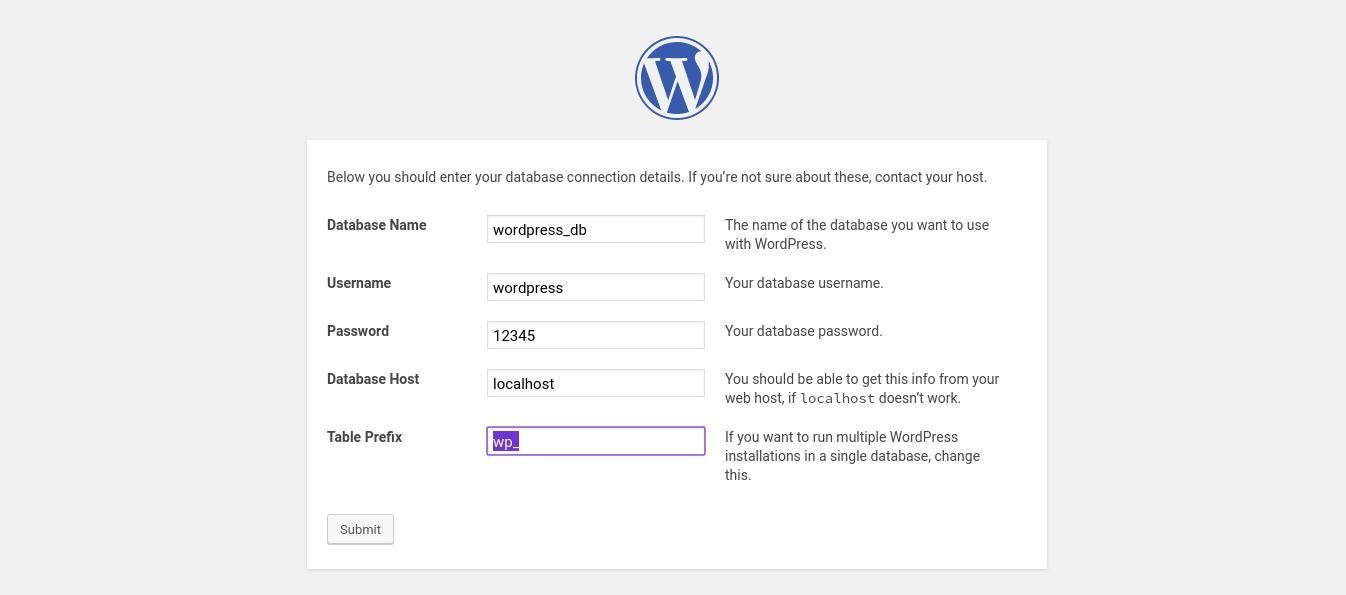
Click Let’s go. Enter your database name, username and password created on the previous step.
If after you submit the database information you got a write permission error like this, proceed to the next step
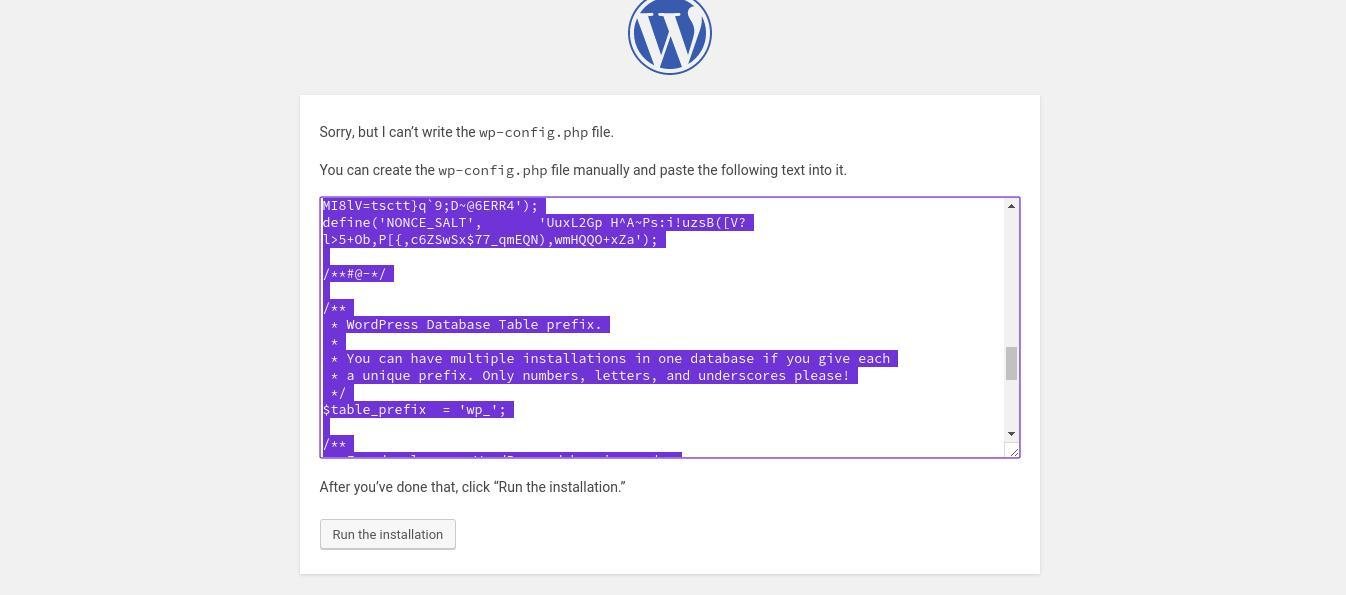
sudo nano /var/www/html/wordpress/wp-config.php
And then paste the lines from the web browser shown above. And then Click Run the Installation. It should works by now.
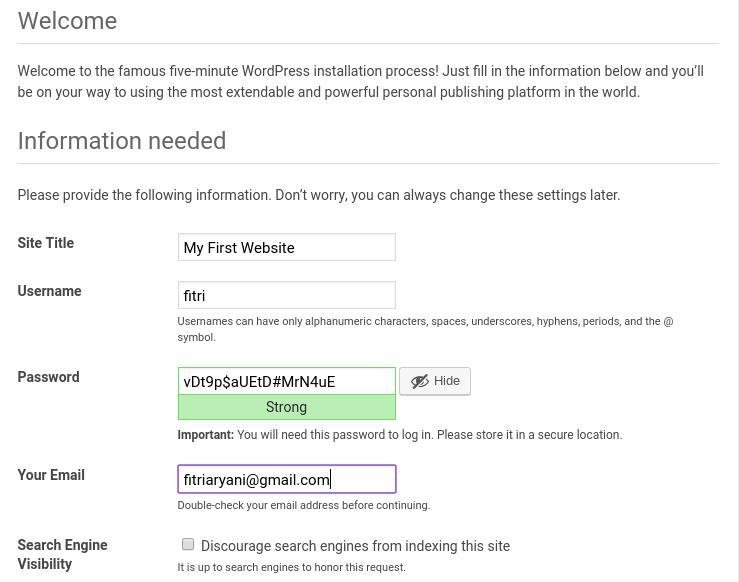
Enter the information required on that page and then click Install WordPress. Congratulations your WordPress site is up and running
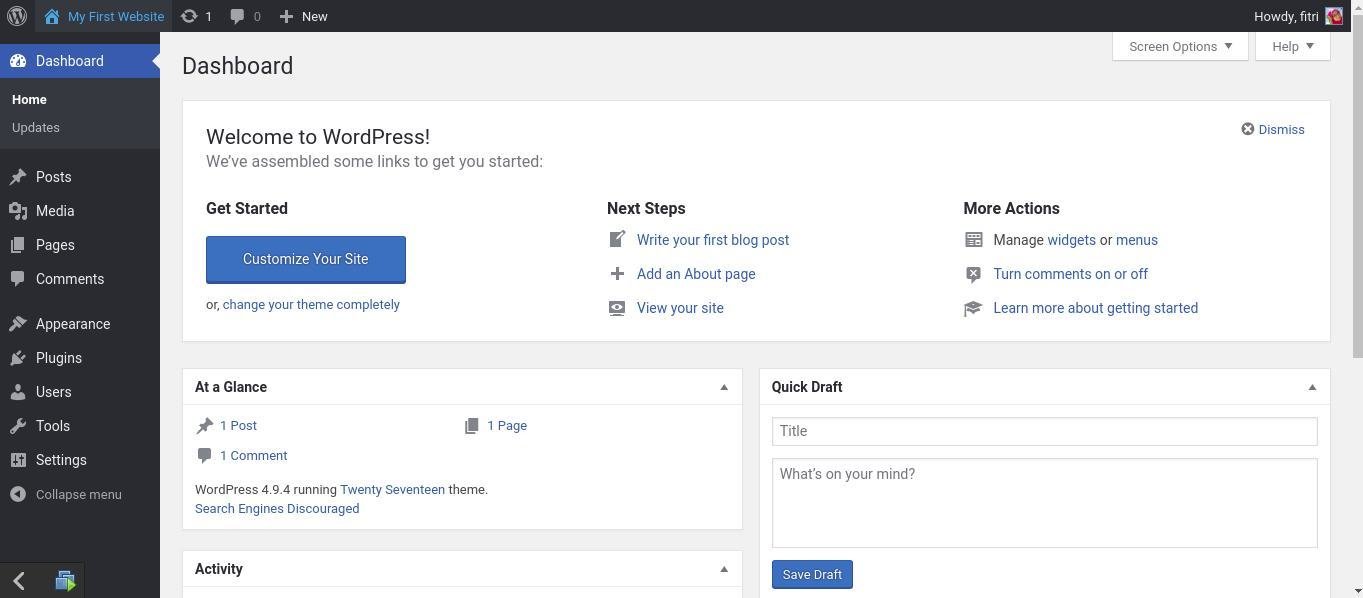
At this point, you have successfully install WordPress on Ubuntu 18.04 Bionic Beaver. You can continue to manage your wordpress site via its web dashboard. Or, you can also use WordPress Desktop to create posts.
Leave a Reply