

Hello everyone, in this article, we will show you how to install the latest Windows 11 22H2 on Proxmox. We will also configure this virtual machine with GPU passthrough to have decent 3D graphics performance. We can achieve many benefits by installing Windows 11 on Proxmox. We can easily create a backup and restore it in a few clicks. I assume you have a working Proxmox server with at least one dedicated graphic card.
In this article, I will show you step by step to install Windows 11 22H2 on Proxmox. You will find out how to download Windows 11 ISO, create a new Windows 11 machine correctly and assign a GPU to the VM. I hope this article is useful for you who want to learn Proxmox. It will be a pretty long article but it worth the read. I also include the screenshot for all steps.
Steps to Install Windows 11 22H2 on Proxmox
Step 1. Download Windows 11 22H2 ISO
Download the latest Windows 11 ISO using the link below.
https://www.microsoft.com/software-download/windows11
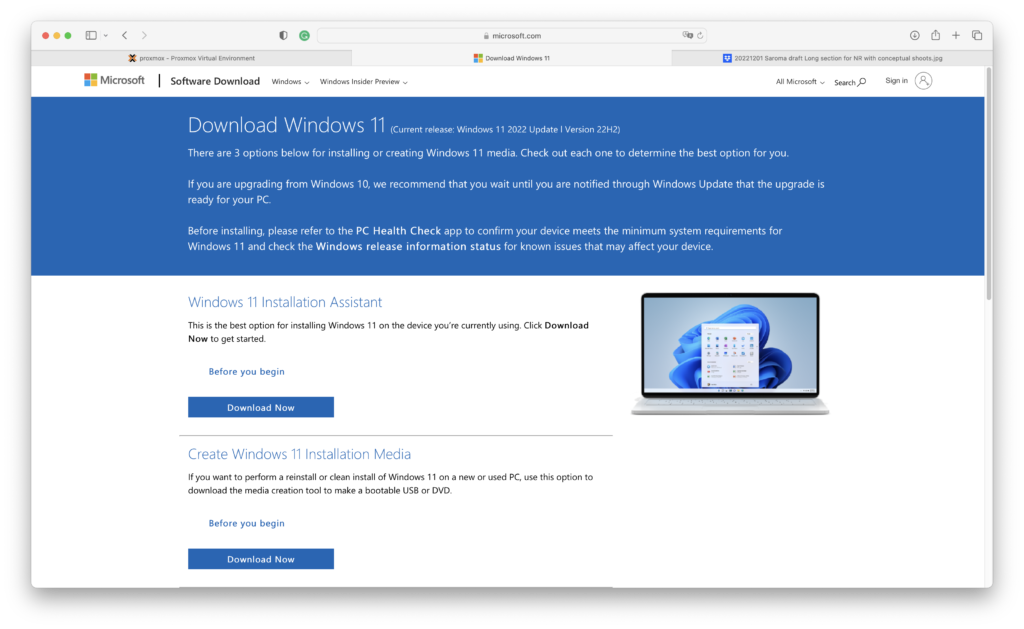
Once you have the ISO, upload it to the Proxmox server.
Step 2. Create a New Virtual Machine
Open the Proxmox web dashboard, and then create a new virtual machine. First, give a name for the new virtual machine.

Choose the Windows 11 ISO from the list, on the Guest OS, pick Microsoft Windows and version 11/2022.
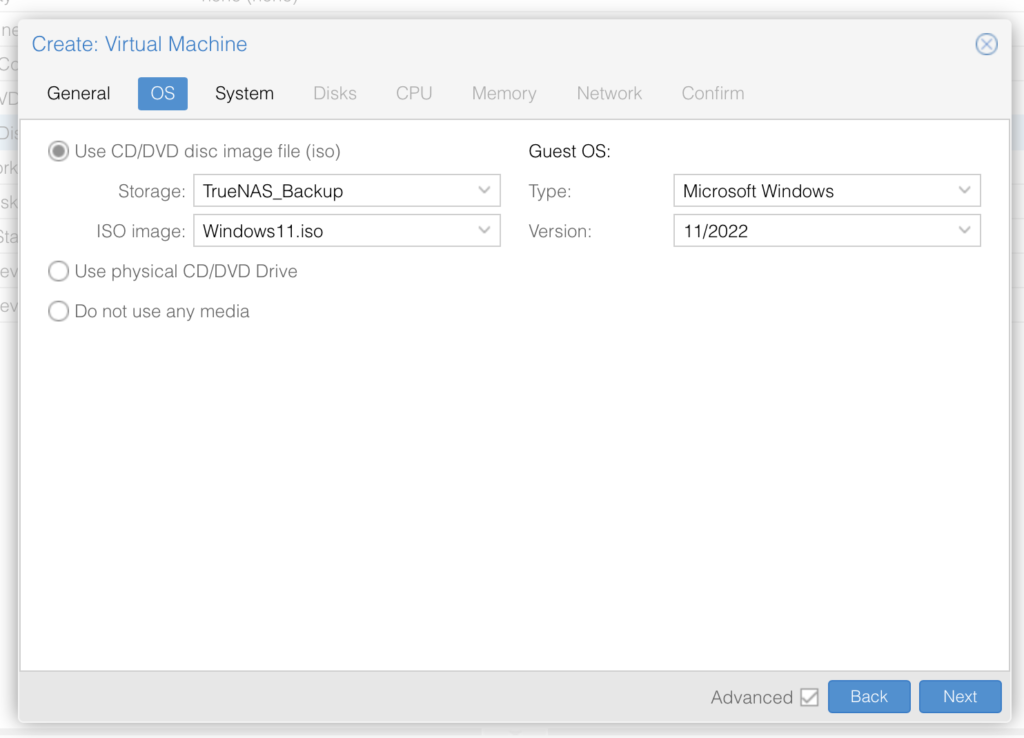
Press Next to continue to the next step. Make sure the following settings are:
- Graphic card: Default
- Machine: q35
- BIOS: OVMF(UEFI)
- Add EFI disk – checked
- Specify EFI Storage
- Pre-Enroll keys – checked
- Add TPM – checked

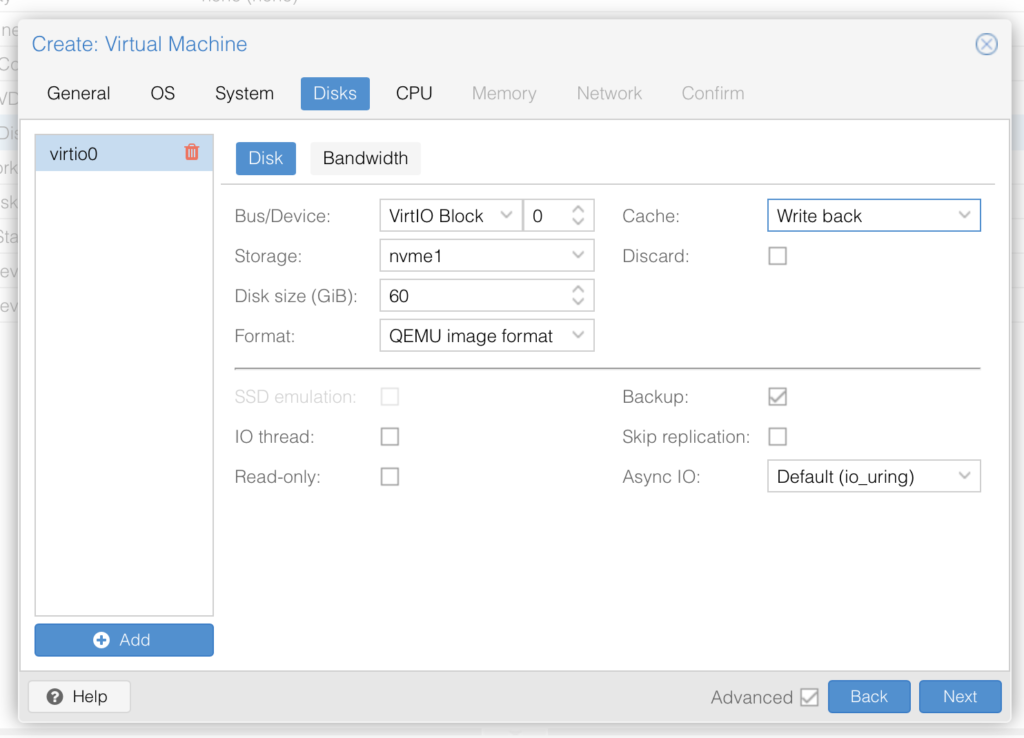
Configure Disk. Here we need to create a new disk for Windows 11. Choose the BUS/Device, storage location, and Disk size and I suggest Cache set to Write back.
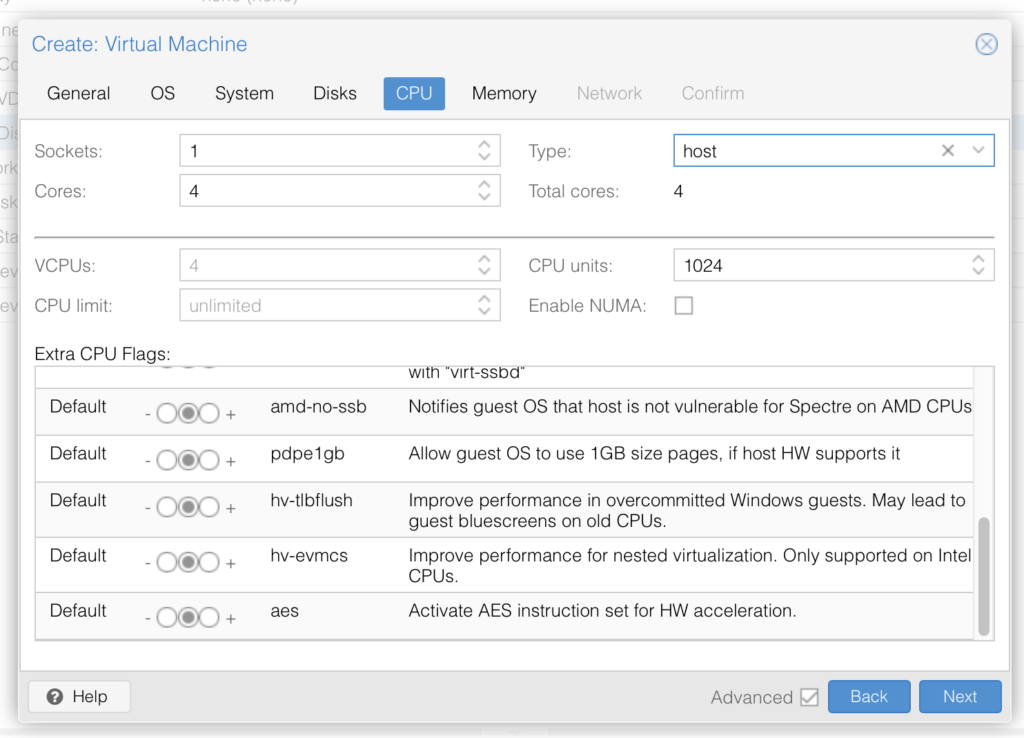
Configure CPU. For Windows 11, I would suggest the following CPU settings:
- CPU type: Host
- Cores: 4
Now we need to specify the RAM amount for the VM. I would use a minimum 8 GB of RAM for Windows 11 virtual machine.

Configure Network interface – self-explained

Virtual Machine summary. Check all the settings before clicking the Finish button.

Step 3. Download VirtIO Drivers for Windows
Without the VirtIO driver, the Windows 11 installer will not recognize the Proxmox virtual machine disk. So, we need to download the VirtIO ISO file. Download from the below link and upload it to Proxmox.
Download VirtIO ISO
https://pve.proxmox.com/wiki/Windows_VirtIO_Drivers
or here
https://fedorapeople.org/groups/virt/virtio-win/direct-downloads/latest-virtio/virtio-win.iso
Upload the ISO to Proxmox and then follow the steps below to add the VirtIO driver to Windows 11 virtual machine.
Open the Hardware tab of the Windows 11 virtual machine we created earlier. Click Add and choose CD/DVD Drive. Now select the VirtIO ISO from the list.
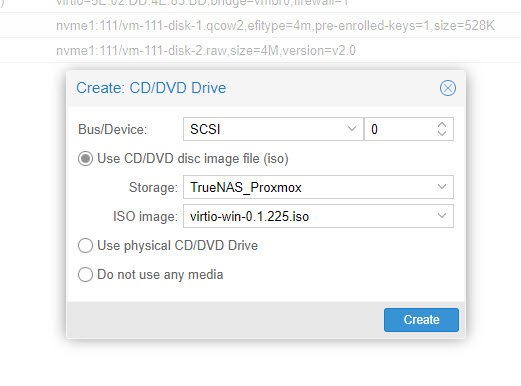
Click Create.
Step 4. Run the VM and Install Windows 11
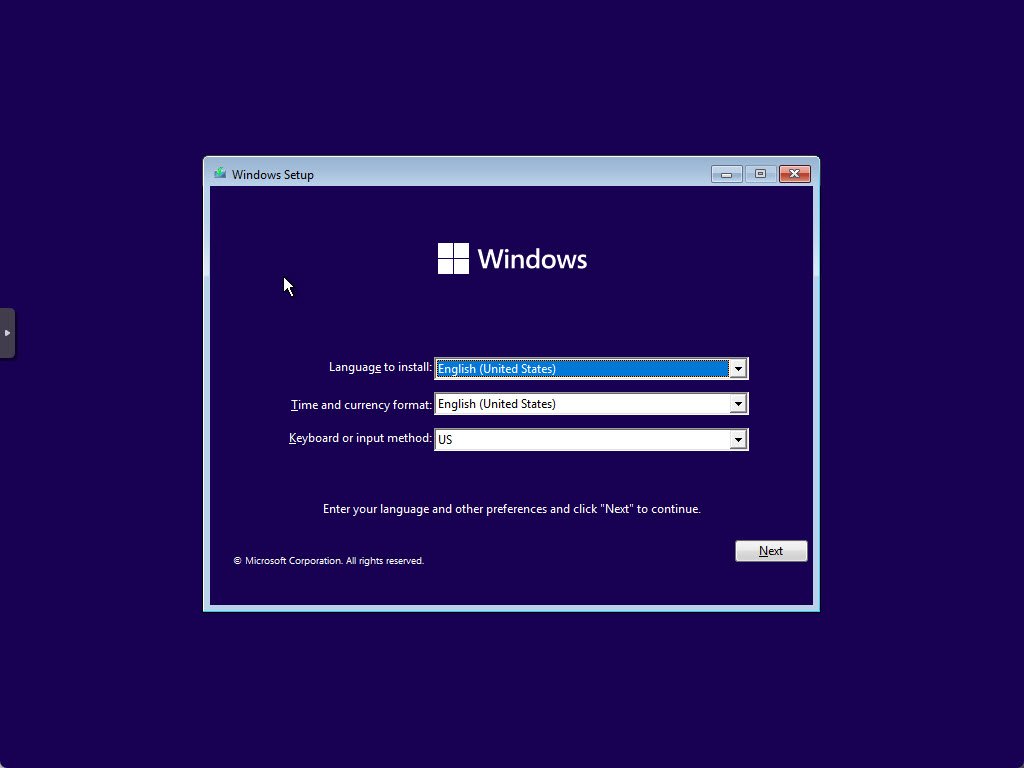
Start the Windows 11 VM and press any key during boot to enter the installer. Choose the installation language.
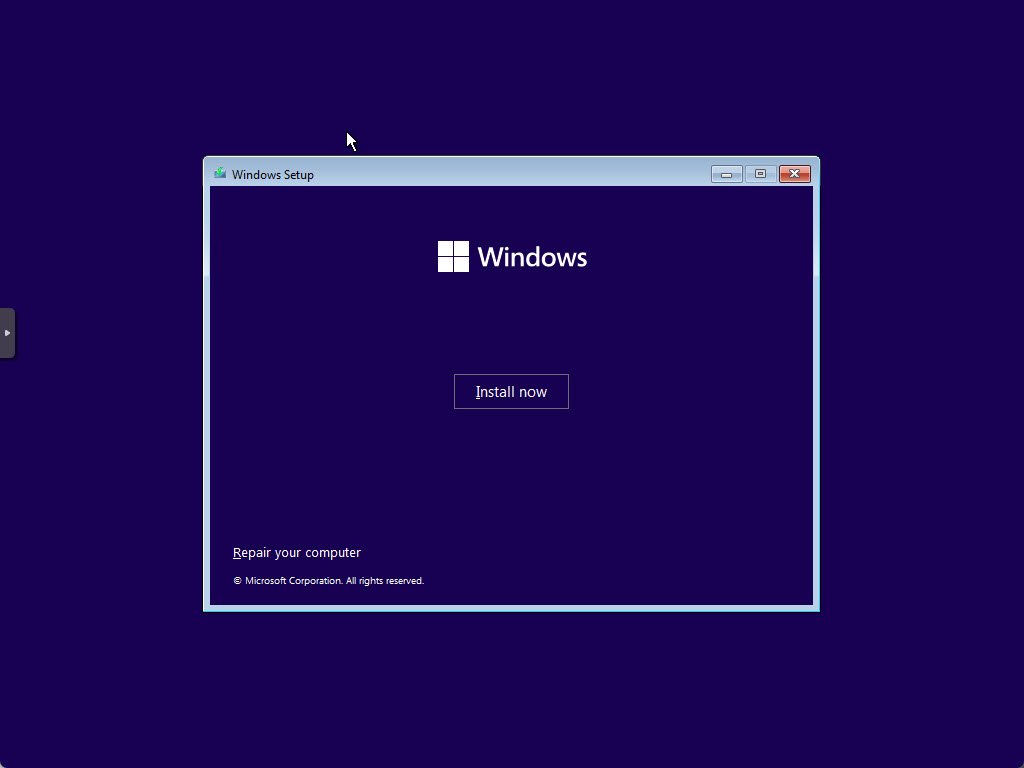
Click Install Now to start the installation
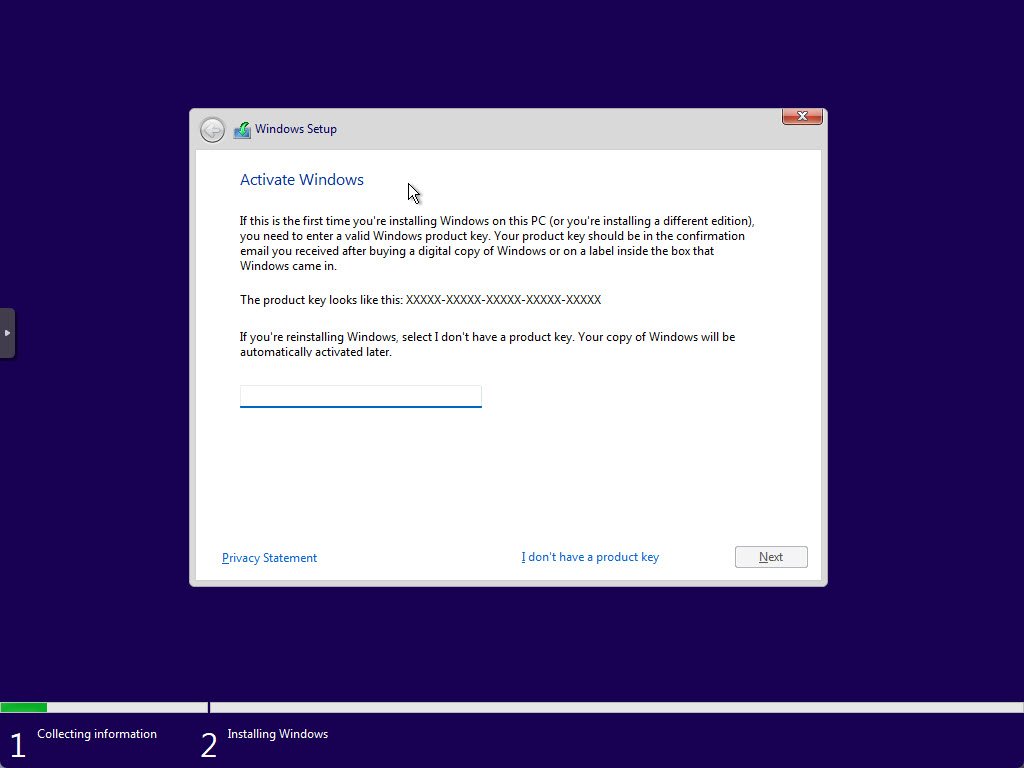
If you have Windows 11 serial number, you may enter it here. Otherwise, click I don’t have a product key.
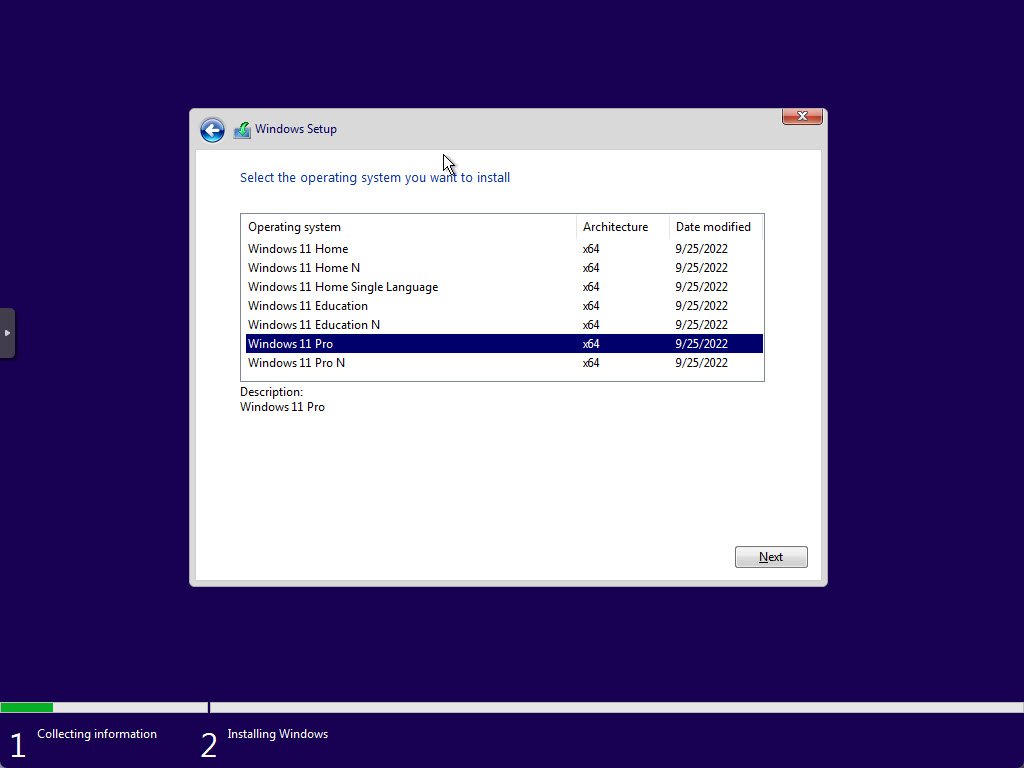
Choose the Windows 11 edition. In this case, I choose Windows 11 Pro version.
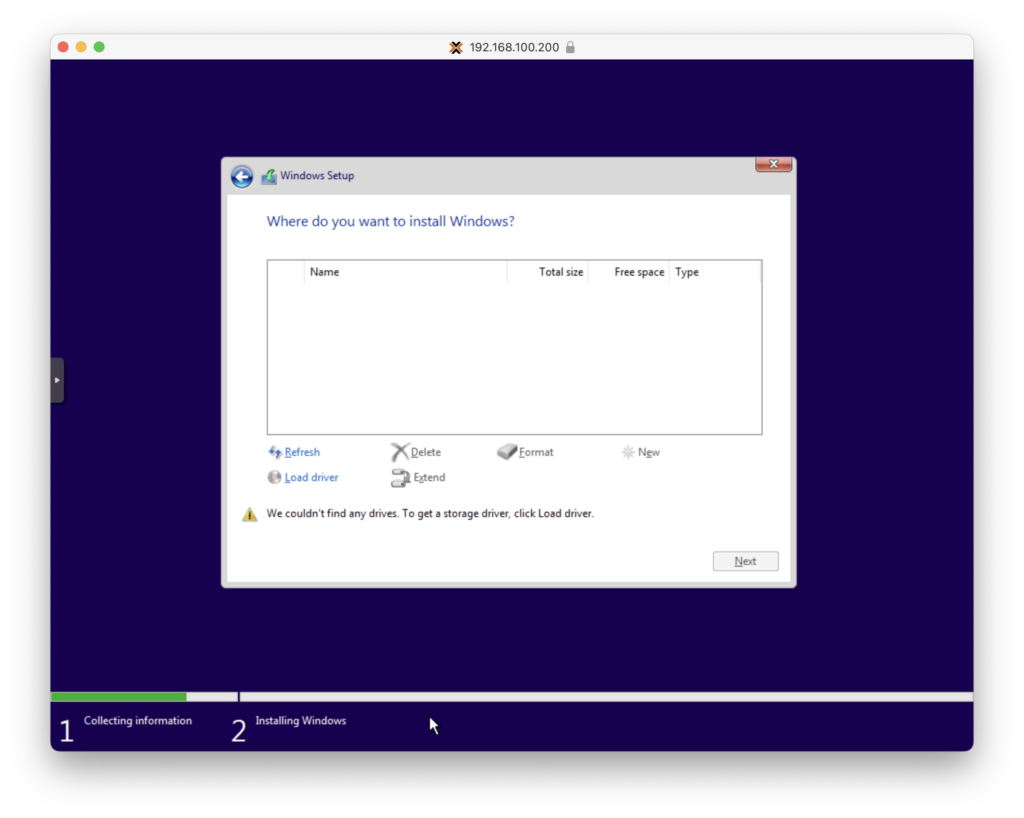
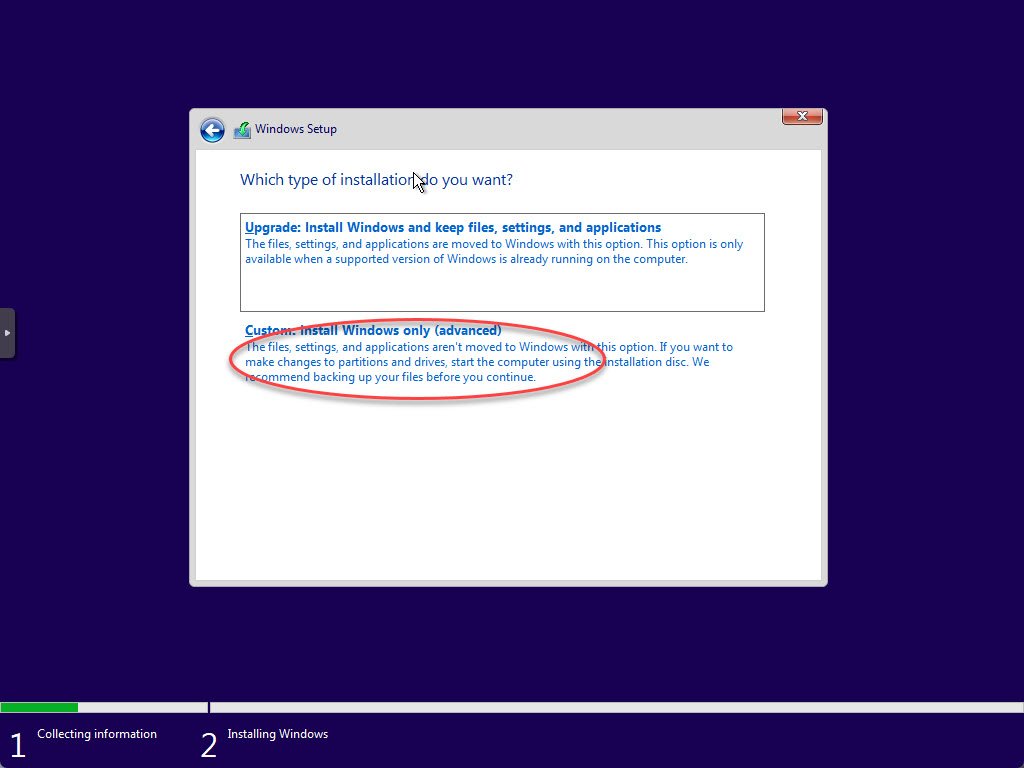
Next, choose Custom. Install Windows only (advanced)
As you can see, there is no hard disk detected.
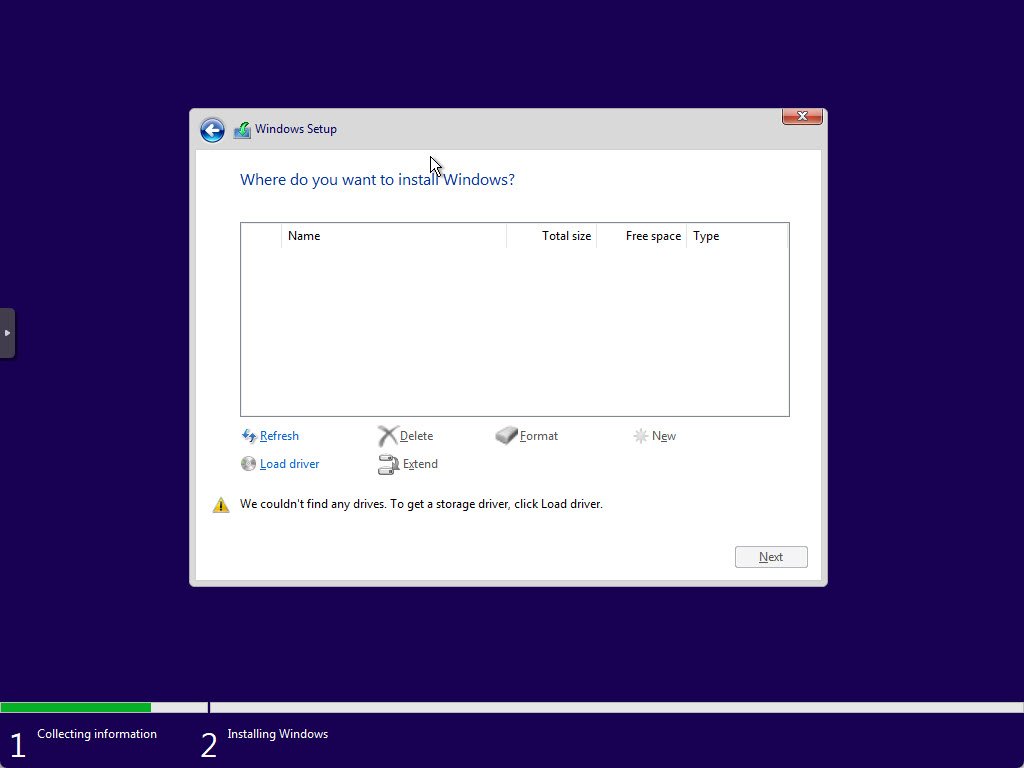
To fix this, click Load driver and see the following video for illustration
Now we can continue installing Windows 11. Once the installation is completed, we can continue to enable GPU passthrough to our virtual machine.
Step 5. Enable GPU Passthrough on Windows 11 Virtual Machine
In order to be able to use the GPU Passthrough in Proxmox, we need to enable this feature in the Proxmox host. I will not explain here. Please visit my previous article below to enable passthrough on Proxmox
Also, you may want to visit the official Proxmox guide below
Once the PCI-e passthrough is enabled on the Proxmox host, follow these steps to enable the GPU passthrough on the Windows 11 virtual machine.
Steps to Enable GPU Passthrough to Windows 11 Virtual Machine
First, shut down the VM and then open the Hardware tab of the VM. Now follow the guide below and adjust it with your own situation.
Now connect your monitor the the Proxmox host via HDMI or Display Port. If necessary, you can also passthrough the USB keyboard and mouse so you can use it within Windows 11.
Final Thought
Running Windows 11 on Proxmox with GPU Passthrough is really good. If we need, we can run another virtual machine along side the Windows 11 and run at the same time. Thanks for reading this how to install Windows 11 22H2 on Proxmox with GPU Passthrough. I’ll see you next time.
Leave a Reply