

Welcome to another Ubuntu Tutorial. In this article, we are going to show you how to install PostgreSQL on Ubuntu 19.10. There are several ways to install PostgreSQL. You may choose to install it from the Ubuntu repository, or you can also install EDB PostgreSQL by EnterpriseDB.
In this article, you will also learn some basic PostgreSQL administrative commands such as how to check the service status, login to PostgreSQL console and some more.
Steps to Install PostgreSQL on Ubuntu 19.10
Open Terminal and then follow these steps:
sudo apt update
sudo apt install postgresql postgresql-contrib
Once the installation complete, you can check the service status with the following command
sudo systemctl status postgresql
Output:
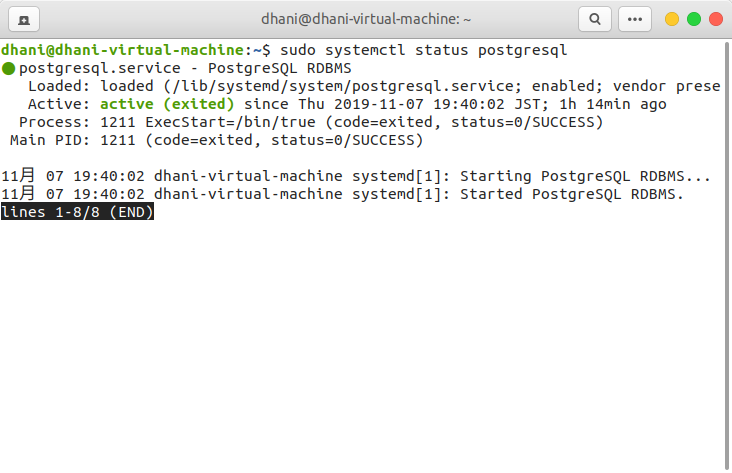
Make sure the service running well as shown above.
To stop the Postgresql service:
sudo systemctl stop postgresql
Start the service
sudo systemctl start postgresql
Restart the service
sudo systemctl restart postgresql
Next, let’s try to login to the PostgreSQL console.
First, we need to switch to postgres user:
dhani@dhani-virtual-machine:~$ sudo -i -u postgres
postgres@dhani-virtual-machine:~$
Now use the psql command to enter the console
postgres@dhani-virtual-machine:~$ psql

psql (11.5 (Ubuntu 11.5-1))

Type "help" for help.

postgres=#
To quit from the console, type:
\q
By default, the postgres user does not have a password. So, let’s create a new one.
Create or change postgres user password
To change postgres user or any other user, use the following syntax. For example:
ALTER ROLE postgres WITH PASSWORD '12345';
The command will change the postgres user password to 12345.
Install PgAdmin on Ubuntu 19.10
PgAdmin is a free, web-based administration tool for PostgreSQL database. It is a handy, rich features tool that you will love. You can use PgAdmin to create a new database, manage users, and do many other things. To install PgAdmin on Ubuntu 19.10, follow these steps.
Step 1. Install Prerequisites
Open Terminal and paste the following commands
sudo apt-get install curl ca-certificates gnupg
curl https://www.postgresql.org/media/keys/ACCC4CF8.asc | sudo apt-key add -
Step 2. Create a new repo file
Create a new file eoan-pgdg.list inside /etc/apt/sources.list.d directory and then paste the following line into the new file
deb http://apt.postgresql.org/pub/repos/apt/ eoan-pgdg main
Step 3. Update and Install PgAdmin
Now we are ready to install PgAdmin.
sudo apt update
sudo apt install pgadmin4
After that, you should see the PgAdmin4 application icon in the Ubuntu application list.

How to enable Remote access to the PostgreSQL Server
It is important to make sure the user can connect to the PostgreSQL server from the network. There are some steps we need to take to enable the network access to the server.
Edit the pg_hba.conf
sudo nano /etc/postgresql/12/main# nano pg_hba.conf
Add the following lines to the end of the file
host    all             all             0.0.0.0/0               md5
host    all             all             ::/0                    md5
Close and save the file. And then restart PostgreSQL Service
sudo systemctl restart postgresql
Edit the postgresql.conf
We also need to edit the postgresql.conf file.
sudo nano /etc/postgresql/12/main/postgresql.conf
Find the following line
#listen_addresses = 'localhost'
And then change it to
listen_addresses = '*'
Close and save the file and restart the service
sudo systemctl restart postgresql
Done. Now try to connect to the PostgreSQL Server from the network. You should now able to connect.
in the section “How to enable Remote access to the PostgreSQL Server” there are two smaller mistakes:
sudo nano /etc/postgresql/12/main# nano pg_hba.conf
and
sudo nano /etc/postgresql/12/main/postgresql.conf
should be 11 not 12.
Besides that great tutorial! Thanks!
version 12 is the latest supported by Ubuntu 19.10 so the article is correct.