

In the following article, I am going to show you how to install the latest Oracle instant client 19.5 on Windows 10. As you know, Oracle Instant Client is a set of tools you need to connect and manage the Oracle database server. With this tool, we can connect to both local or remote Oracle database. Not like many other software, it needs extra steps in order to install the instant client. But don’t worry, we will cover it shortly.
Steps to Install Oracle Instant Client on Windows 10
Step 1. Install Microsoft Visual Studio 2017 Redistributable
The Oracle Instant Client 19.5 requires the installation of the Microsoft Visual Studio 2017 Redistributable. Make sure you have this software installed on Windows 10.
Step 2. Create a new directory for the instant client
Create a new folder under C:/ or any other folder. This new folder will be used to store the oracle instant client files. In this example, I will create a new folder called C:\oracle
Step 3. Download the Oracle Instant Client
Now download the latest version of Oracle Instant Client. Choose the correct architecture that match your system. Or, if you are using Windows 10 64 bit, you can use the link below to directly download it. Choose one of these below
Basic Package
Basic Light Package
You will also need to download the Instant Client SDK Package below
Save these two files inside the folder we created earlier.
Step 4. Extract the package
I assume you have two files below:
- instantclient-basic-windows.x64-19.5.0.0.0dbru.zip
- instantclient-sdk-windows.x64-19.5.0.0.0dbru.zip
First, extract the file instantclient-basic-windows.x64-19.5.0.0.0dbru.zip. It will produce a new subfolder called instantclient_19_5. Next, extract the file instantclient-sdk-windows.x64-19.5.0.0.0dbru.zip. The second file should be extracted into the instantclient_19_5 directory. Here are the folder content result

Step 5. Modify the Environment Variable
In this section, we are going to edit the Environment Variable. We will include the Oracle Instant Client path into the environment variable. To do this, follow these steps:
- Open Control Panel >> Settings
- Click Advanced System Settings
- On the Advanced tab, click Environment variables
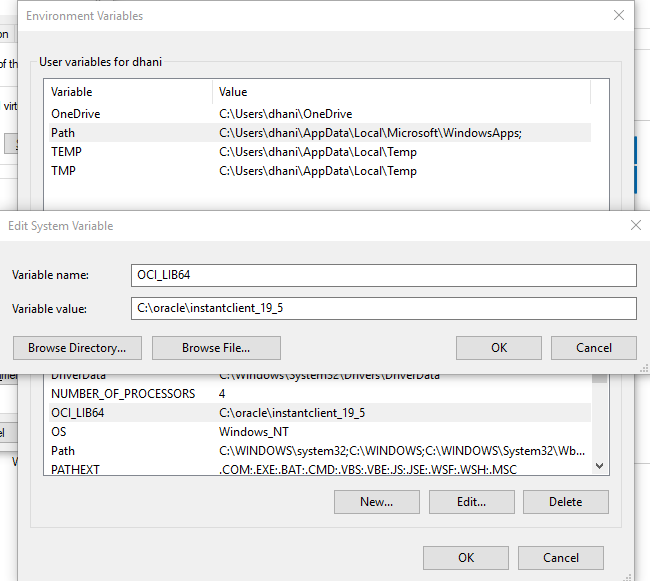
- Under System Variables, create OCI_LIB64 if it does not exist. Set the value OCI_LIB64 to C:\oracle\instantclient_19_5
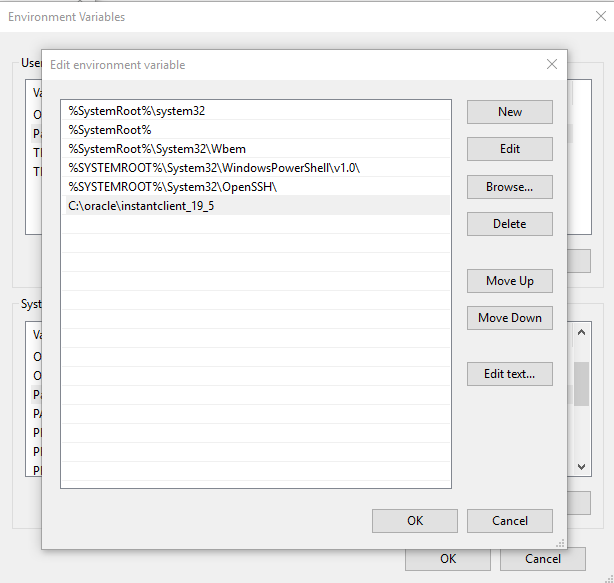
- Under System Variables, edit PATH and include C:\oracle\instantclient_19_5
Leave a Reply