SQLplus is a command line utility to manage Oracle Database. It is a powerful tool that all Oracle database administrator must have. In this tutorial, I am going to install the SQLplus Utility 9.5 in Windows 10. The new version of sqlplus 19.5 is available alongside the new Oracle Database 19c. On the previous article, I have shown how to install Oracle Database 19c on CentOS 8.

Once the connection is made between the client and the server using sqlplus, we can perform many database administration, query, user management and so on.
Steps to Install SQLplus on Windows 10
Step 1. Install Oracle Instant Client
Before we can install and run the sqlplus utility, we need to configure the Oracle Instant Client Utility first. So, I would suggest you to read this article to Install Oracle Instant Client 19.5 on Windows 10.
Step 2. Download SQLplus software package
Once you’ve setup the instant client correctly, now we need to download the sqlplus package from the following link
So this is the sqlplus software package for Windows 10 64 bit edition.
Step 3. Install the Package
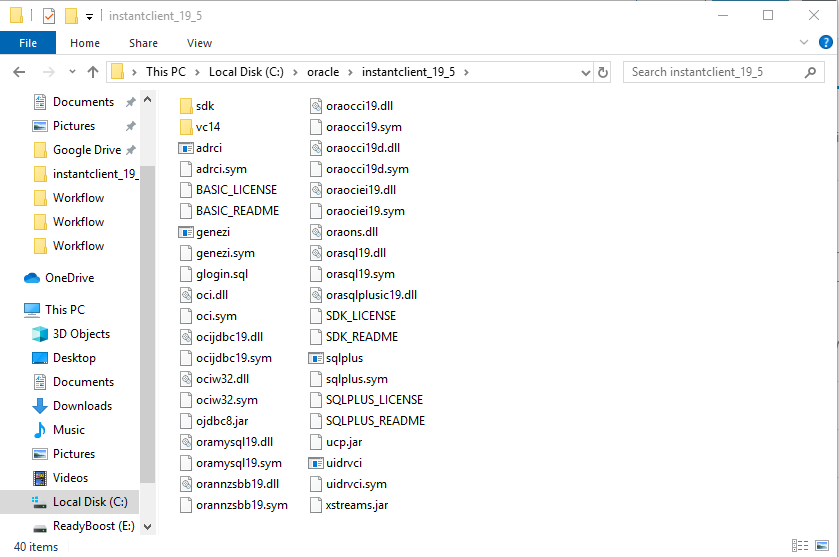
From the previous step, you should have a zip file called : instantclient-sqlplus-windows.zip. Now extract the file to your instant client directory you created on the Step 1. Here is the screenshot of my instant client folder looks like:

Notice that there is sqlplus application in this instant client folder. Now we are ready to go.
How to Connect to Oracle Database via SQLplus Command
In the following example, I will show you how to connect to remote oracle database via sqlplus command. Before we connect, we need to configure the user in the Oracle database. Skip the user creating step if you already have a database user that can connect to the pluggable database.
Create a new user
In the database server host, we need to connect to the database using sqlplus in order to create a new user for the pluggable database. In this case, my container database called cdb1 and the pluggable database is called pdb1.
How to Install Oracle Database 19c on CentOS 8
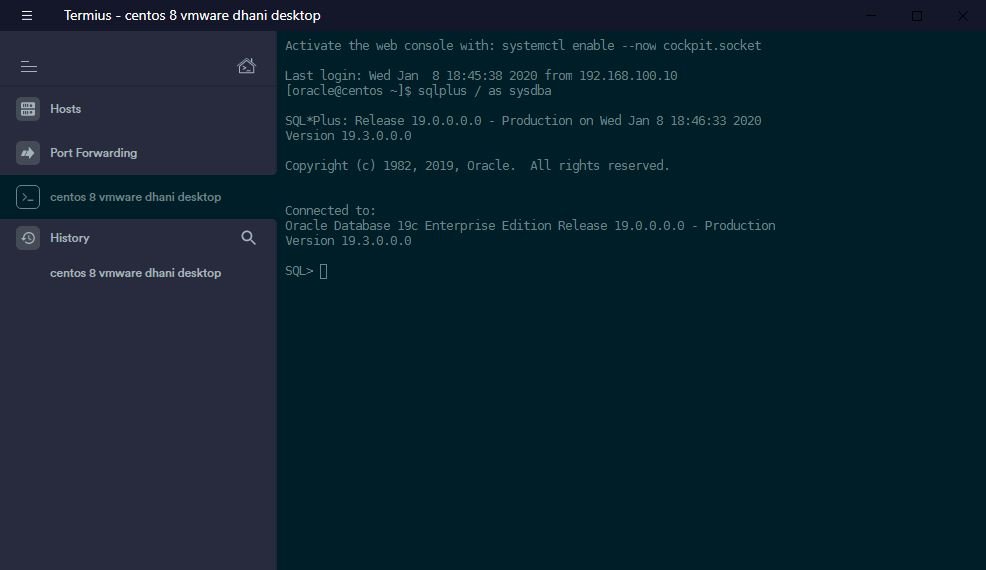
Login as oracle user and then execute this command.
sqlplus / as sysdba

Now let’s show the current database we connected
SQL> show con_name;
 CON_NAME
 CDB$ROOT
As you can see now we are connected to the root database. We need to switch to the pluggable database (pdb1).
SQL> alter session set container = pdb1;
 Session altered.
Now check again using show command
SQL> show con_name;
 CON_NAME
 PDB1
As you can see, now we are connected to PDB1, the pluggable database. Next, we need to open the database so we can create a new user for it.
SQL> ALTER DATABASE OPEN;
Database altered.
Then, we can create a new user
SQL> CREATE USER manjaro IDENTIFIED BY thePassword;
 User created.
The command will create a new user called “manjaro” and password “thePassword”. After that, we need to grant “CONNECT” privileges to manjaro user so user can connect to the database. You can also add multiple roles to the new users. For example:
SQL> GRANT CONNECT, DBA, RESOURCE TO manjaro;
 Grant succeeded.
Done. Please note that this new user only exist in the pluggable database. So, to connect, we need to specify the username as manjaro@pdb1 in the Connect command.
Connect to the Database
Ok, so now we have a new user setup in the pdb1 database. Let’s try to connect to the database.
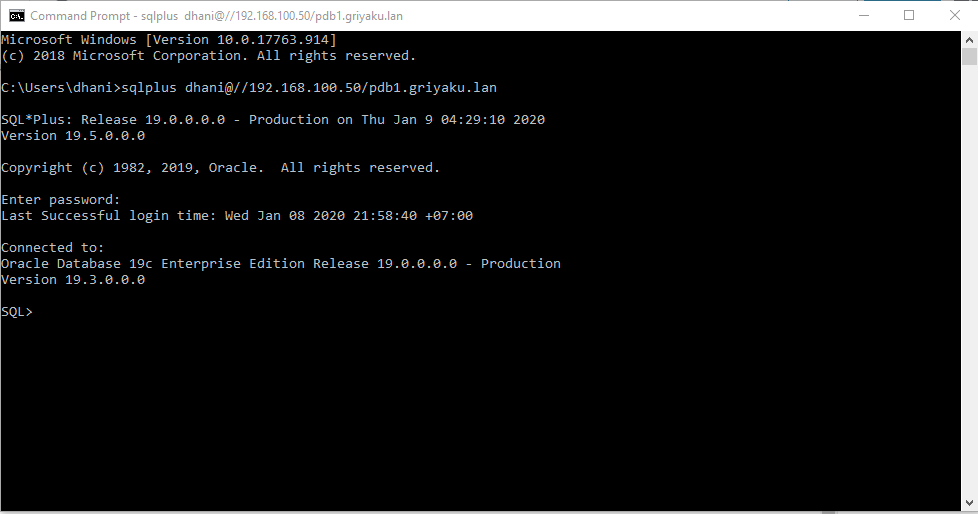
From the other computer (in this case Windows 10 where sqlplus is installed using above steps), open command prompt and execute the following command:
sqlplus manjaro@192.168.100.50/pdb1.griyaku.lan
Output:
C:\Users\dhani>sqlplus manjaro@192.168.100.50/pdb1.griyaku.lan SQL*Plus: Release 19.0.0.0.0 - Production on Thu Jan 9 07:06:56 2020 Version 19.5.0.0.0 Copyright (c) 1982, 2019, Oracle. All rights reserved. Enter password: Connected to: Oracle Database 19c Enterprise Edition Release 19.0.0.0.0 - Production Version 19.3.0.0.0
Where:
- 192.168.100.50 is the Oracle database host IP address
- pdb1.griyaku.lan is the Oracle database service
You can check your Oracle database services and instances with the following command. Make sure you execute this command on the database host as oracle user.
lsnrctl services;
Output:
[oracle@centos ~]$ lsnrctl services;
 LSNRCTL for Linux: Version 19.0.0.0.0 - Production on 08-JAN-2020 19:08:07
 Copyright (c) 1991, 2019, Oracle.  All rights reserved.
 Connecting to (ADDRESS=(PROTOCOL=tcp)(HOST=)(PORT=1521))
 Services Summary…
 Service "86b637b62fdf7a65e053f706e80a27ca.griyaku.lan" has 1 instance(s).
   Instance "cdb1", status READY, has 1 handler(s) for this service…
     Handler(s):
       "DEDICATED" established:10 refused:0 state:ready
          LOCAL SERVER
 Service "9b7a3d83ac5545ffe0533264a8c09ccc.griyaku.lan" has 1 instance(s).
   Instance "cdb1", status READY, has 1 handler(s) for this service…
     Handler(s):
       "DEDICATED" established:10 refused:0 state:ready
          LOCAL SERVER
 Service "cdb1.griyaku.lan" has 1 instance(s).
   Instance "cdb1", status READY, has 1 handler(s) for this service…
     Handler(s):
       "DEDICATED" established:10 refused:0 state:ready
          LOCAL SERVER
 Service "cdb1XDB.griyaku.lan" has 1 instance(s).
   Instance "cdb1", status READY, has 1 handler(s) for this service…
     Handler(s):
       "D000" established:127 refused:0 current:0 max:1022 state:ready
          DISPATCHER
          (ADDRESS=(PROTOCOL=tcp)(HOST=centos.griyaku.lan)(PORT=34745))
 Service "pdb1.griyaku.lan" has 1 instance(s).
   Instance "cdb1", status READY, has 1 handler(s) for this service…
     Handler(s):
       "DEDICATED" established:10 refused:0 state:ready
          LOCAL SERVER
 The command completed successfully
Thank you for reading this how to install sqlplus 19.5 on Windows 10. I hope you enjoy it and leave us comments for any queries. Cheers.

Leave a Reply