

I am kind of a guy that loves virtualization so much. I wrote many articles in this blog about virtualization. I used to use Virtualbox a lot. But recently, Proxmox is my favorite. I am planning to share more about Proxmox in this blog. I also use VMware Workstation on my Windows machine. Recently, I bought a new Macbook Pro M1 and there is two software that I loved so much, UTM and Parallels Desktop. UTM is great and also free. The Parallels Desktop is a commercial software that has been a standard for virtualization software for Mac users.
In this article, we will go through the installation of Fedora 37 Workstation on Macbook Pro M1 using Parallels Desktop. I will show you the steps to install this Linux on your M1 Mac with the help of Parallels Desktop.
Steps to Install Fedora 37 Workstation on M1 Mac
I assume you have Parallels Desktop installed on your Mac. You can download the latest version from the link below.
Parallels is a simple software, to create a new VM, simply open the Control Center and click New. It will open the New virtual machine wizard.
Next, we also need to download Fedora 37 Workstation ISO from the official Fedora website. If you are on M1 Mac like me, make sure to choose the ARM64 edition. Otherwise it will not work.
Now we have all the requirements, let’s get started.
Create a New Virtual Machine on Parallels Desktop
Open Control Center and if this is your first virtual machine, the installation assistant window will show up. Otherwise, go to File and click New to create a new virtual machine.
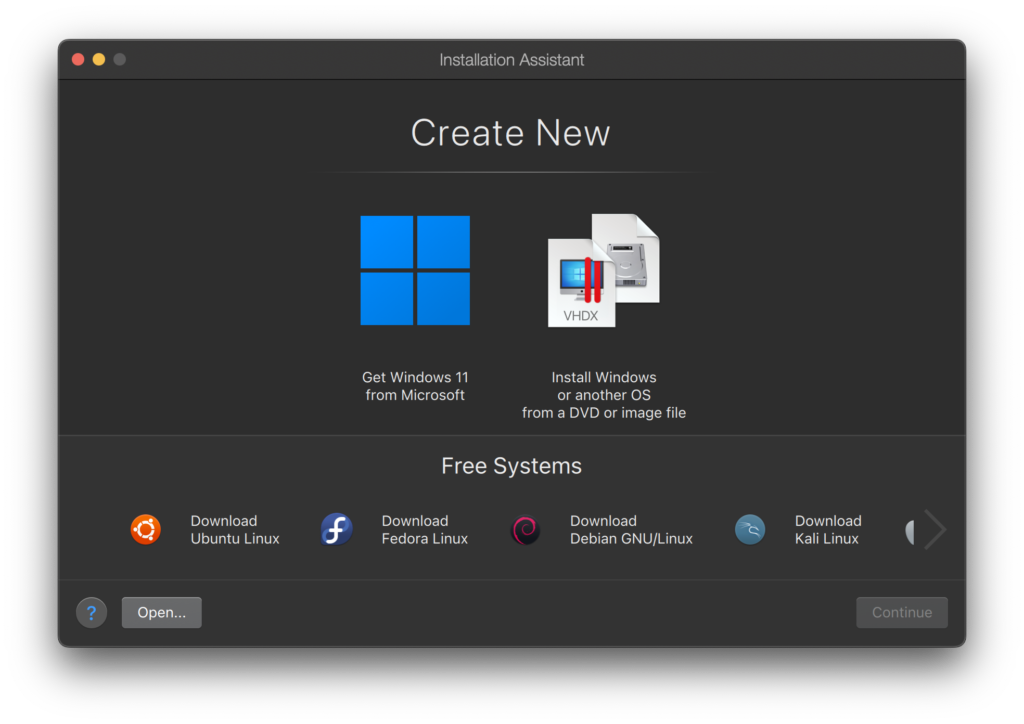
Sice we are going to install usin ISO, click Install Windows or another OS from a DVD or image file and click Continue.
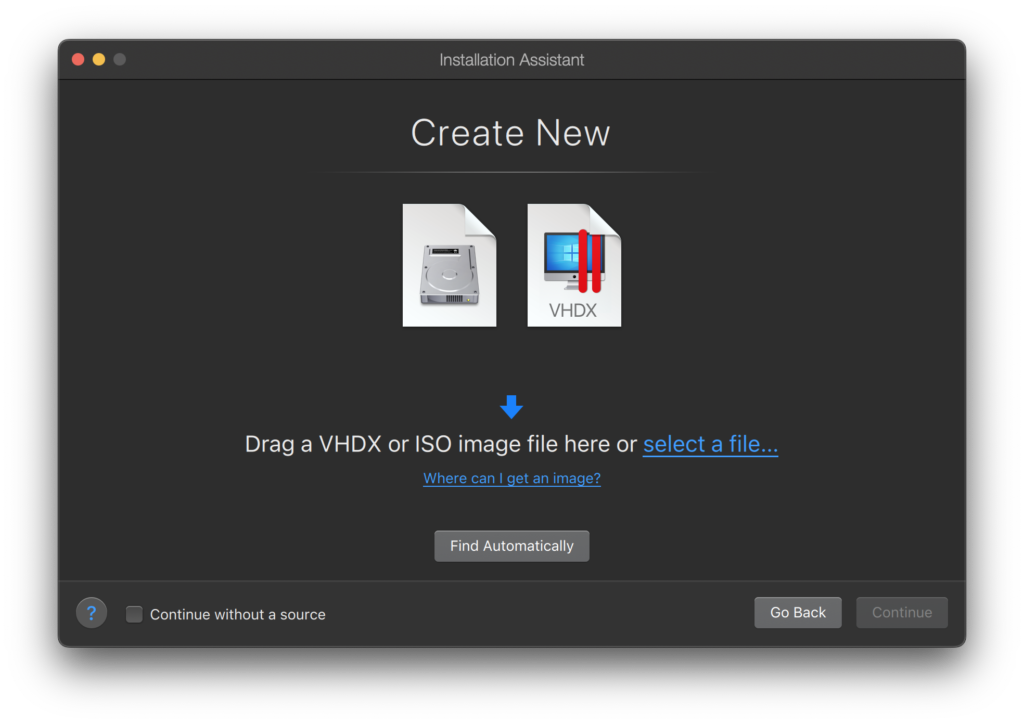
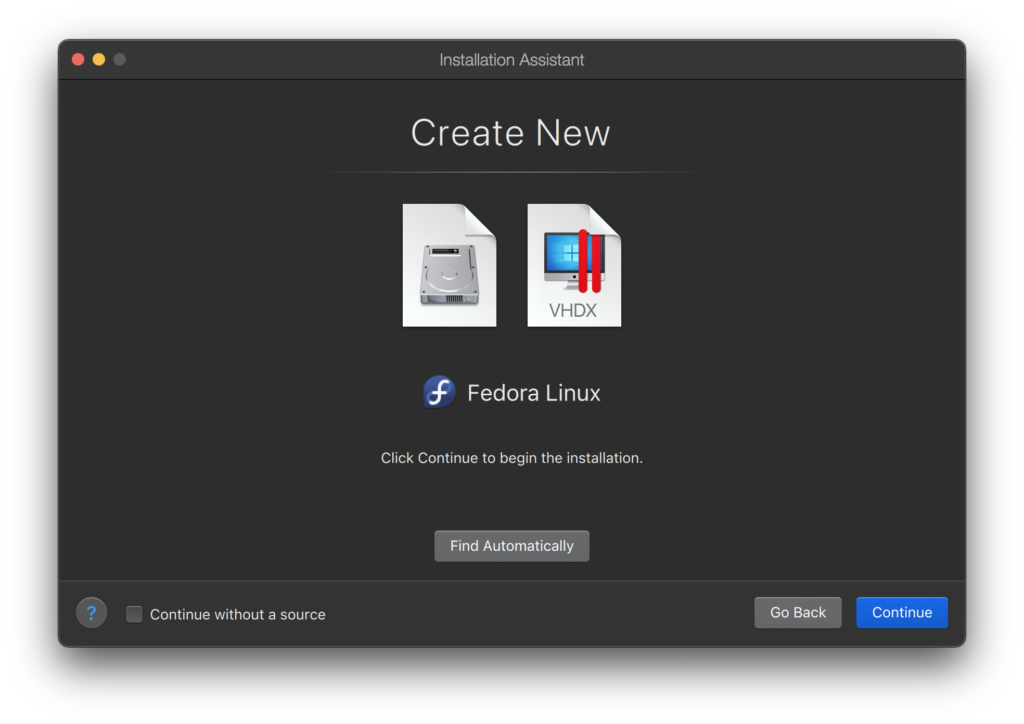
Click select a file and browse the ISO file we downloaded previously. Parallels should recognize Fedora Linux automatically.
Give our new virtual machine a name so it easier for us to recognize it.
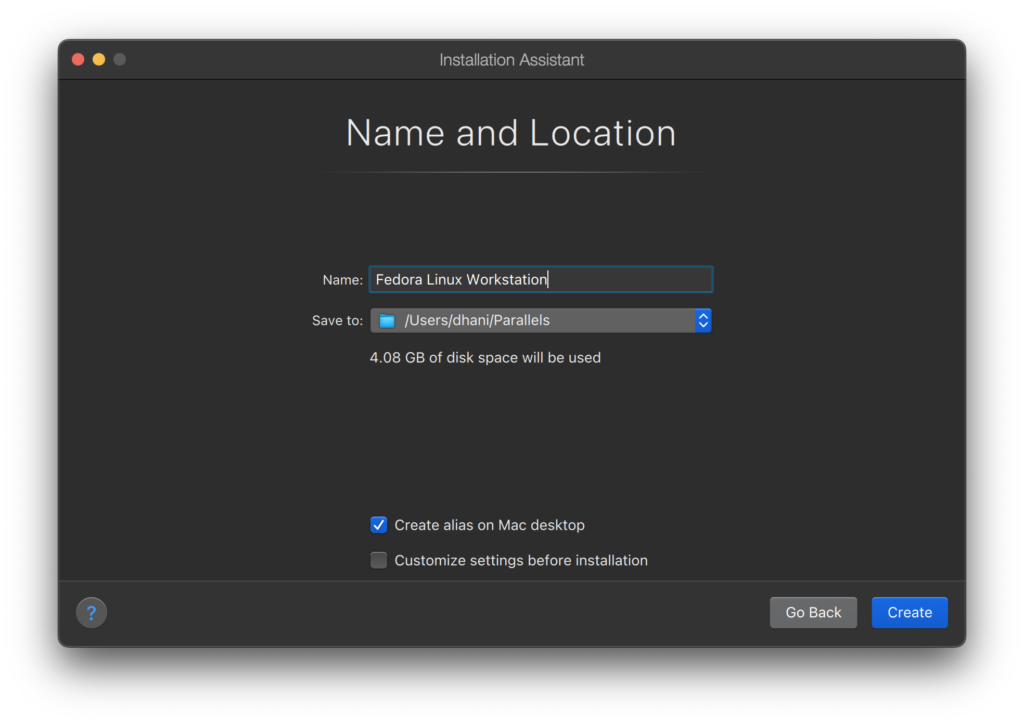
You can click Customize settings before installation if you want to change some default settings for your new VM. Otherwise click Create and Parallels will start the install process.
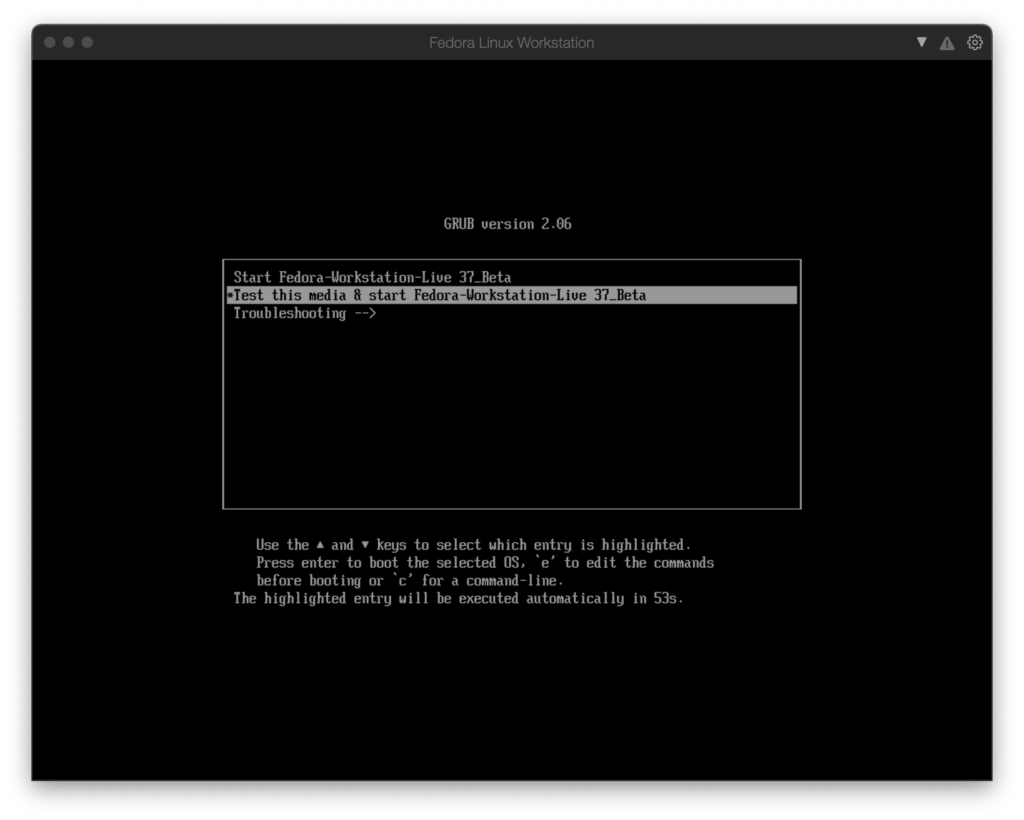
Fedora 37 Installation Process
The installation process of Fedora 37 is pretty simple and straightforward. Choose Install Fedora from the first screen to start the installation immediately.

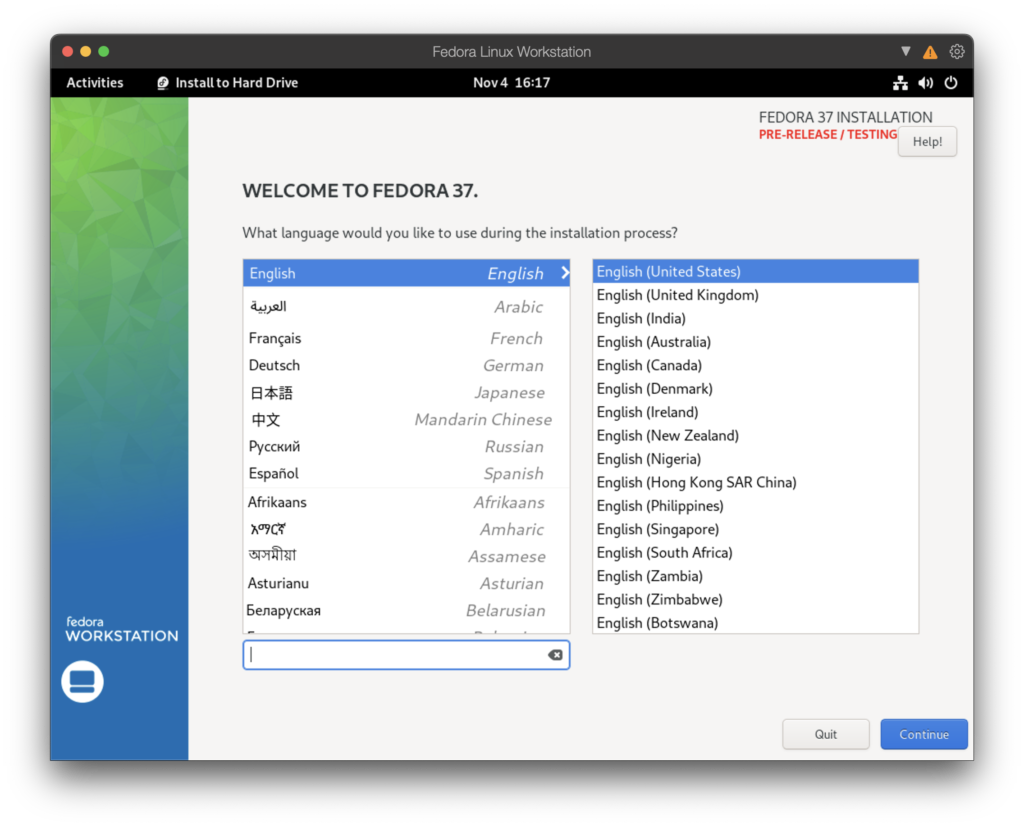
Next, choose the Language from the list.
Choose and configure the installation destination.
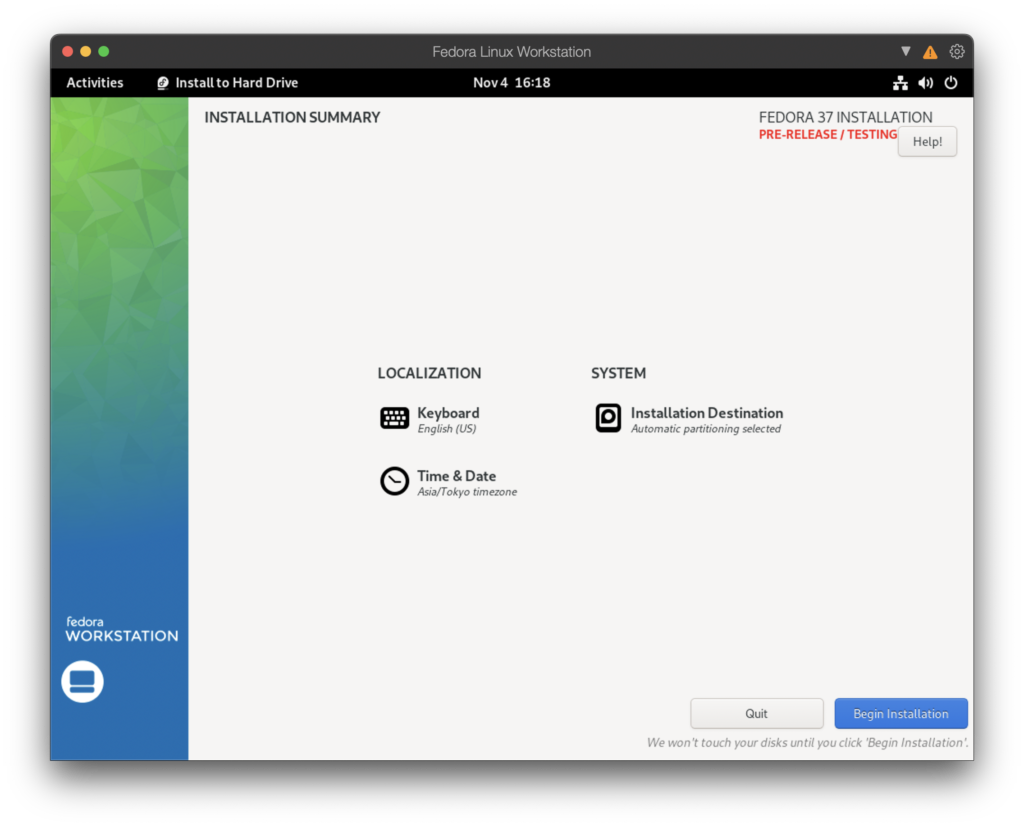
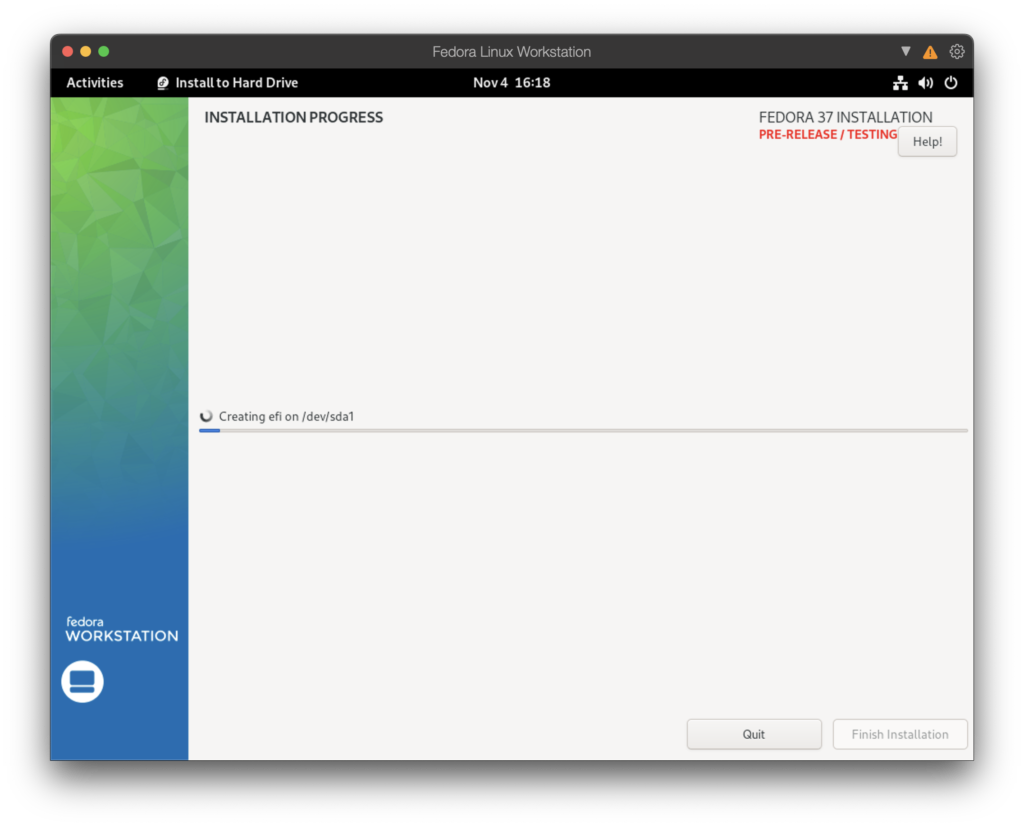
Click Begin Installation to start copying the installation files to your system
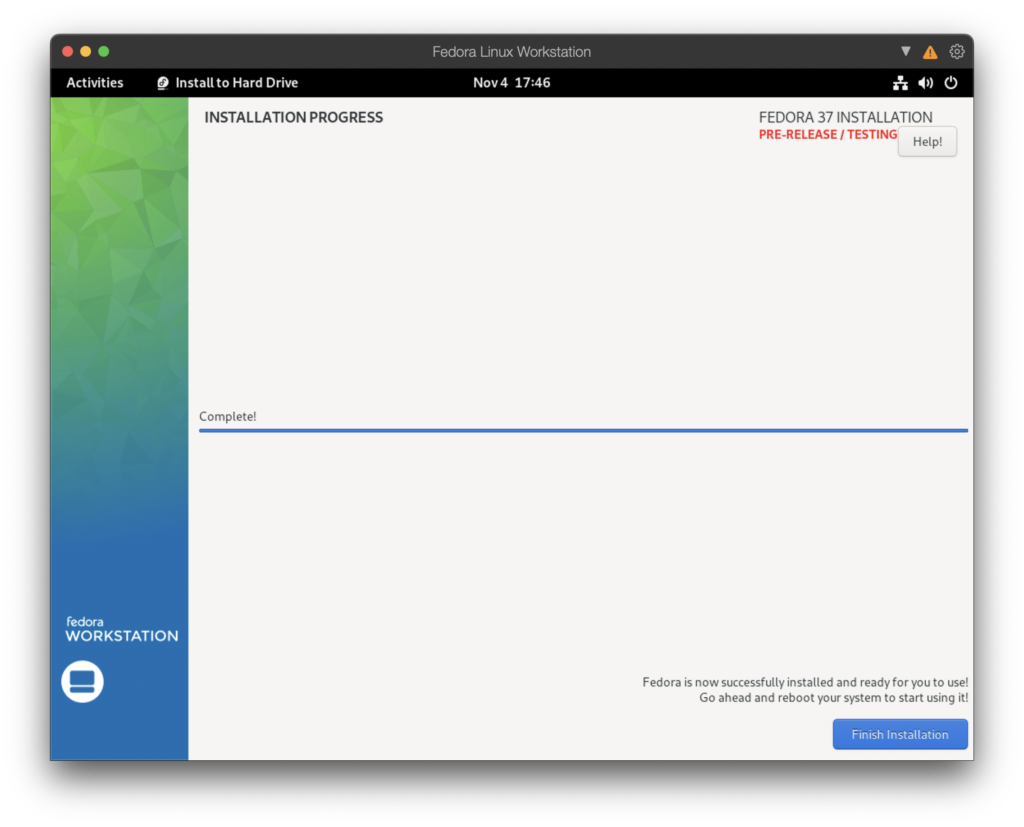
Reboot when the installation completes.
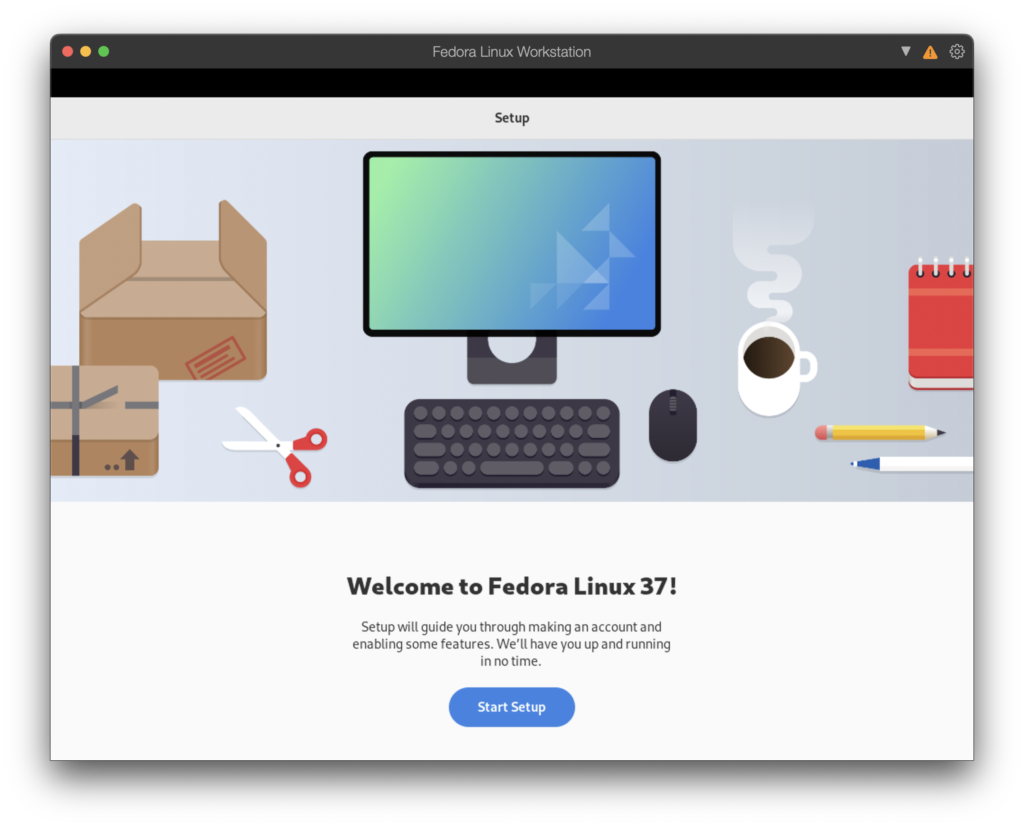
Upon reboot, continue stting up Fedora 37.
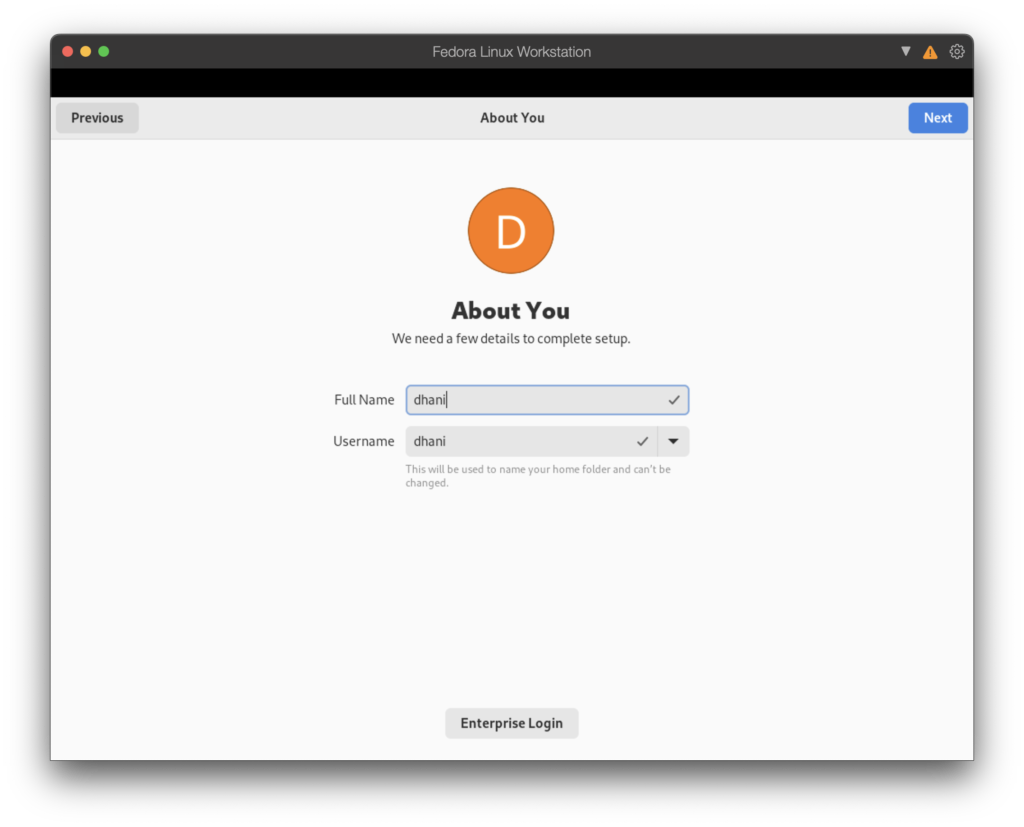
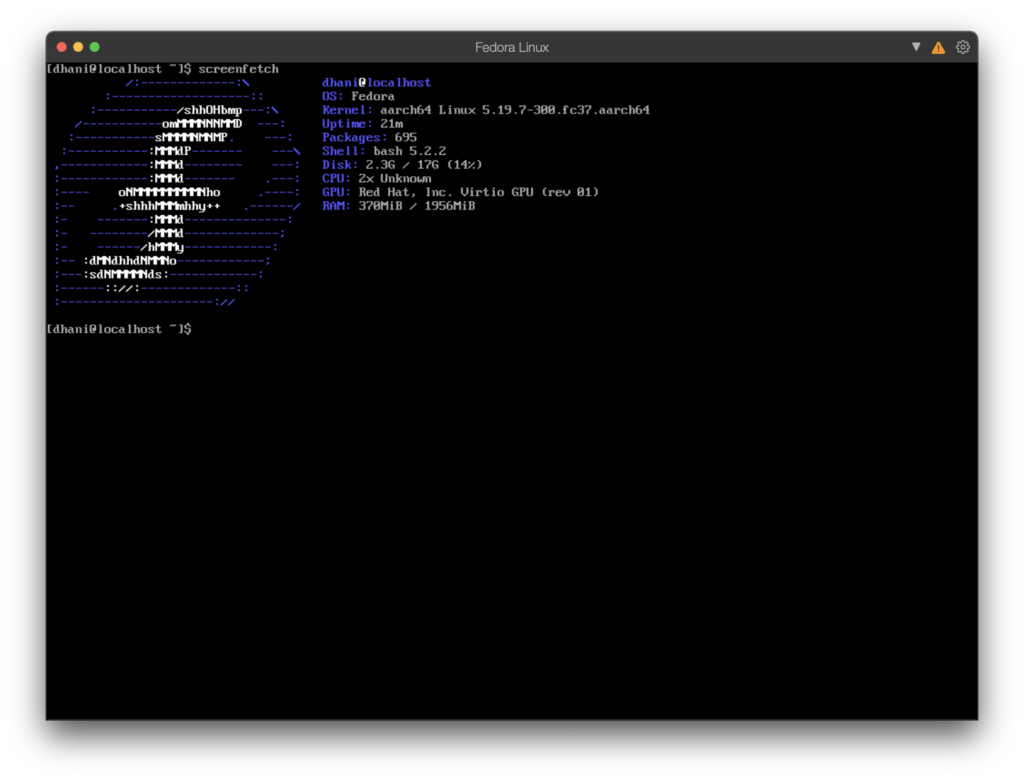
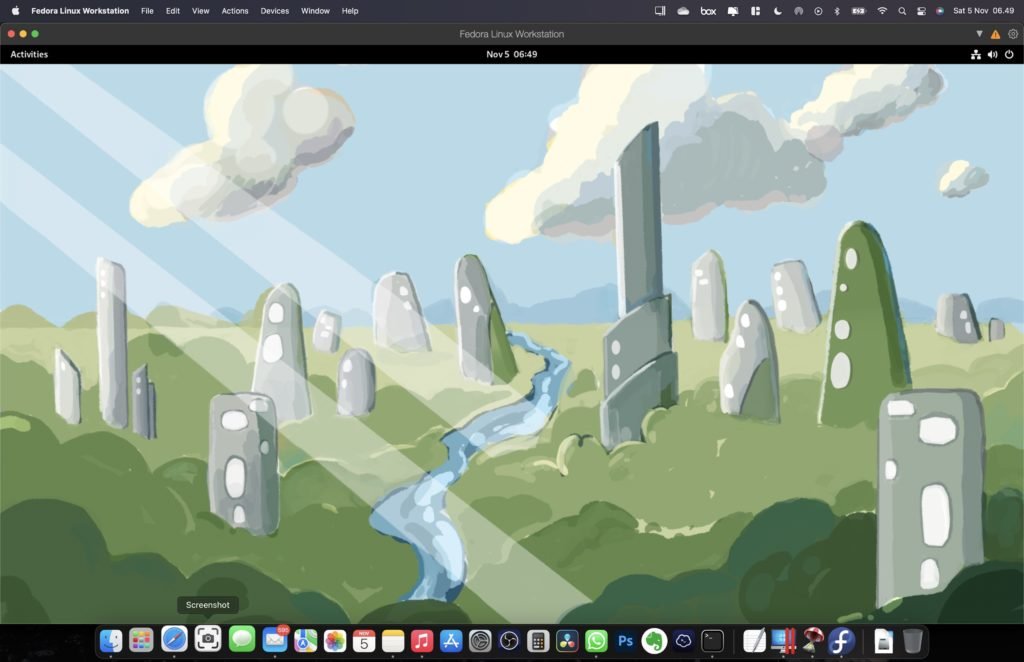
Finally, enjoy Fedora 37 on Macbook Pro M1.
Leave a Reply