

Backup is an important part of computing. No matter you are running Windows, Mac or Linux, the backup should be on top of your priority. Your data is priceless and you must protect it with a strong and good backup system. Today, we are going to show you how to install Deja Dup, a simple backup solution for Linux. And I am installing Deja Dup on my Debian 9 Stretch. It works pretty well though. There are many other backup solutions such as CloudBerry or Duplicati but Deja Dup is simply worked for me. This article will show you how to install and use Deja Dup on Debian 9.
Deja Dup comes with a very simple user interface. It supports local, remote SSH, SFTP, Amazon S3, Windows Share backup destination. Now, you can store your backup in the cloud using Deja Dup. This free backup solution for Linux supports backup scheduling and also manual backup.
Install Deja Dup on Debian 9
Use the following command to install Deja Dup on Debian 9
su
apt install deja-dup
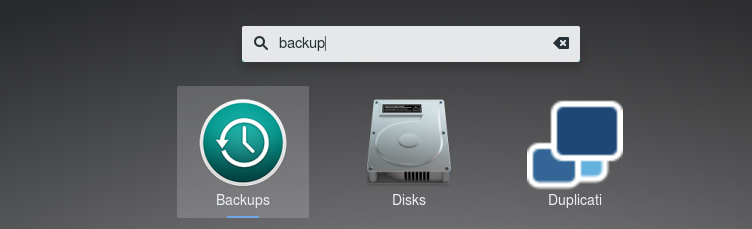
Once installed, you can start using Deja Dup. Find “Backup” from your application menu.
Create a new Backup task on Deja Dup
After installing Deja Dup, we can start creating our first backup task. Open Deja Dup and then follow these instructions to create new Backup job on Deja Dup.
Open Deja Dup and then go to Folder to Save. We need to add some folders to backup.
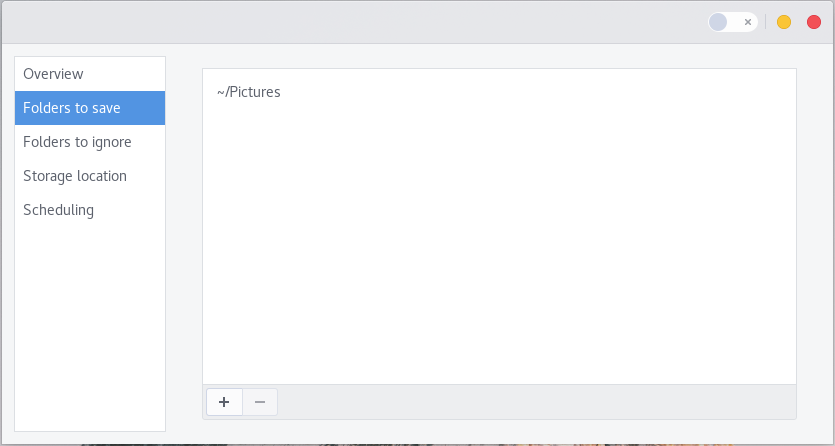
On this example, I am going to backup my Pictures folder. After you add some folders, you can proceed to the Storage location. Additionally, you can also add folders to ignore if you want to. For example, you have specific sub folders that you don’t want to include in the backup, you can specify them here on Folders to Ignore.

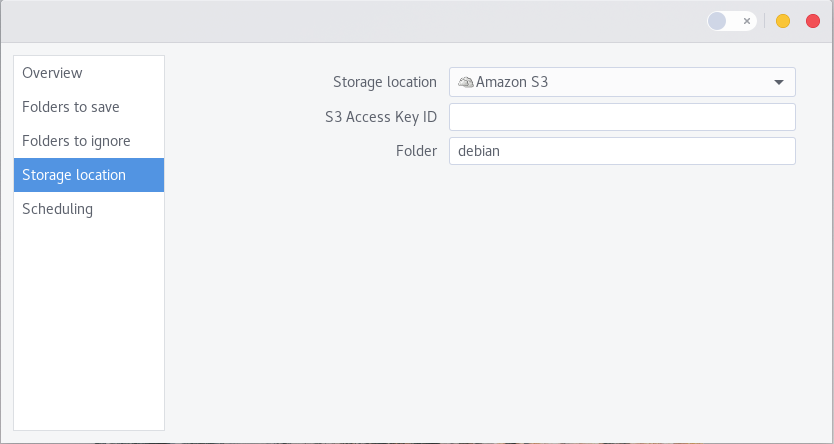
Specify the storage location.
Deja Dup supports several backup locations such as Amazon S3, SFTP, Windows shared folder and some others. On this example, I am going to store my backup on my remote SSH server.

Backup Scheduling.
Enable this feature if you want to schedule your backup. You can set the backup interval here.

Done. Now your backup is set and you are good to go. Thanks for reading this post. Cheers
Leave a Reply