

It is nice to have a Windows Server 2019 running on my Labs. I installed this new Windows Server 2019 on my Proxmox VE and it runs very well. Unfortunately, I was running out of storage space. Currently, I have 2 disks connected to the server. One disk for the OS and applications and the other one is for the data. In this article, you will see how I will extend storage on my Windows Server.
If you have Ubuntu 20.04 and you want to extend your LVM disk, you may check my other tutorial below:
How to extend LVM disk on Ubuntu 20.04

The original size of the disk is 50 GB (Data E:). And I will add another 50GB disk to the server from Proxmox dashboard. Upon reboot, the new disk should be recognized and we need to initialize it first.
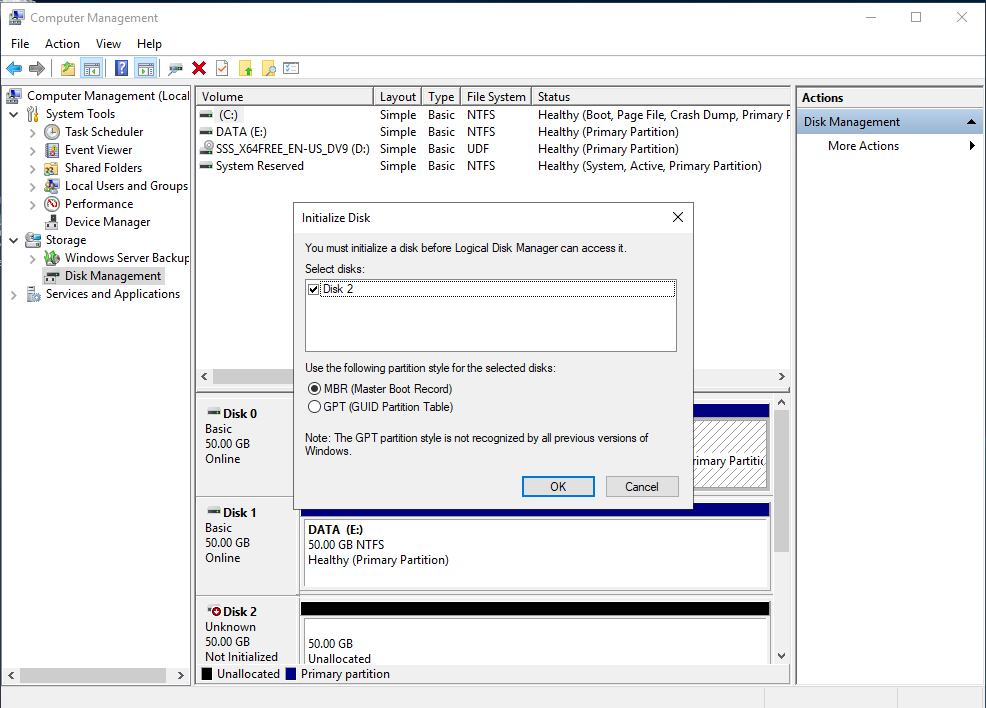
To do this, we need to open the Disk Management. You can access this via Control Panel | Computer Management | Storage | Disk Management.
Extend Volume in Windows Server 2019
To start extend the volume, right-click the volume and click Extend Volume. The Extend Volume Wizard will open up.

Click Next and then add the new disk by pressing the Add button.
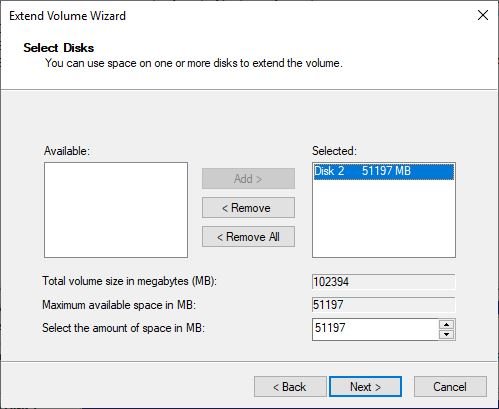
Specify the amount of space you want to use. Leave the default value if you want to add the entire space.
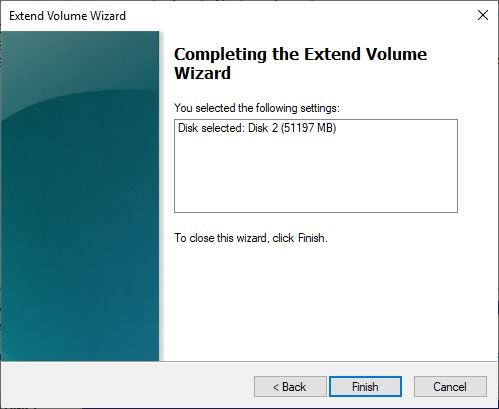
Click Finish and the wizard will automatically convert the disks into Dynamic Disk.
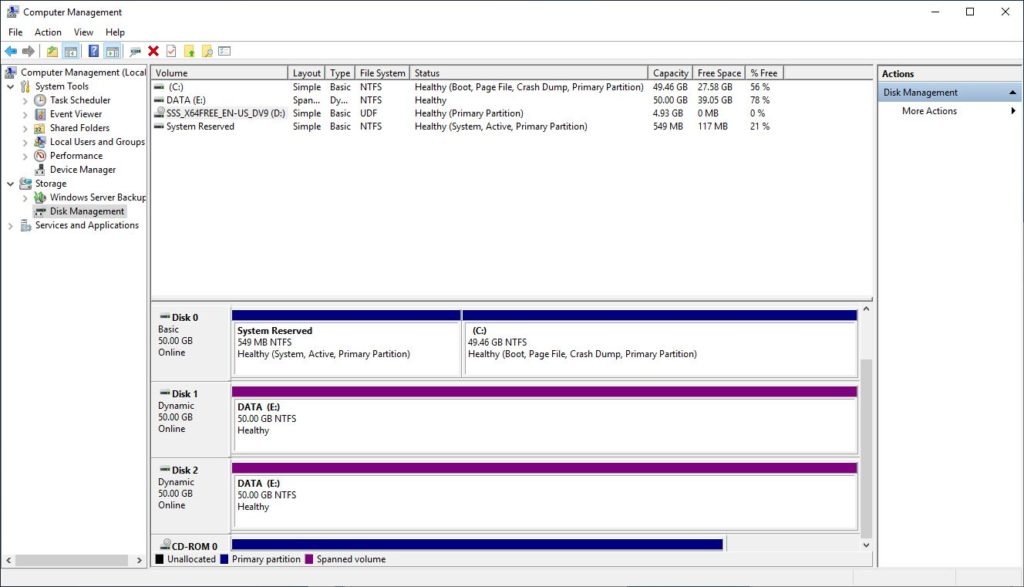
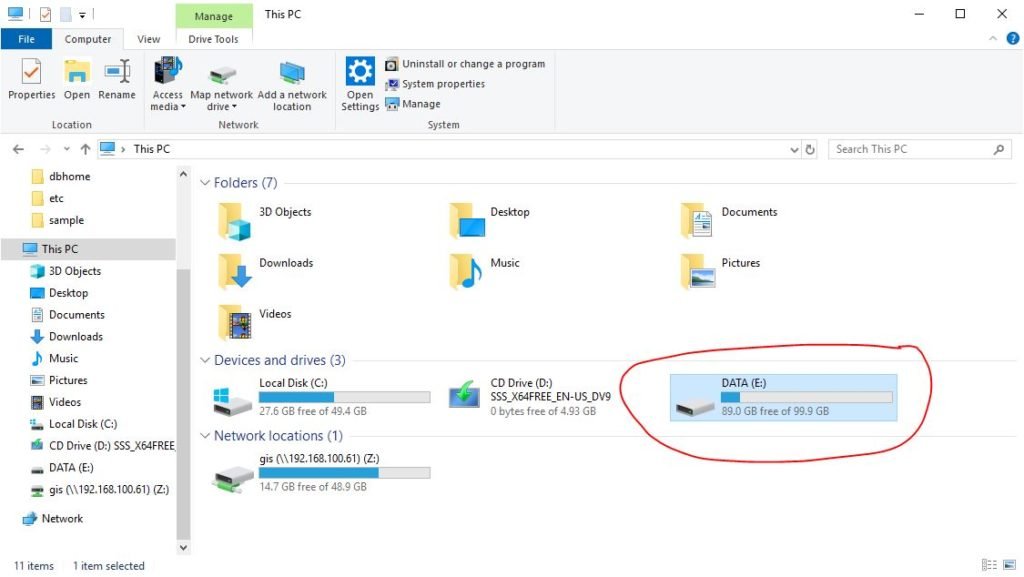
Now our disk/volume size should be increased. You can add another disk with the same steps above. When we open the File Explorer, our new disk will show around 100GB (50 GB + 50 GB).
Done. Thanks for reading this how to extend volume in Windows Server 2019.
Leave a Reply