

I just registered to Linode and now I am going to show you how to create a new Linode Server instance. Linode is a popular Cloud VPS providers that offers a low cost VPS/Cloud Server instance. With only as low as $5, you will get a pretty usable VPS with the following specifications:
- 1 GB RAM
- 1 CPU
- 25 GB SSD
- 1 TB network bandwidth per month
Registering in Linode will only took few minutes. And you must enter your valid credit card to continue and Linode will automatically charge you $5 (minimum) to your account in advance. And also, to start a new Linode instance its only took few simple steps.
Steps to create Linode Server Instance
Step 1. Login to Linode
You must have a valid and active Linode account to continue. If you don’t have Linode account yet, you can create a new one.
Step 2. Select Instance Type
Linode provides various instance type. We can select one that match with our needs. For example if you want a low power instance/server, you can choose the lowest instance as low as $5 per month.

I choose Linode 1024 for my blog and its sufficient for now. We can easily upgrade to higher instance when needed.
Step 3. Select server location
Linode data centers are located in several location. Choose one from the list.
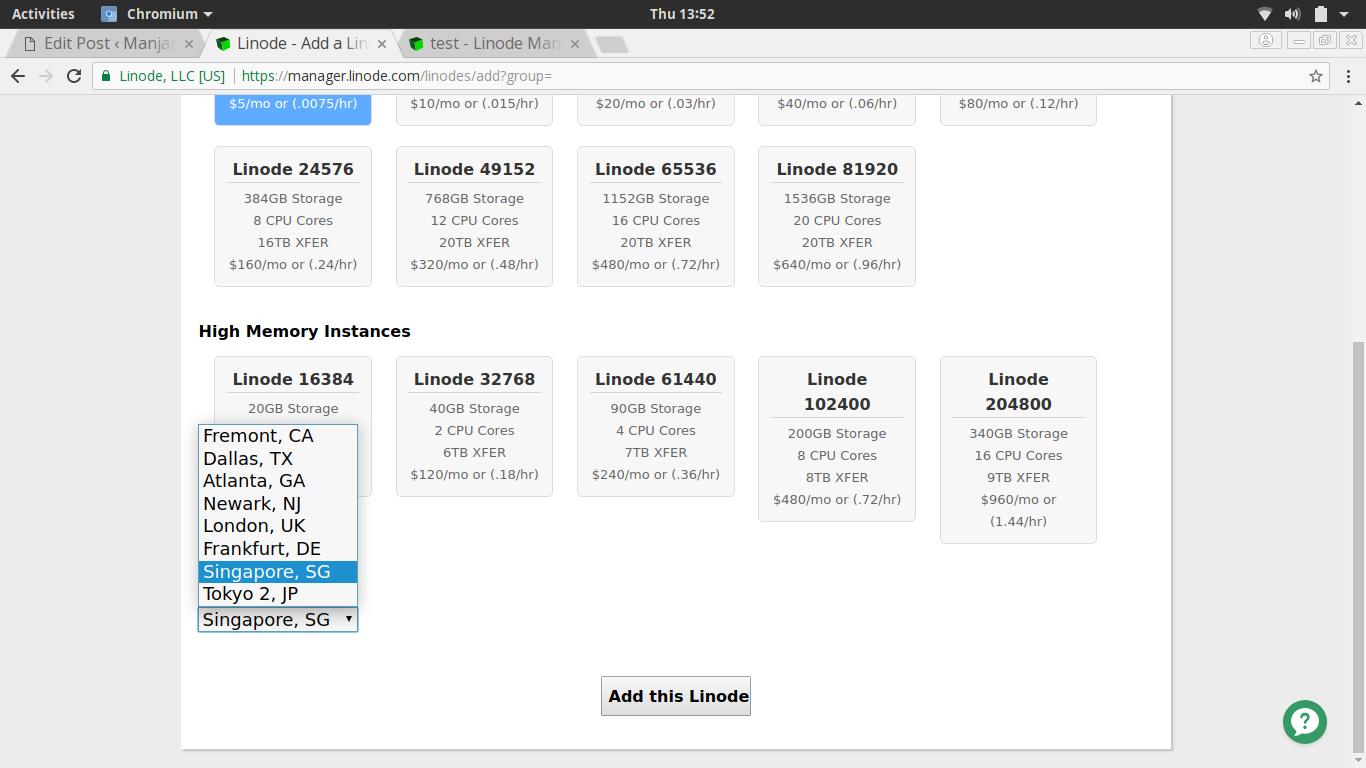
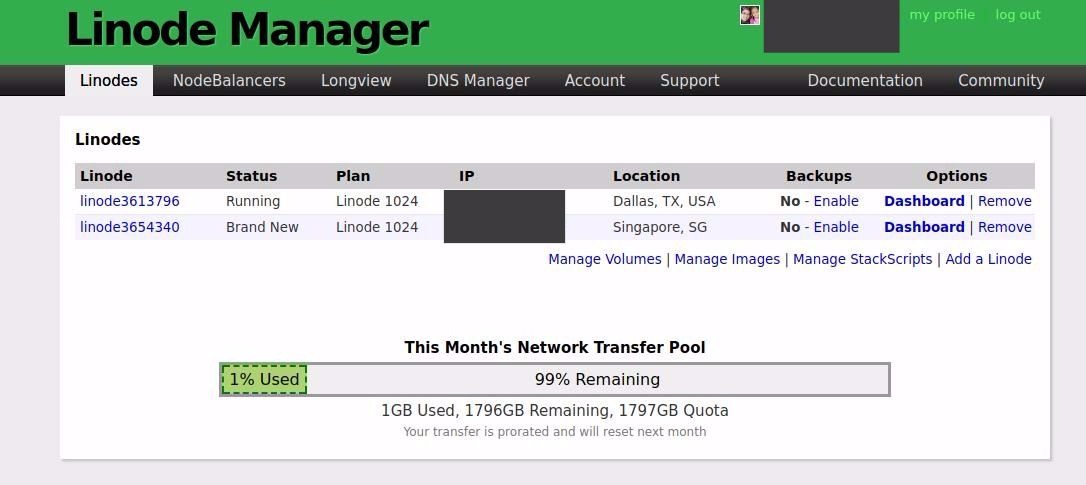
Click Add this Linode button to start the creation. Your new instance will be listed on the Linodes list. At this point we have successfully added and created a new Linode server instance. Thank you for reading this post and please consider share this post if you find useful.
Leave a Reply