

In this short article, I am going to show you how to create macOS Monterey USB Installer on a Mac. I have an old Mac Mini 2014 and I am going to create an installer of macOS Monterey using this Mac Mini. So if you own a Mac device such as Mac Mini or Macbook, you can easily create a USB installer that you can use to re-install your Mac.
In order to do this, you will need the following in hands.
- 16 GB USB pendrive
- Macbook, Mac Mini or any macOS devices
- Good internet conection
In this example I am using macOS Monterey 12.5 installed on my Mac Mini. In order to be able to download a certain macOS version, make sure you use the supported Mac device that support that macOS version.
Step 1. Download macOS Monterey
Open App Store and search for macOS Monterey. You should see the macOS Monterey on the search result as follow
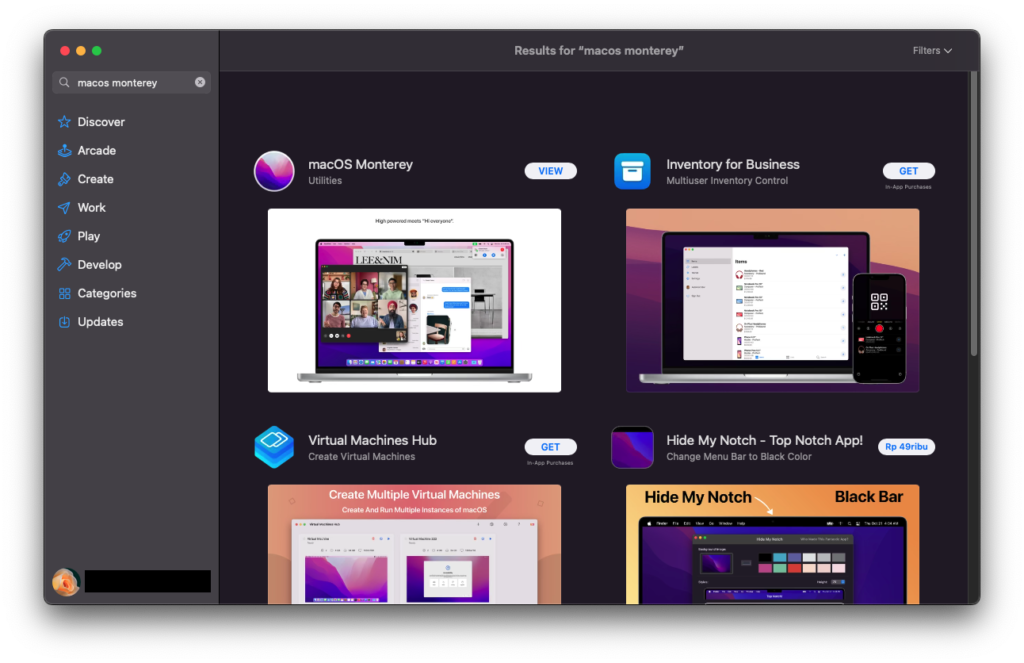
Click View button next to the macOS Monterey to proceed to the download page.

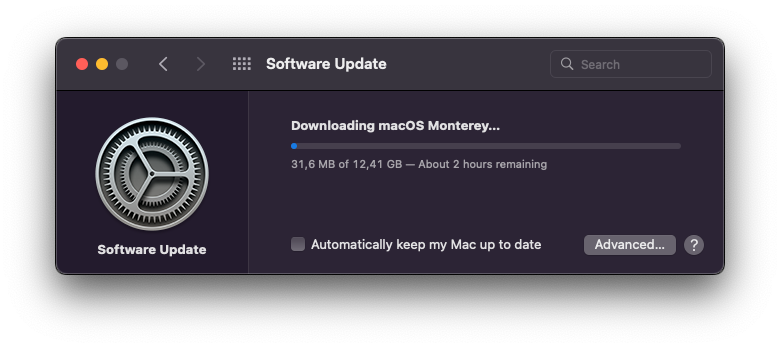
Click Get and then you should see the Software Update page open and then click Download.

Click Download and wait until the download process completes. It will take some time because it will download around 12 GB from the internet.
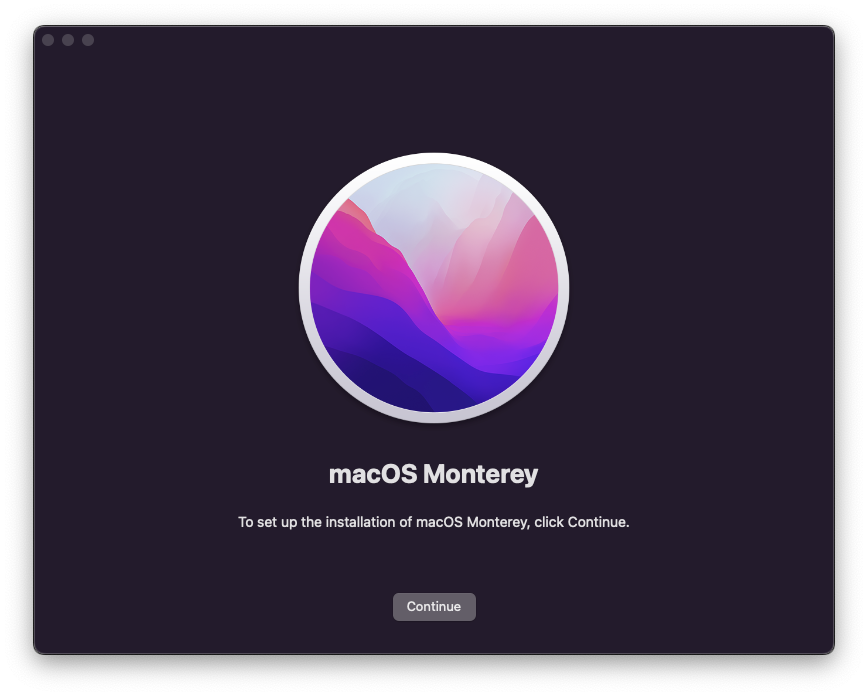
When the download the installation window will pup up. Just close it because we don’t want to install it.
Step 2. Create USB Installer
Now plug your 16 GB USB drive to the USB port. First, we need to format the drive. Open Terminal and then paste this command to format.
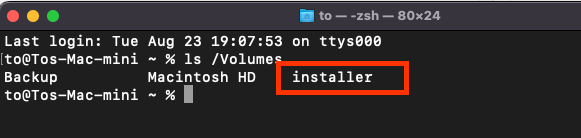
sudo /Applications/Install\ macOS\ Monterey.app/Contents/Resources/createinstallmedia --volume /Volumes/installerChange “installer” with your USB disk name. If you are unsure, you can check your USB disk name using this command
ls /VolumesOutput:
Wait until the process completes.

Done. Now you can use this USB bootable disk to re-install your macOS Monterey on your compatible devices.
Leave a Reply