

This article will show you how to create CloudReady USB Installer. Before we jump into it, have you ever imagine to run Chrome OS on your laptop or desktop? As you might know, Chrome OS is getting its popularity recently. Google Pixel, the latest Chromebook device is powered by Chrome OS. It is pretty difficult (if not impossible) to get the original Chrome OS and run it on any computer. But don’t worry, if you want to have the experience using Chrome OS on your existing hardware, you can use Neverware CloudReady. It’s a special operating system similar to Chrome OS.
Neverware CloudReady is based on Chromium OS, an open source project which Chrome OS built from. Here, I am not going to review or discuss more about CloudReady or ChromeOS. I will cover this after I installed CloudReady on my notebook. For Windows users, you will need to create a CloudReady USB installer in order to try it. Follow this guide to create CloudReady USB Installer.
Steps to create CloudReady USB Installer
Step 1 Download the USB Installer software
Navigate to this link to download the USB installer software. It supports Windows 10. You will need 8 GB or 16 GB USB stick to continue.
Step 2. Run the program
No installation needed. When you double click the .exe file, the wizard will open up.
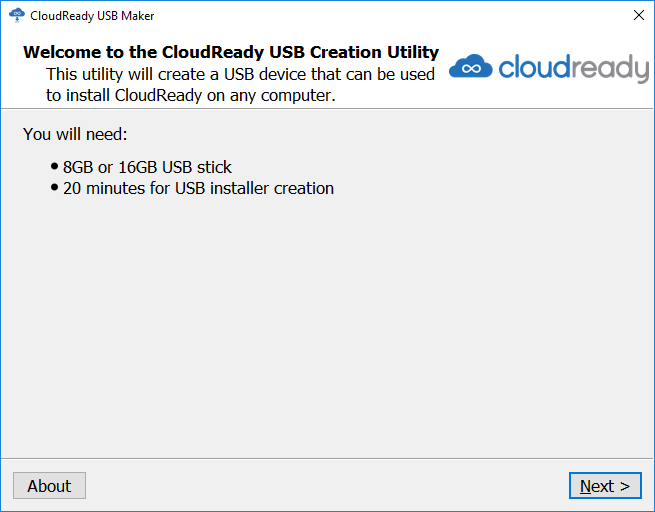
Click Next to proceed
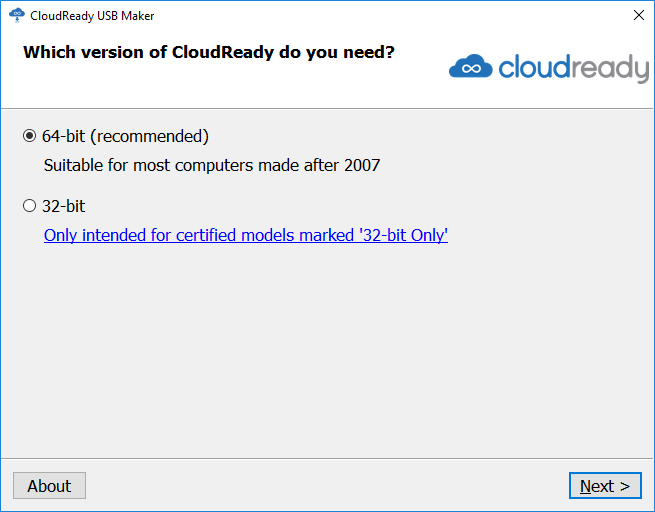
Select the recommended 64-bit option. On the next page you will see some important information such as which USB disk brand you can’t use.
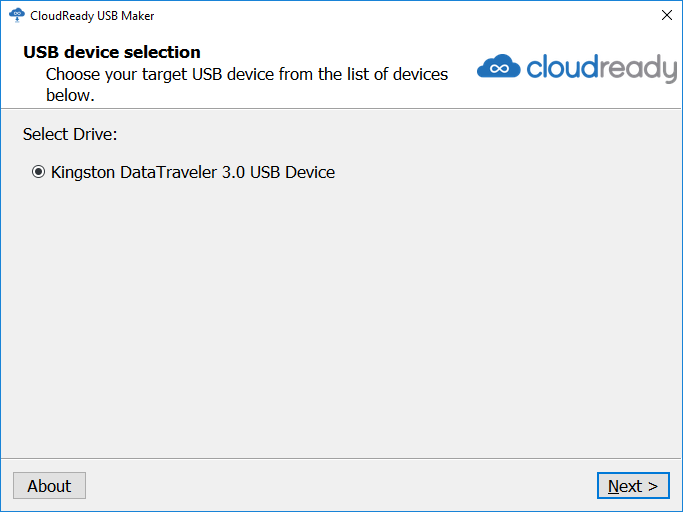
If your USB drive is supported, you will see it on the installer window. Press Next to start the download process.
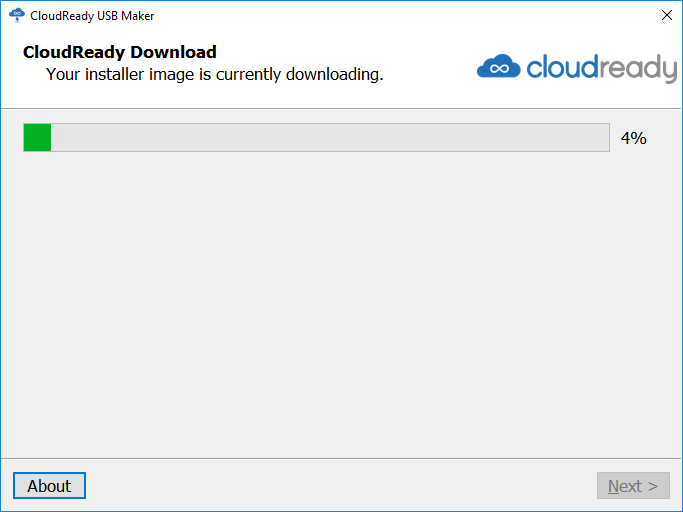
There is no ISO that usually we need to download to create USB installer. Make sure you have a good internet connection. Check your network speed and make sure your network check passed. Check it here.

Leave a Reply