

Hello everyone, in this article, you will find a simple way to backup SQL Server database. Microsoft SQL Server is a powerful yet handy RDBMS database. We can install SQL Server on Windows, Linux even on macOS. It is pretty easy to use and another good thing is that it works very well with other Microsoft products. In this article, I am going to show you how to back up and restore MS SQL Server Database using Azure Data Studio. Azure Data Studio is a GUI software that can be used to manage SQL Server databases. We can also use it to backup and restore SQL Server databases.
If you are managing SQL Server, it is always a good practice to perform a regular backup. Backing up the database now made easy with Azure Data Studio. We can do a full backup or incremental backup in a few clicks.
Related articles:
- Install Microsoft SQL Server on Ubuntu 21.04
- Steps to install SQL Server 2019 on macOS
- Build a powerful SQL Server on Windows Server 2019
How to Backup SQL Server Database
Install Azure Data Studio
First, you will need to download and install Azure Data Studio. You can use the link below to download the latest version and install it. Azure Data Studio is available for Windows, macOS, and Linux but in this article, I am using the Windows version.
Connect the Database
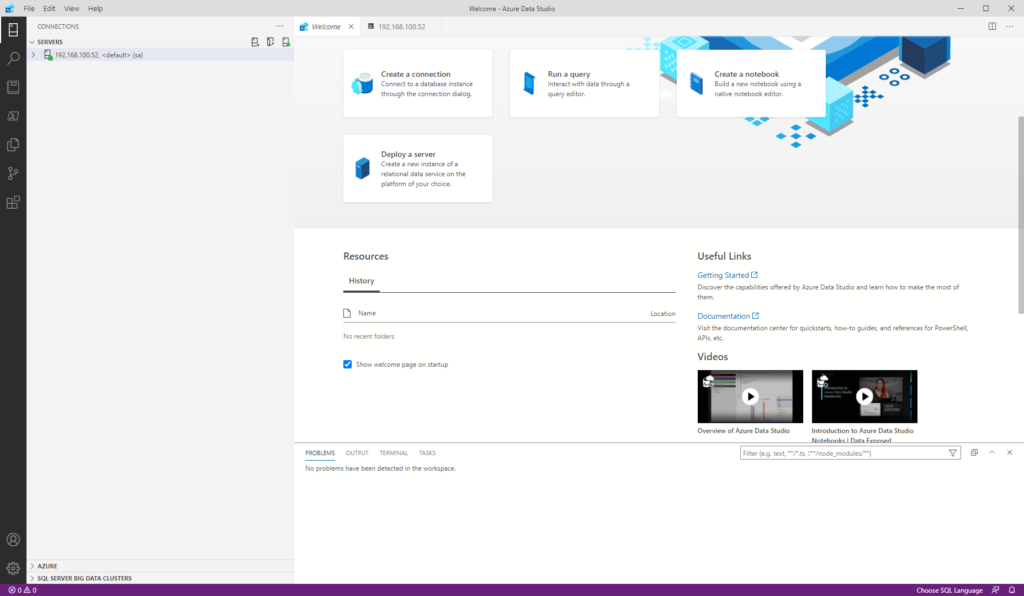
After installing Azure Data Studio, now we need to create a new connection to the database. Click Create a connection from the main page of the Data Studio.
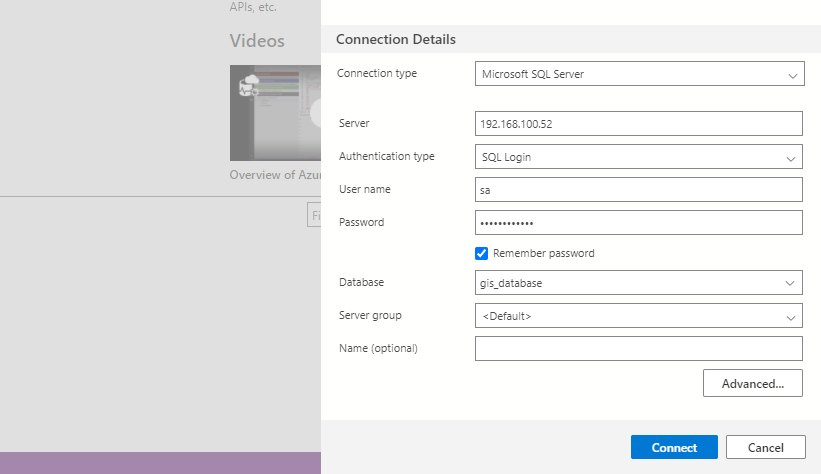
Enter the SQL Server credentials such as IP address and then user name as well as password. Click Connect to open the Connection. Make sure there is no issue to the connection.
Create a new backup
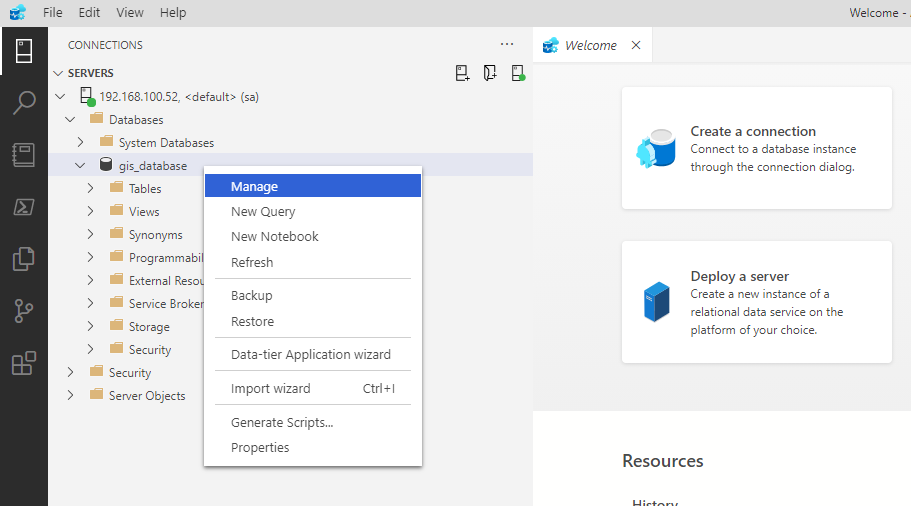
To create a new backup, right-click on the Database we want to back up and then click Manage.
It will open a new tab on the Data Studio window. You will see the list of tables in that database. Now click the Backup button to open the backup configuration.
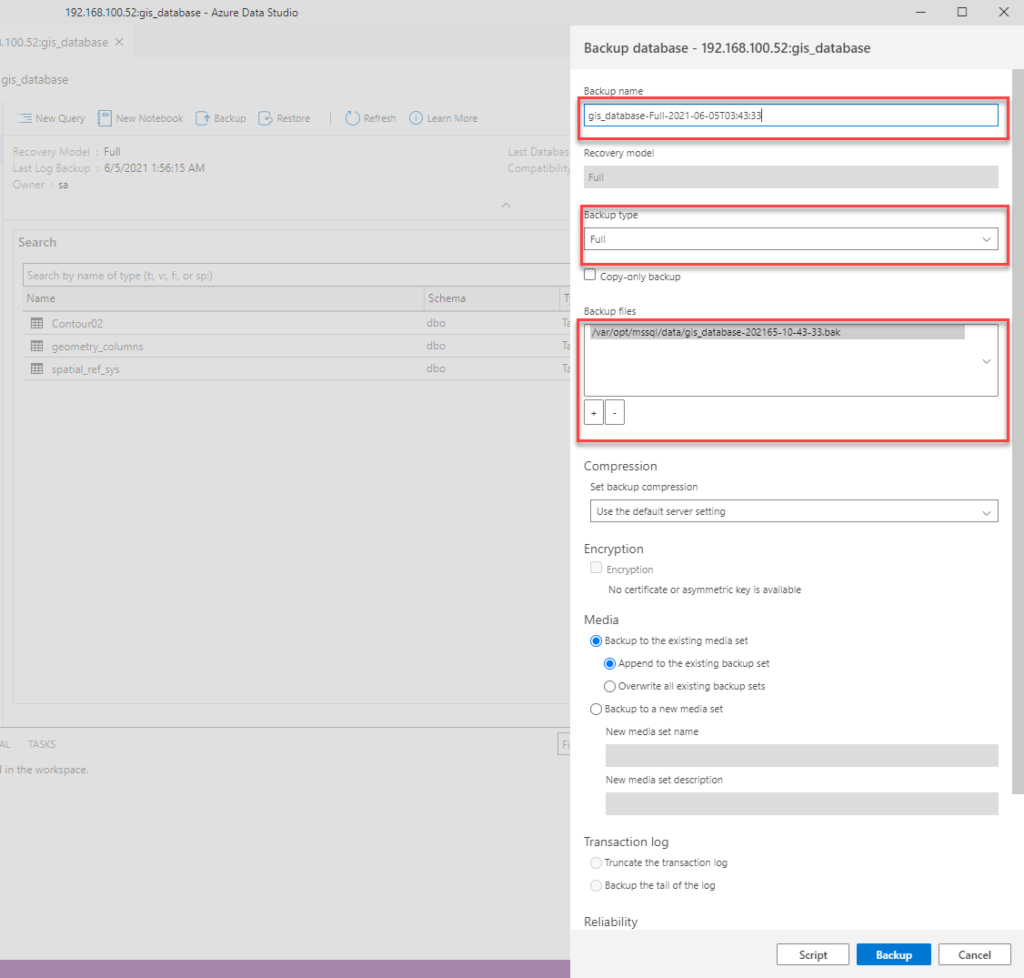
Type the backup name, as well as the backup file location and backup type. You can choose full or increment backup. Please note that the backup file will be stored in the server. If you want, you can choose to encrypt and compress the backup. When ready, click the Backup button and the back up process will start.
How to Restore SQL Server Database
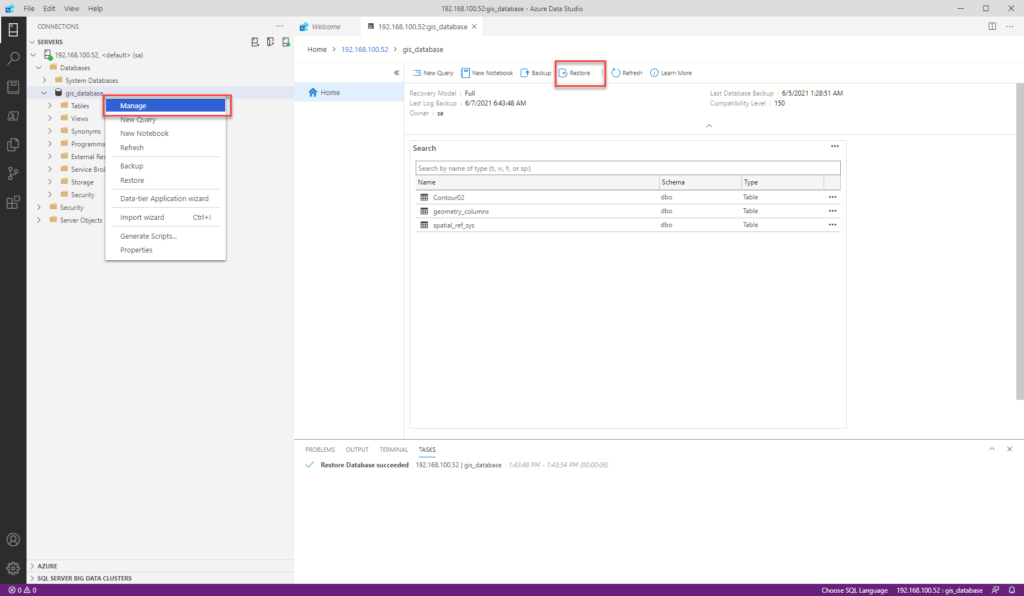
Before we restore the database from the backup file, please keep in mind that there is no user that connect to the server. In the other word, the database restore process requires an exclusive access to the database. Otherwise, the restore process will end up in error. To restore the database, right-click the database and then choose Manage.

On the right side, click Restore and it will bring us to the restore page.
And then select the backup file and click Restore.

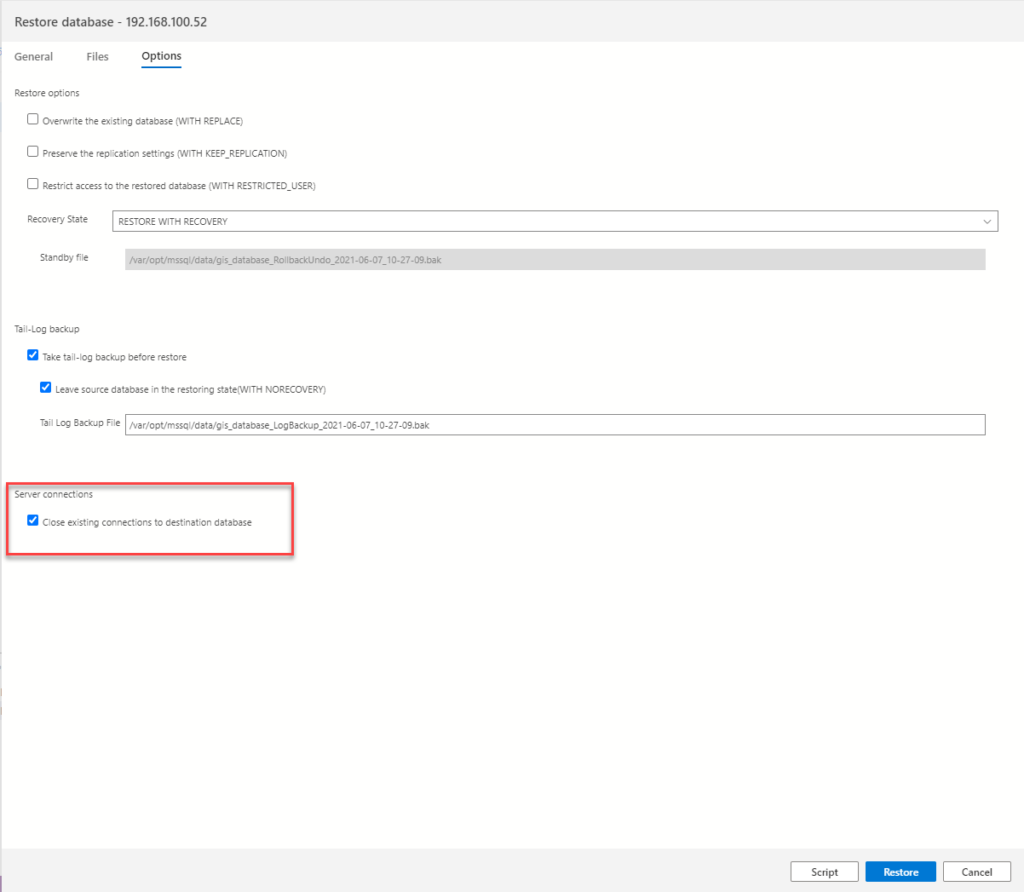
In case you get the error “Restore Database: Microsoft.Data.SqlClient.SqlError: Exclusive access could not be obtained because the database is in use.“, do the following:
From the Restore Database page, click Option tab. And then, check the option that says: “Close existing connections to destination database”. And finally, click Restore.
Leave a Reply