This tutorial is going to show you how to create iSCSI Target server using FreeNAS 9.10. FreeNAS comes with iSCSI Service by default. We only need to configure it to work properly.
Steps to create iSCSI Target Server on FreeNAS
Step 1. Configure Global Configuration
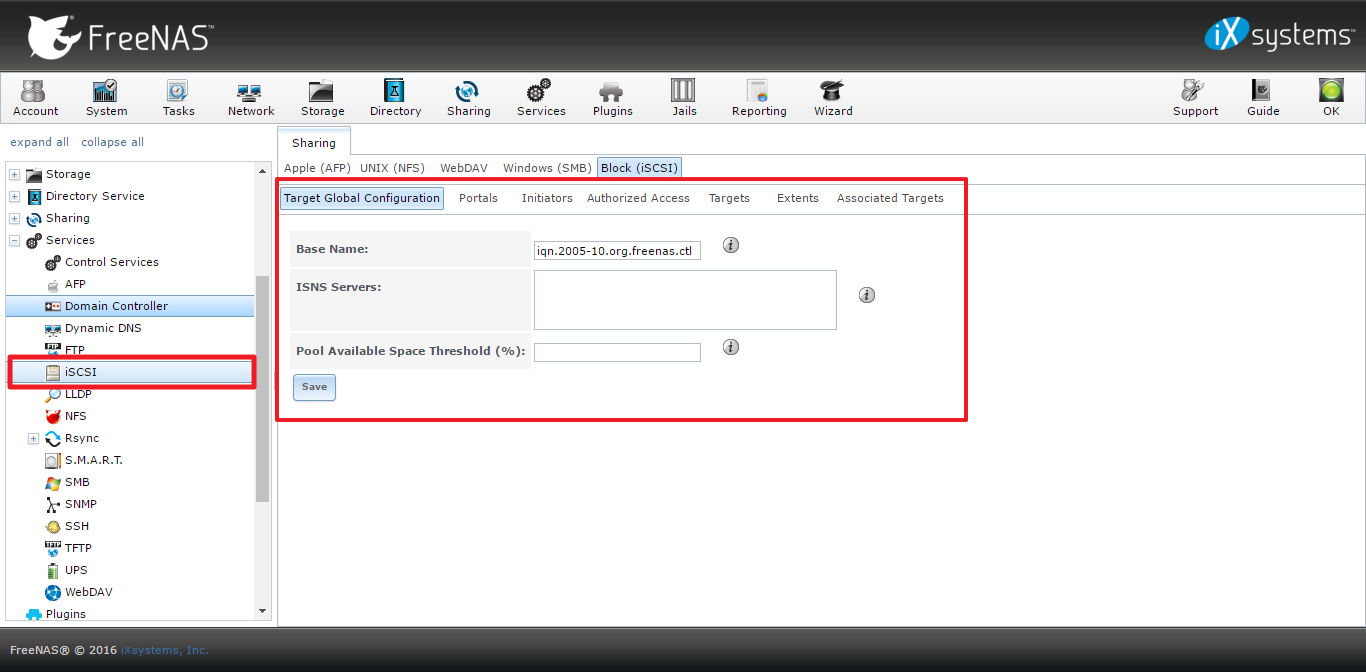
Go to Services | iSCSI. Go to Target Global Configuration. On this section we only need to configure the Base Name for our iSCSI Target. You may change the value with your own or leave it as is.
Step 2. Configure Portal IP
Go to Portal tab and then Add Portal. Select the FreeNAS IP address from the list.

Step 3. Add Initiators
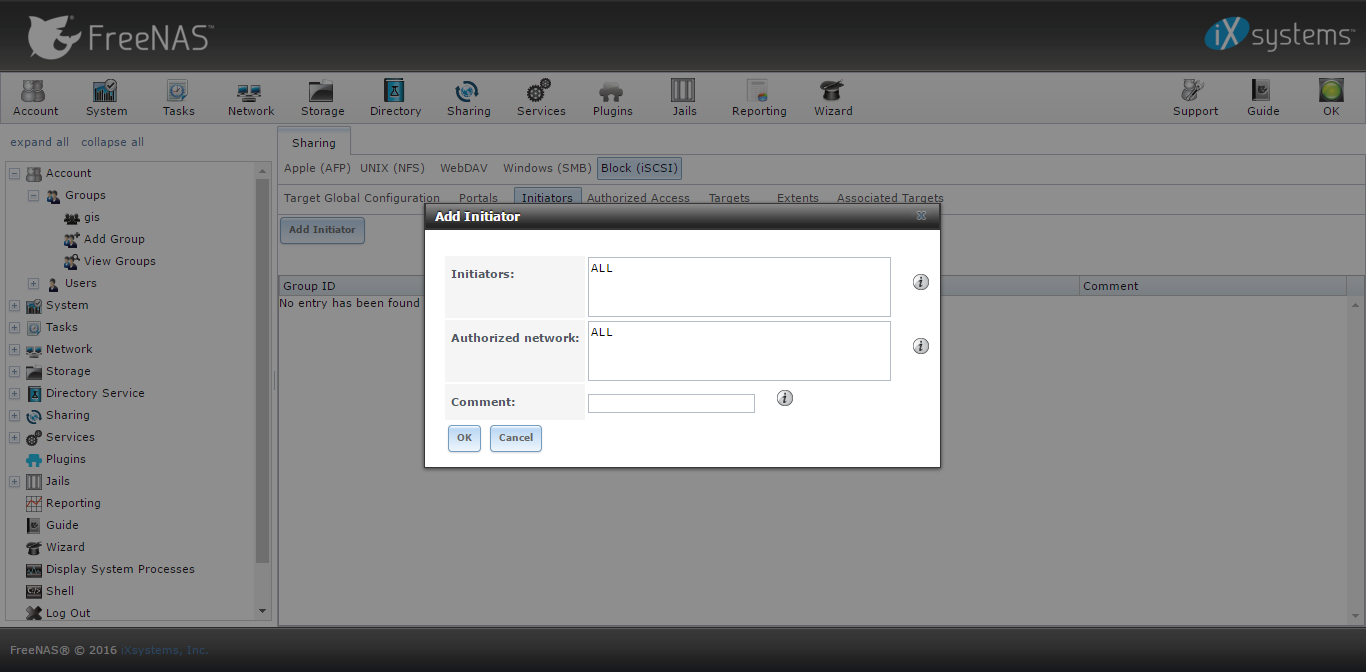
Switch to Initiator tab and Add Initiator. If you don’t want to specify which initiator allowed to access the iSCSI Target, type ALL for each column.
Step 4. Add Target
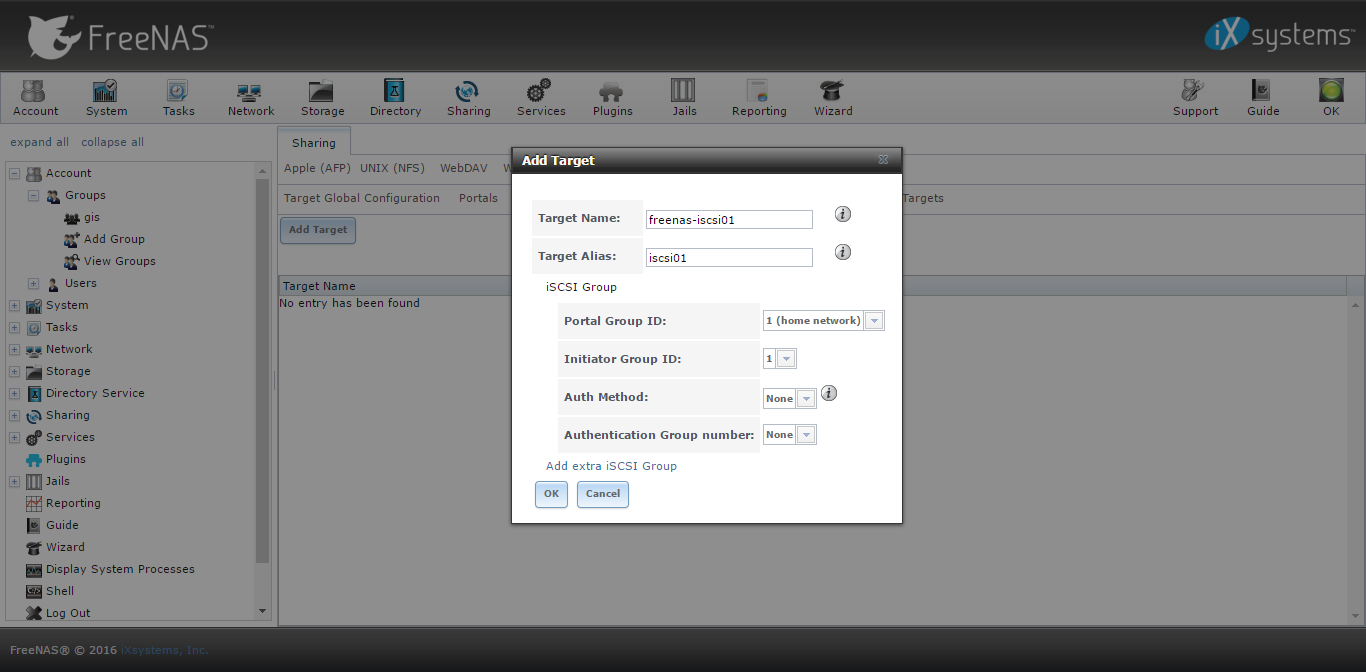
Go to targets and click Add Target. We will configure a new Target here. Enter the target name and alias. Portal Group ID and Initiator Group ID. In my case, I leave Auth method and Authentication Group Number to None.
Step 5. Create Extents
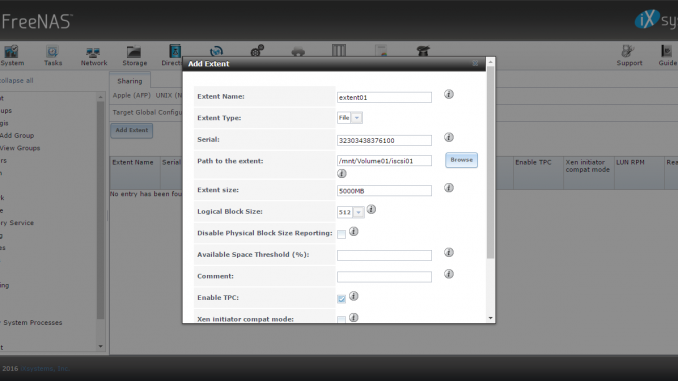
Now we need to create extents. In this example, I choose File as the extent type and I put 5000 MB on the size. You may change it freely.

Step 6. Associate Extents
After we created Extent, we need to associate extent to the Target. Since we only created one Target and one extent here, its should be pretty straight forward.
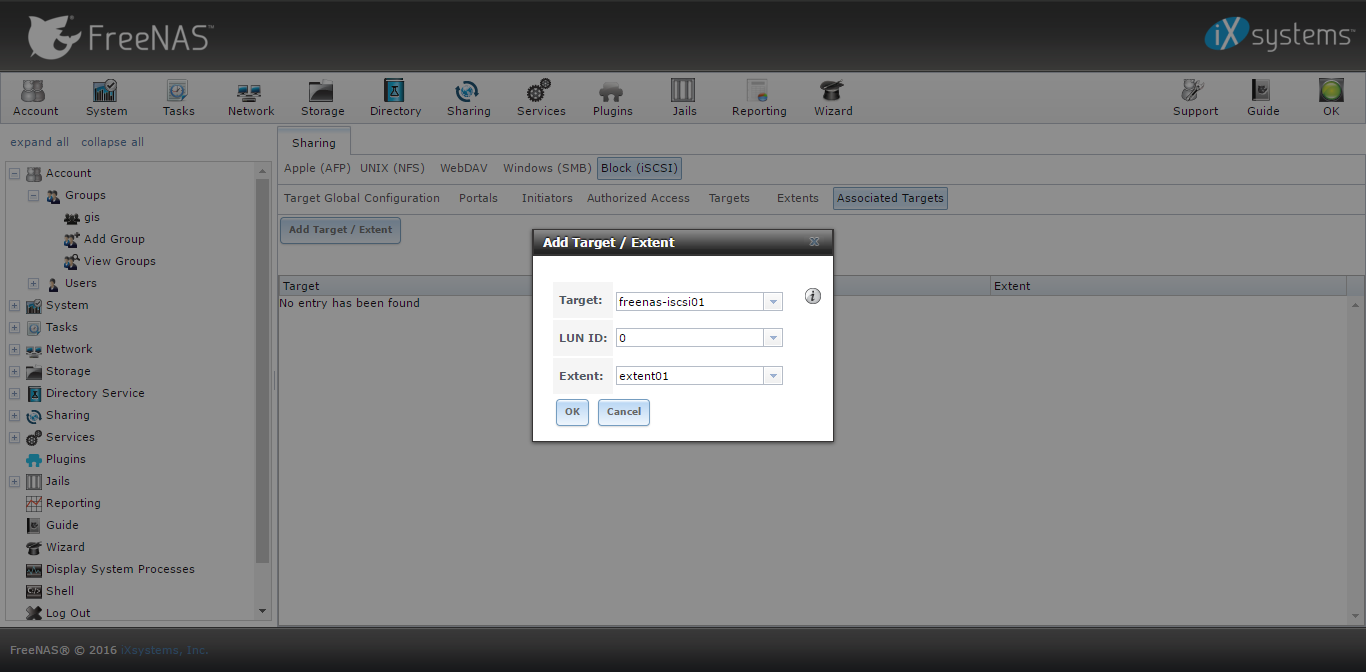
OK Now, our iSCSI Target server is ready. We can now connect to iSCSI Target server from other computer/client.

Leave a Reply