

Virtualbox and VMWare are the most popular virtualization software nowadays. Both of them has their own preferred file format which are not compatible each other. But there is another format that supported by Virtualbox, VMware and many other virtualization software. This is the OVF format. OVF stands for Open Virtualization Format. This is the standard for packaging and distributing virtual appliance. With OVF format, we can easily distribute our virtual machine built in Virtualbox for example and then other people can open and use it in VMware. Today, you will see how to convert Virtualbox VM to OVF format.
Steps to Convert Virtualbox VM to OVF Format
I assume you have created at least one guest machine on the Virtualbox. This VM will be converted to OVF format.
Step 1. Open Virtualbox Manager and go to File | Export Appliance. You will see the following window on your Virtualbox Manager. Click Advanced to see more settings.
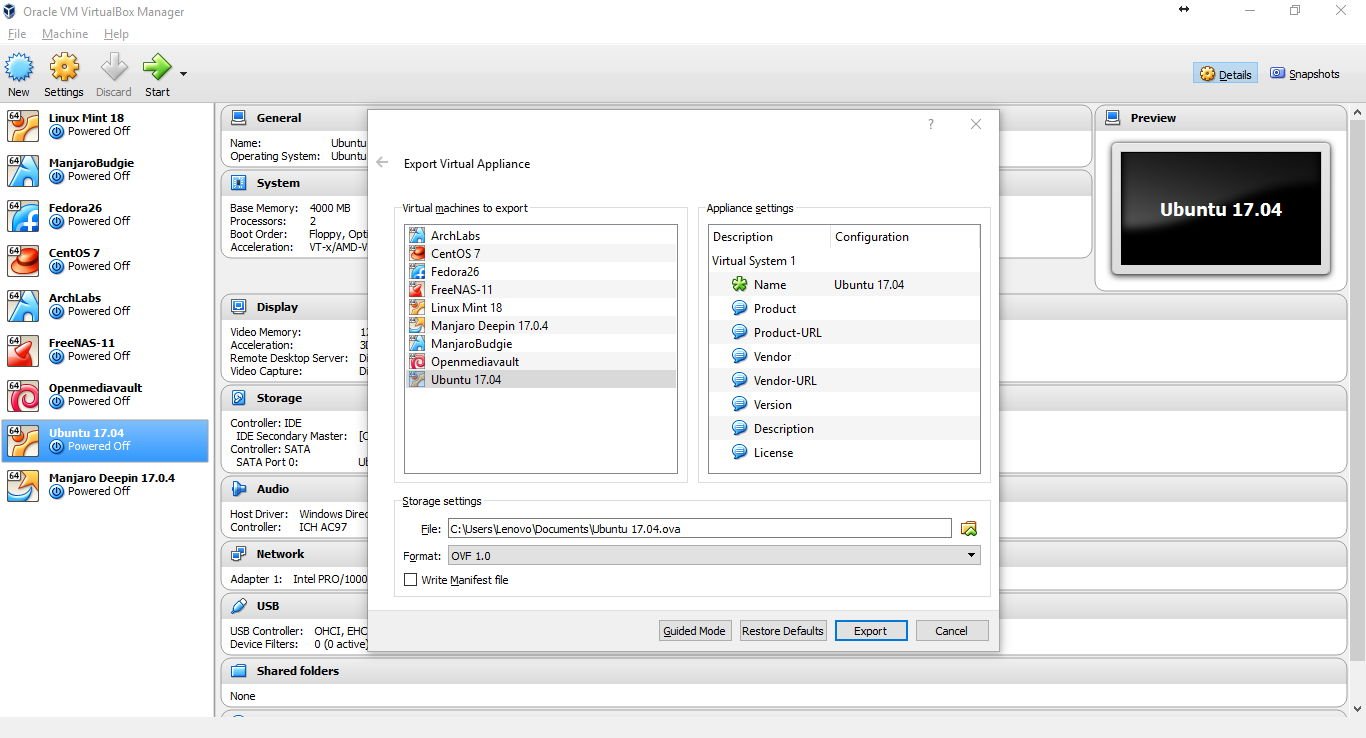
Step 2. Select the virtual machine from the list to convert. You may add some additional information to the appliance. Then, specify the storage setting. This is the place where we want to save the OVF file. Select OVF 1.0 or OVF 2.0 from the format list. Click Export to start the conversion.
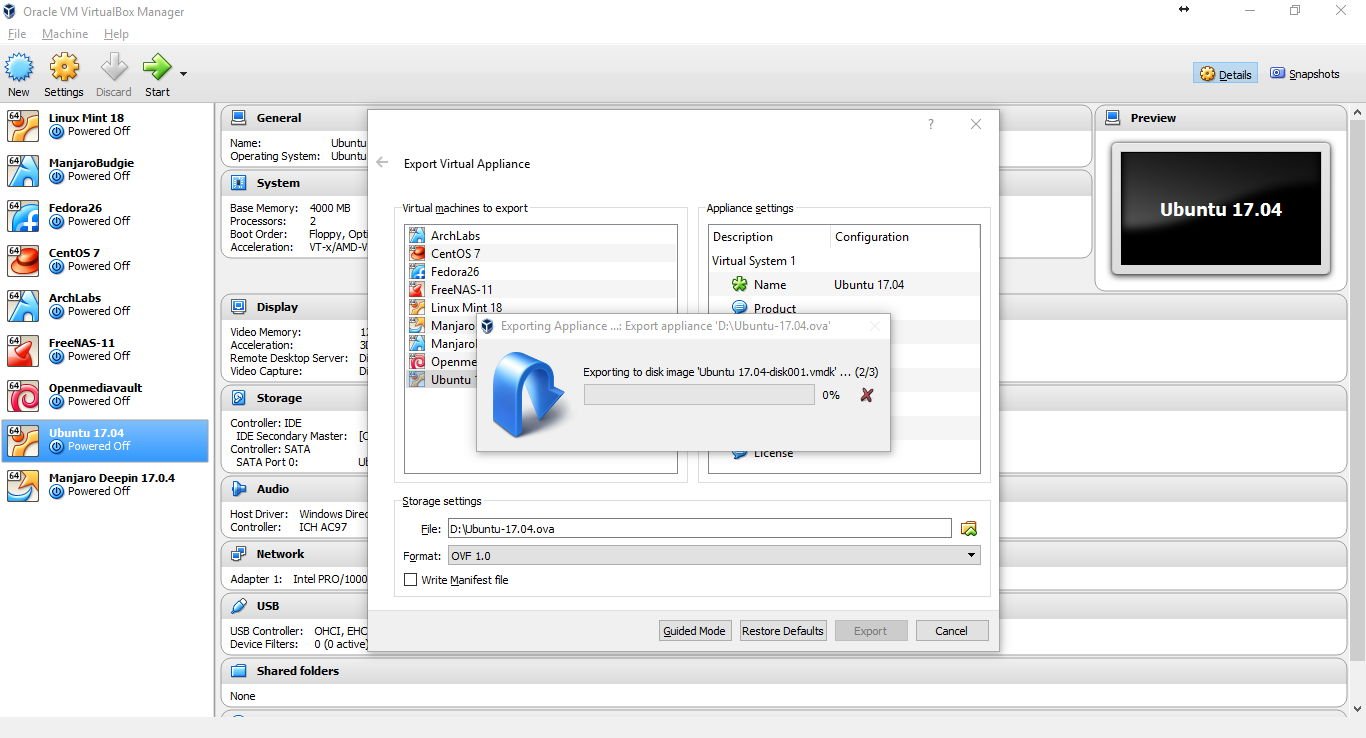
Step 3. Wait until the convert process is completed. This will take some times depends on the size of your VM. Once completed, you can distribute your virtual appliance and open it on other Virtualization platform such as VMWare. You may read how to open OVF virtual appliance on VMWare.
Thank you for reading this How to convert Virtualbox VM to OVF Format. Don’t forget to share this article with the world.
Leave a Reply