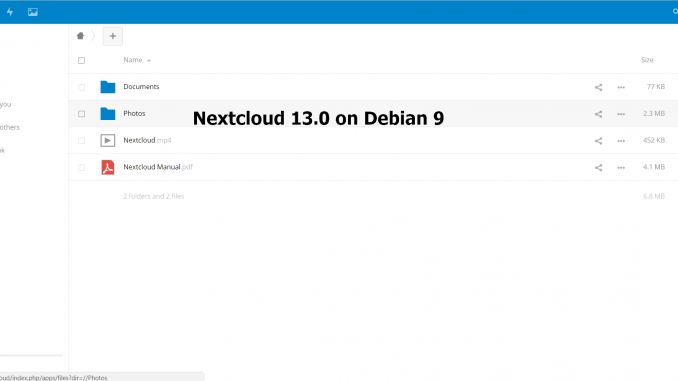
The new version of Nextcloud 13.0 has been released a few days ago. It’s an interesting release since there are some important features added to this Nextcloud 13.0. As mentioned on the official website, Nextcloud 13 brings improvements to the core File Sync and Share, integrate real-time chat and video communication. The UI also improved and it has faster LDAP, faster object storage, and improved Windows Network Drive performance.
Nextcloud is a fork of Owncloud, a popular file storage and sharing appliance. But people claims that Nextcloud is “more” open source than Owncloud. Also, Nextcloud has more features than the Owncloud. I have been running Nextcloud on the company that I worked for the last few years.
On this article, we are going to install Nextcloud 13.0 on Debian 9 Stretch. We will start from installing the LAMP Server on Debian 9. We hope you enjoy this article and get the benefit of Nextcloud 13.0 for your environment. Actually, we’ve created a special tutorial to install LAMP Server on Debian 9 but we will cover it here again. I hope you don’t mind. You may also check the tutorial to install Nextcloud 12.0 on Debian 9 Stretch.
Steps to install Nextcloud 13.0 on Debian 9
First, we need to install LAMP (Linux, Apache, MySQL and PHP) server on Debian 9. In order to complete this tutorial, you must have root privileges or sudo user privileges. Let’s go.
Step 1. Install LAMP Server on Debian 9
A. Install Apache Web Server
On Terminal, use the following command to install Apache web server
su
apt install apache2
B. Install MariaDB
To install Mariadb on Debian 9, use this command
apt install mariadb-server
Now secure the installation
msyql_secure_installation
C. Install PHP and Modules
Use this command to install PHP and required modules
apt install php php-json php-mysql php-mbstring php-intl php-mcrypt php-imagick php-zip php-curl php-dom php-gd
Now we have LAMP Server up and running. Let’s jump into the next section.
Step 2. Download Nextcloud
On this step, we need to download Nextcloud 13.0 package from the official website. Or you can also use the following command to download Nextcloud 13.0 package
cd /tmp
wget https://download.nextcloud.com/server/releases/nextcloud-13.0.0.zip
Now extract the package
unzip nextcloud-13.0.0.zip
It will produce a new directory called nextcloud. Now we need to change the permission and move this directory to our web server root directory.
chown -R www-data:www-data nextcloud
mv nextcloud /var/www/html/
Step 3. Configure Apache Web Server
Before we can use Nextcloud, we need to configure Apache properly. First, lets create nexcloud.conf under /etc/apache2/sites-available/
nano /etc/apache2/sites-available/nextcloud.conf
Paste these lines to it
Alias /nextcloud “/var/www/html/nextcloud/”
<Directory /var/www/html/nextcloud/>
Options +FollowSymlinks
AllowOverride All<IfModule mod_dav.c>
Dav off
</IfModule>SetEnv HOME /var/www/html/nextcloud
SetEnv HTTP_HOME /var/www/html/nextcloud</Directory>
Now execute these commands to complete this step
a2ensite
a2enmod rewrite
a2enmod headers
a2enmod env
a2enmod dir
a2enmod mime
Restart Apache
systemctl restart apache2
Step 4. Create New MySQL User and Database
On this step we will create new MySQL user and database for Nextcloud. First, login to MySQL console.
mysql -u root -p
Now I will create a new user called nextcloud with password 12345 and new database called nextcloud.
create database nextcloud;
create user nextcloud@localhost identified by ‘12345’;
grant all privileges on nextcloud.* to nextcloud@localhost identified by ‘12345’;
flush privileges;
exit:
Step 5. Configure Nextcloud 13.0
Now let’s configure Nextcloud installation via Web browser. Open web browser and type the server IP address as follow:
192.168.1.6/nextcloud
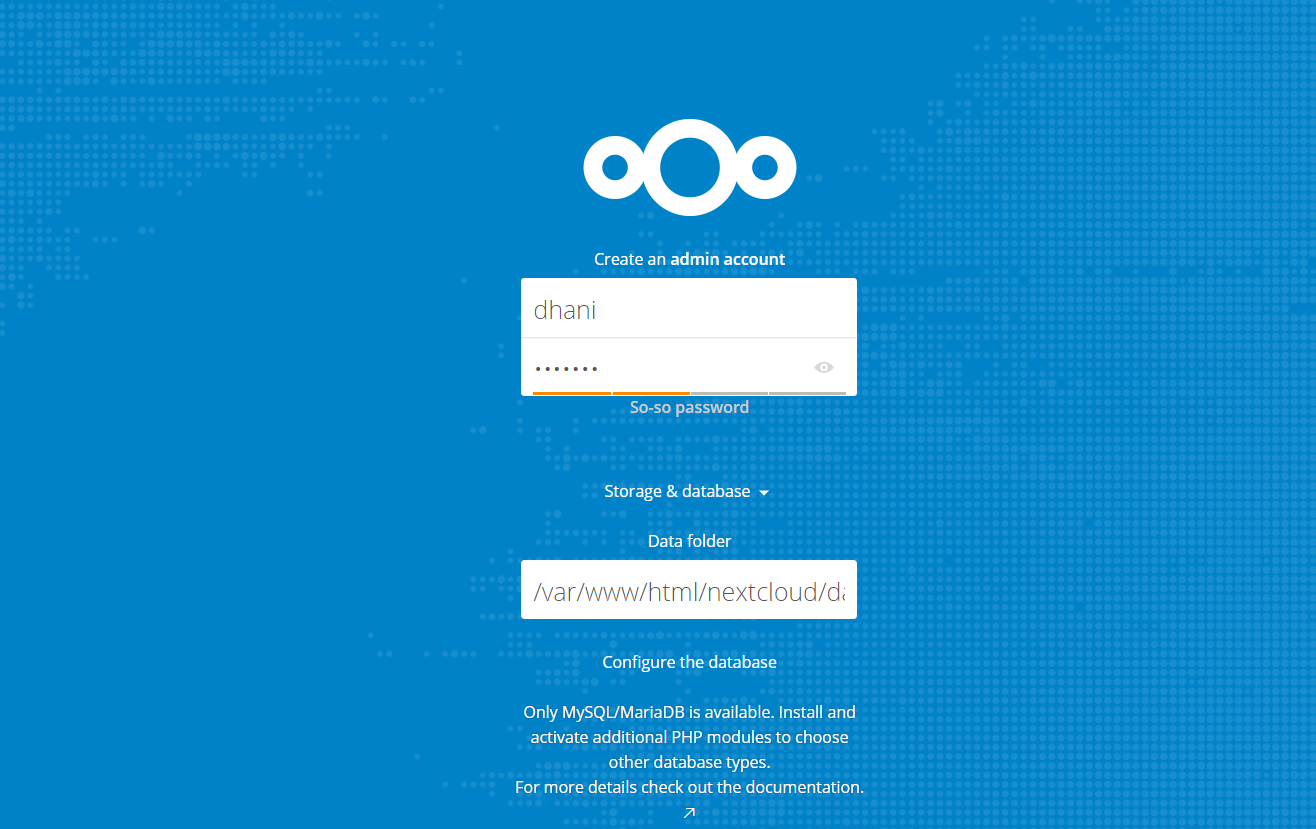
Change the IP address with your Debian IP address. You should see the following window appear. Create a new admin user and password.

Leave the data folder as is unless you want to use another folder for the data. Scroll down and you will see the following

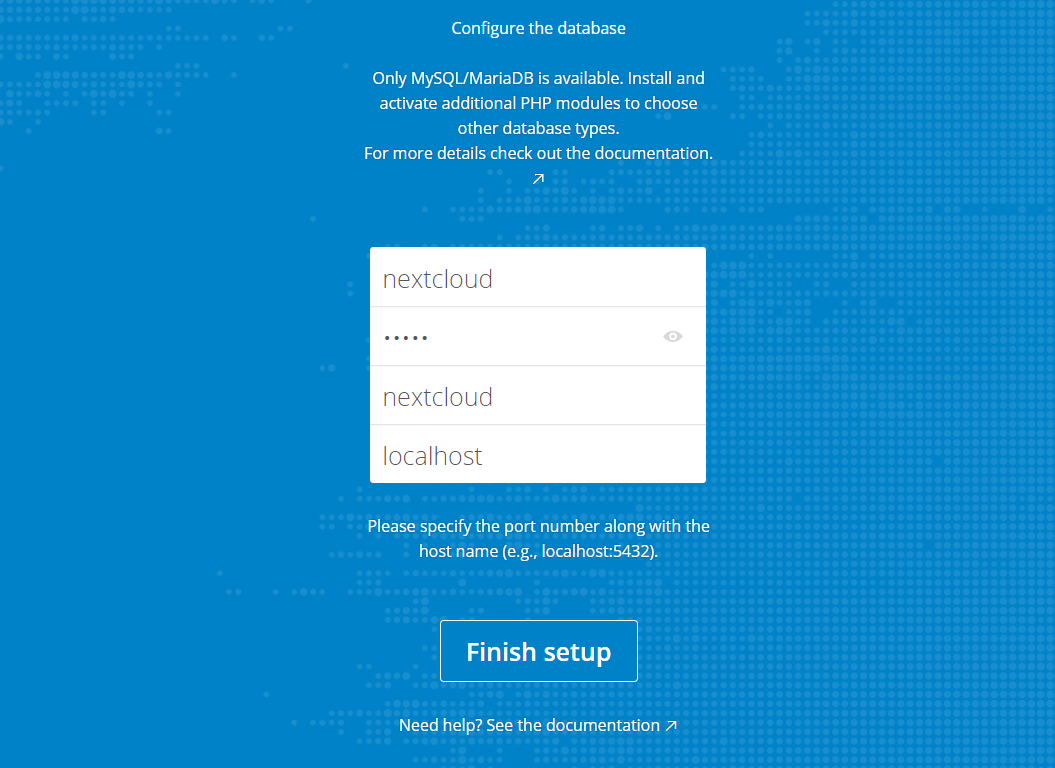
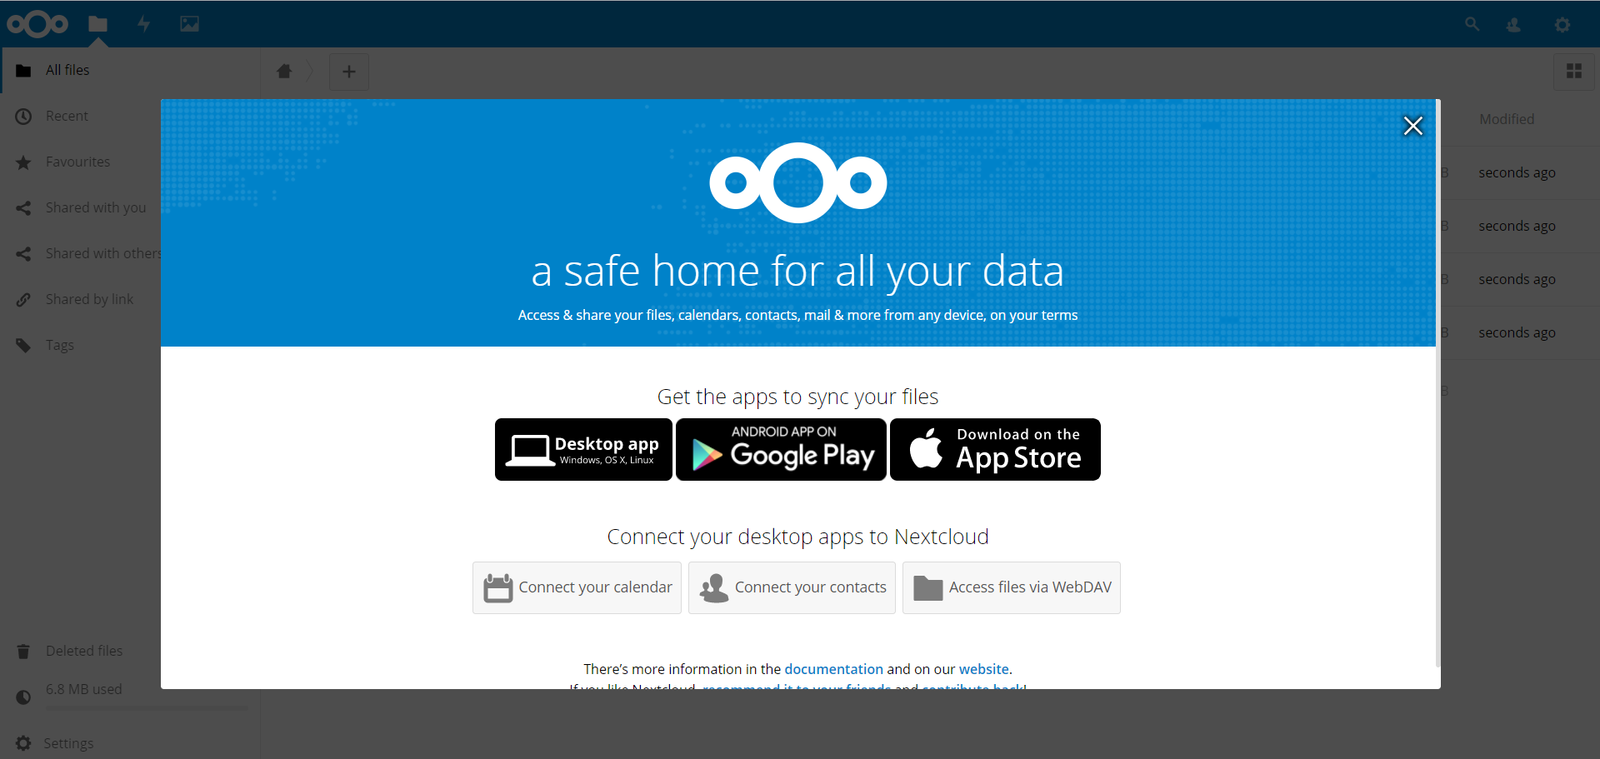
Enter the database user and password we created earlier. Click Finish setup to complete the installation steps. Now enjoy Nextcloud 13.0.

Thanks for reading this How to install Nextcloud 13.0 on Debian 9. We have tested this tutorial on our Debian 9 server. Everything runs very smoothly.

error in grant all privileges on nextcloud.* to nextcloud@localhost identified by ‘12345’;
make sure this is the correct command
if you copy the line, make sure you have the right ‘
🙂
brgds