

Today we are going to install Nextcloud 13.0 Server on Ubuntu 18.04 Bionic Beaver. The Ubuntu 18.04 is still in development version when this tutorial is written. But the installation steps should remain the same after the final release is available. So you still be able to use this guide to install Nextcloud 13.0 on Ubuntu 18.04 release. Nextcloud 13.0 Server runs well on Debian 9 Stretch. You may also read how to install Nextcloud 12.0 on Ubuntu.
Steps to install Nextcloud 13.0 Server on Ubuntu 18.04
Before we can install and configure Nextcloud, we need to install LAMP Server on Ubuntu first. Please read my previous tutorial to install LAMP Server on Ubuntu 18.04.
Step 1. Install additional PHP modules
Once you have installed LAMP Server, we need to install some additional packages:
sudo apt install apt install php php-json php-mysql php-mbstring php-intl php-mcrypt php-imagick php-zip php-curl php-gd php-xml
Step 2. Create new MySQL User and Database
We are going to create a new MySQL user and database. You may adopt the following command.
Login to MySQL Console
sudo mysql -u root -p
Create new user and database
CREATE USER dhani@localhost IDENTIFIED BY ‘12345’;
CREATE DATABASE nextcloud;
GRANT ALL PRIVILEGES ON nextcloud.* TO dhani@localhost IDENTIFIED BY ‘12345’;
FLUSH PRIVILEGES;
EXIT:
Step 3. Download Nextcloud Package
Now we need to download Nextcloud package.
cd /tmp
wget https://download.nextcloud.com/server/releases/nextcloud-13.0.0.zip
Extract the package
unzip nextcloud-13.0.0.zip
Change the permission
sudo chown -R www-data:www-data nextcloud
Move nextcloud package to /var/www/html
sudo mv nextcloud /var/www/html/
Step 4. Create Nextcloud Configuration file
Now we need to create the Apache configuration file under /etc/apache2/sites-available/. For example I give the config name as nextcloud.conf.
sudo nano /etc/apache2/sites-available/nextcloud.conf
Paste these lines
Alias /nextcloud “/var/www/html/nextcloud/”
<Directory /var/www/html/nextcloud/>
Options +FollowSymlinks
AllowOverride All<IfModule mod_dav.c>
Dav off
</IfModule>SetEnv HOME /var/www/html/nextcloud
SetEnv HTTP_HOME /var/www/html/nextcloud</Directory>
Now execute these commands
sudo a2ensite nextcloud.conf
sudo a2enmod rewrite
sudo systemctl restart apache2
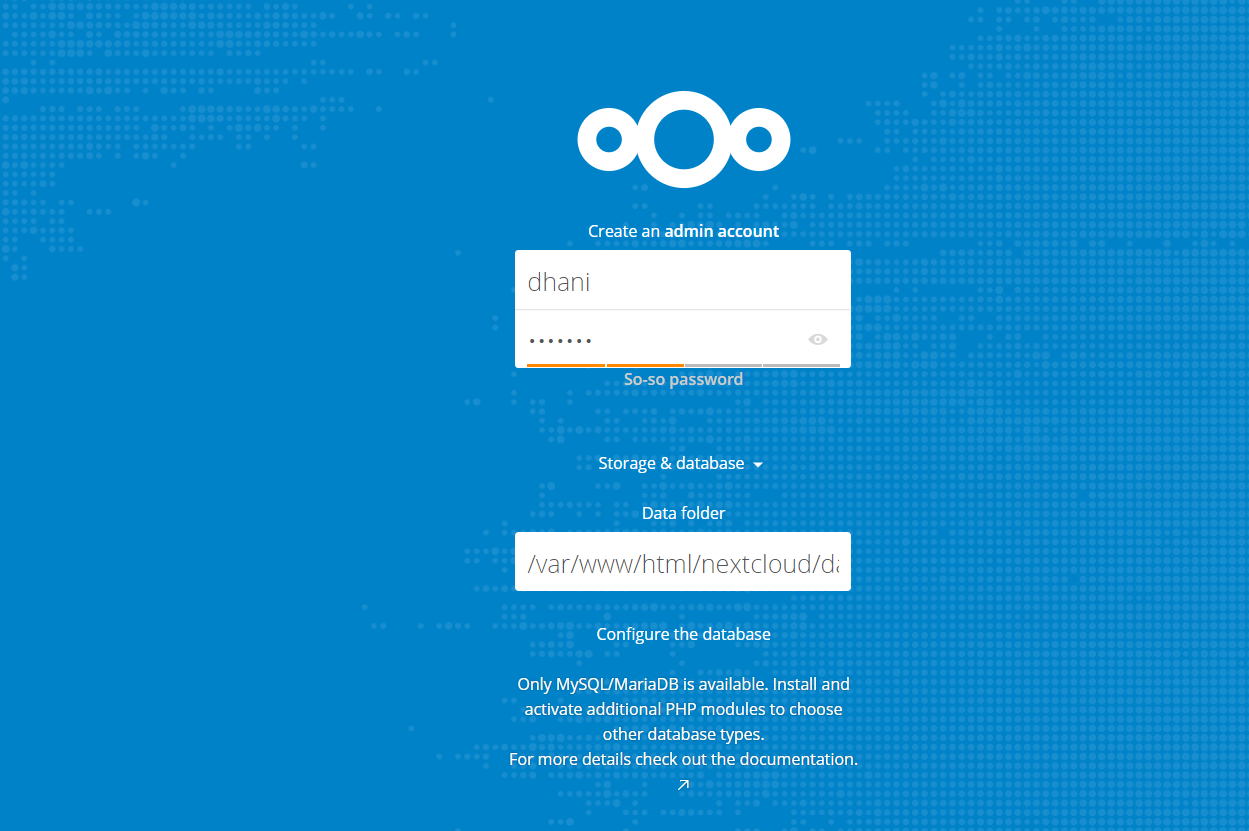
Step 5. Configure Nextcloud Web Interface
Open a web browser and then type the IP address of the Ubuntu server. For example:
http://192.168.1.1/nextcloud
Now we need to create admin user. You will be asked to enter the MySQL database user, password and also database name.
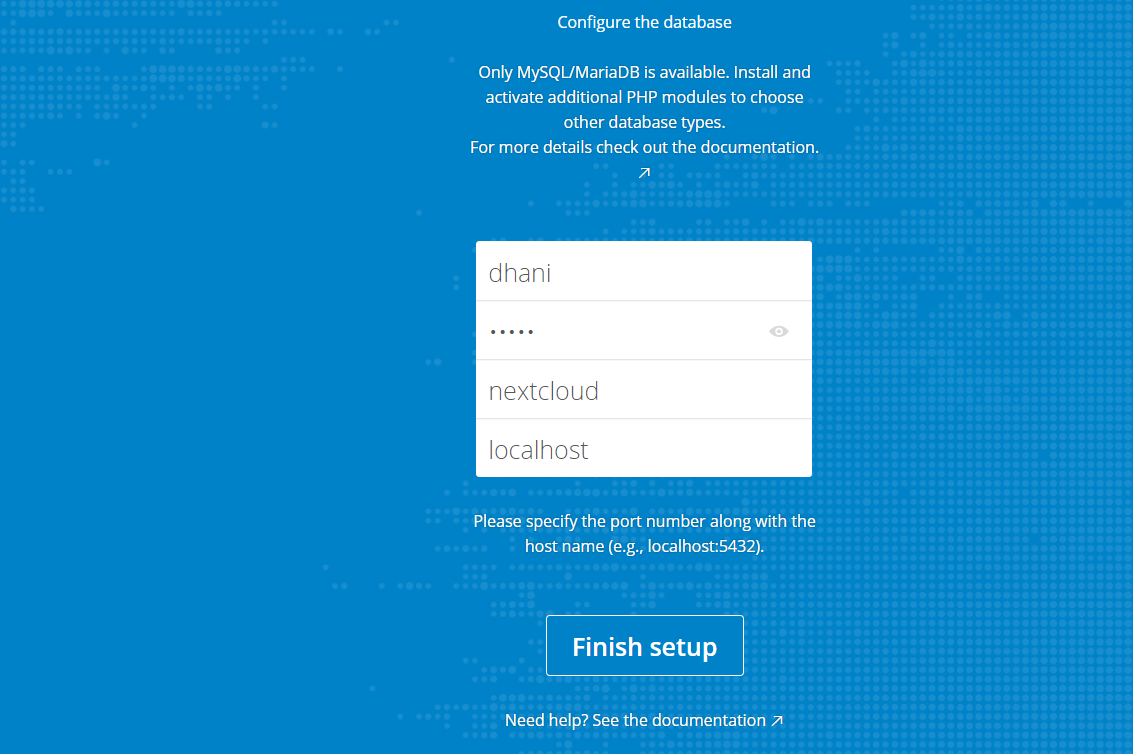
Click Finish Setup.
Now your Nextcloud server is ready. Thank you for reading this post.
Leave a Reply