
Fedora 31 is an interesting distribution. It is not only fast, beautiful but it also powerful. We can use it for server such as web server and install WordPress CMS on top of it. So, in this article, I am going to install WordPress on Fedora 31.
Steps to Install WordPress on Fedora 31
Step 1. Install LAMP Server
First, we need to install and configure the web server, using LAMP. You can read step by step to install LAMP Server on Fedora 31. I will not discuss this step here. After your LAMP server is up and running you can continue to the step 2.
Step 2. Install WordPress
First, let’s check the WordPress requirements
sudo dnf provides wordpress
Output
[dhani@localhost ~]$ sudo dnf provides wordpress
 [sudo] password for dhani:
 Last metadata expiration check: 1:26:23 ago on Thu 28 Nov 2019 06:50:43 PM JST.
 wordpress-5.2.3-1.fc31.noarch : Blog tool and publishing platform
 Repo        : fedora
 Matched from:
 Provide    : wordpress = 5.2.3-1.fc31
 wordpress-5.3-1.fc31.noarch : Blog tool and publishing platform
 Repo        : updates
 Matched from:
 Provide    : wordpress = 5.3-1.fc31
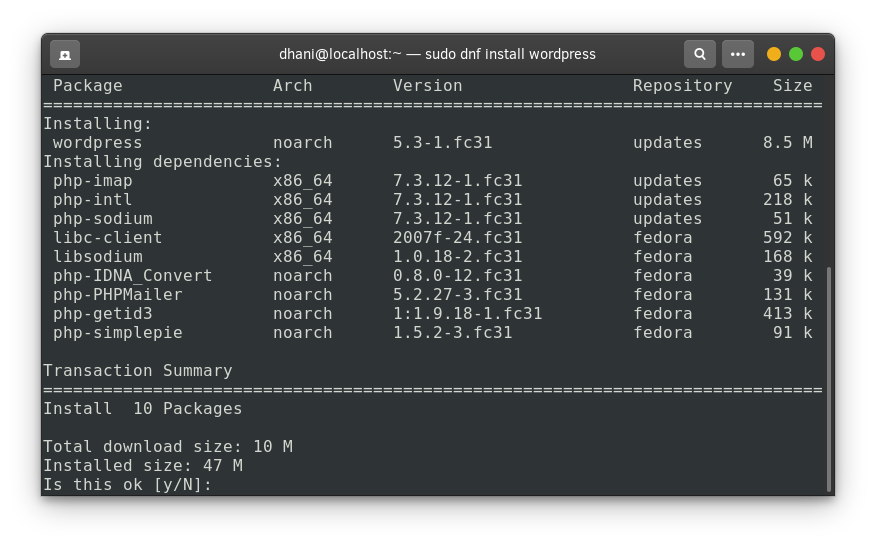
Now, let’s install WordPress
sudo dnf install wordpress
Answer y and press Enter
Step 2. Create a new Database for WordPress
Now we are going to create a new MariaDB database to store WordPress data.
mysql -u root -p
create database wordpress;
create user wordpress;
grant all privileges on wordpress.* to wordpress@localhost identified by '12345';
flush privileges;
exit;
The command above will create a new wordpress database and wordpress user with password 12345. Off course you will need to adjust these settings.
Step 3. Configure WordPress
Now we are going to modify some WordPress config.
sudo nano /etc/wordpress/wp-config.php
Now find and adjust the following lines with the Database credentials we created earlier.
// ** MySQL settings - You can get this info from your web host ** //
 /** The name of the database for WordPress */
 define( 'DB_NAME', 'wordpress' );
 /** MySQL database username */
 define( 'DB_USER', 'wordpress' );
 /** MySQL database password */
 define( 'DB_PASSWORD', '12345' );
 /** MySQL hostname */
 define( 'DB_HOST', 'localhost' );
Close and save the file. And then, restart the web server
sudo systemctl restart httpd
Set the SELinux
sudo setsebool -P httpd_can_network_connect_db=1 sudo
setsebool -P httpd_can_sendmail=1
Now edit the file /etc/httpd/conf.d/wordpress.conf. Change the following line
Require local
Into this one
Require all granted
Next restart the webserver
sudo systemctl restart httpd
Done.
Step 4. Final Configuration
Open a web browser and type “localhost/wordpress”. Enter the information needed to complete the WordPress installation
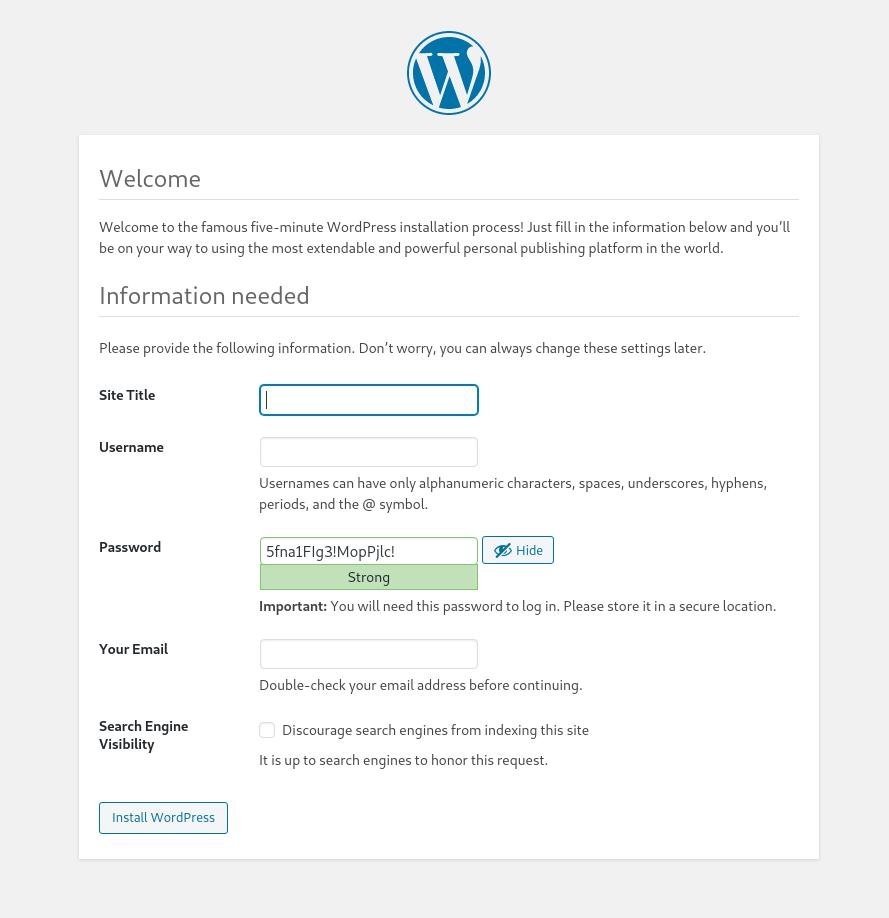
Finally, click Install WordPress button to complete. Now enjoy the new WordPress site.

Hi, is it possible to configure more wordpress site on the same server with rpm wordpress?
Hi, I am not sure about that. But we can install multiple WordPress sites on a single server or PC using manual installation.