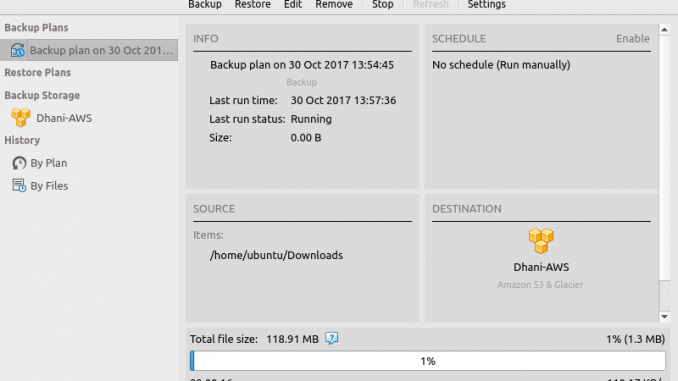
On this tutorial, we are going to show you how to backup a Linux workstation to the cloud storage using CloudBerry Backup. As part of this tutorial, we are using the latest Ubuntu 17.10 Artful Aardvark. But don’t worry, it also supports previous version of Ubuntu such as Ubuntu 14.04 as well as Ubuntu 16.04. Please continue reading to learn how to Backup Ubuntu to the Cloud with CloudBerry Backup.
Backup Linux to the Cloud using AWS CLI
There is a free way to backup Ubuntu/Linux in general to the cloud using a tool called AWS CLI. This is a free tool developed by Amazon that can be used to backup Linux to the Amazon S3 storage. You may read how to install AWS CLI on Ubuntu if you wish to backup using this free tool. Also, most Linux system comes with a built-in backup system which can be used to make a full backup of your Linux system. You can use TAR command to perform this kind of backup.
But, in order to automate the backup process using such way, it needs further adjustment and settings. It is pretty difficult for a new Linux users. So, at this point, the third party backup tool such as CloudBerry Backup comes to play.
CloudBerry as a Backup Solution
CloudBerry Backup is a cross platform cloud backup software. It offers automatic backup and restore, supports Windows, Linux and Mac OS. It comes with both GUI and command line interface (CLI). The CLI is suitable for backing up your Linux server. For a complete list of features of CloudBerry Backup, please visit this link.
System requirements
Before you can install CloudBerry Backup for Linux, make sure your system meets the following requirements:
- 1.4 GHz 64-bit processor,
- 512 MB RAM, 100 MB minimum disk space,
- Gigabit (10/100/1000baseT) Ethernet adapter
Supported Linux distribution
- Ubuntu 12/14/16/17,
- Suse 11/12, Red Hat 6.x/7.x, Fedora 12/21/26, CentOS 6/7, Oracle Linux 6.x/7.x
At the moment, only file level backup is available for Linux system. The image based backup is currently under development (based on CloudBerry information).
CloudBerry Backup Installation on Linux
You can download the installation package of CloudBerry Backup for Linux using the following link:
If you are running Ubuntu, please read our previous tutorial to install CloudBerry Backup on Ubuntu 16.04. In general, you can install CloudBerry Backup with the following command:
Debian/Ubuntu based Linux
sudo dpkg -i /PATH/filename.deb
RedHat, Fedora, Centos based Linux
sudo rpm -i /PATH/filename.rpm
CloudBerry Backup for Linux GUI
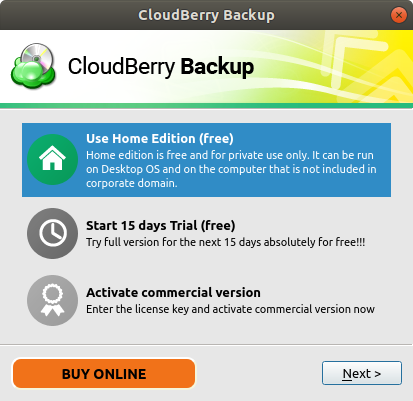
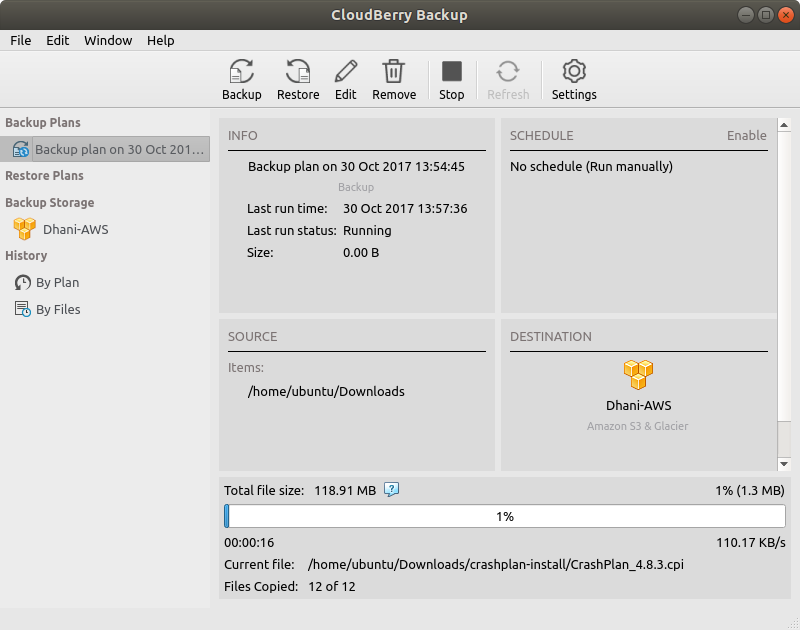
Backup Ubuntu to the Cloud with CloudBerry Backup is pretty easy to do. After installation, you can run CloudBerry Backup GUI. On the first step you will need to select the license option. You may select the free version or 15 days trial of Pro version.
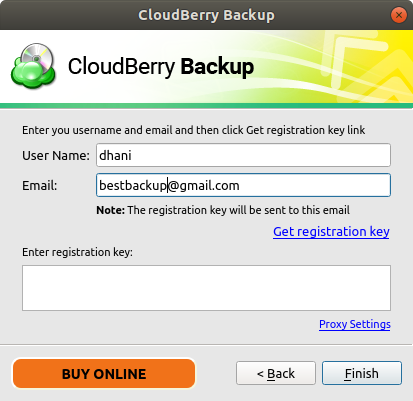
There are limitation when you decide to use the free version. It does not support compression and encryption. You can activate the free trial version if you wish to try the full version. You will need to enter your name and email address to obtain the key.
How to Backup
In order to backup data to the cloud storage, we need to sign in to the Cloud storage from CloudBerry. Go to Settings and press the + sign and then select the cloud storage from the list. For example, Amazon S3.
Type the Display name, paste your Access key and Secret key. Now create your first backup plan.
- Click Backup button
- Select cloud storage (Amazon S3 in this example)
- Specify plan name for the new backup plan
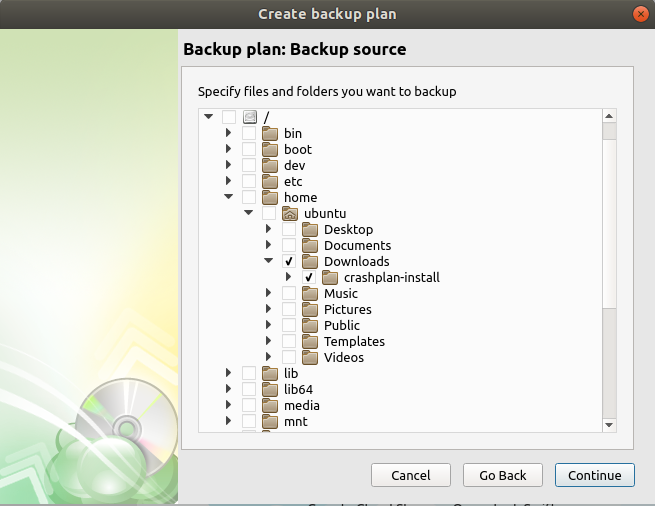
- Add the backup sources
- Specify the backup schedule and notification setting
We recommend to set up the backup schedule for continuous backup process.
How to Restore
After completing Backup Ubuntu to the Cloud with CloudBerry Backup, we can continue to learn how to restore the backup. To restore from a backup, click Restore from the main window. It will open the restore wizard.
- Choose the cloud storage from where you will restore the backup
- Select whether you want to run the restore once or scheduled restore.
- Choose the restore type. You can restore from the latest backup version or you can also choose to restore from point in time
- Specify the files or folders to restore
- Select the restore destination. You can restore to original location or other directory
- Specify the encryption option. Leave it blank if you did not set the encryption during backup process
- Set the notification option
Final Thoughts
It was a great experience when testing this CloudBerry backup on my Ubuntu system. With this tool, backup is very easy task. No command line experiences needed to backup Ubuntu to the cloud storage. Please subscribe to this blog if you want to get more tutorial like this in the future. Thanks for reading How to Backup Ubuntu to the Cloud with CloudBerry Backup.



Leave a Reply