I have been running the Proxmox 6.2. VE in the last few months. Now I am running out of disk space to store my VMs, backup, and snapshots. I definitely need an extra hard drive for my Proxmox system. And today, I will add an extra 1 TB of the hard drive to my existing system. Currently, I have a 250 GB SSD drive installed. So in this article, you will see how I managed to install a new hard disk and configure it on the Proxmox server.
Steps to Add Extra Hard Drive to Proxmox
First, make sure you have connected the hard drive to the server. And then login to the Proxmox console or connect it via SSH from other computer.
Identify the new disk
lsblk
Output

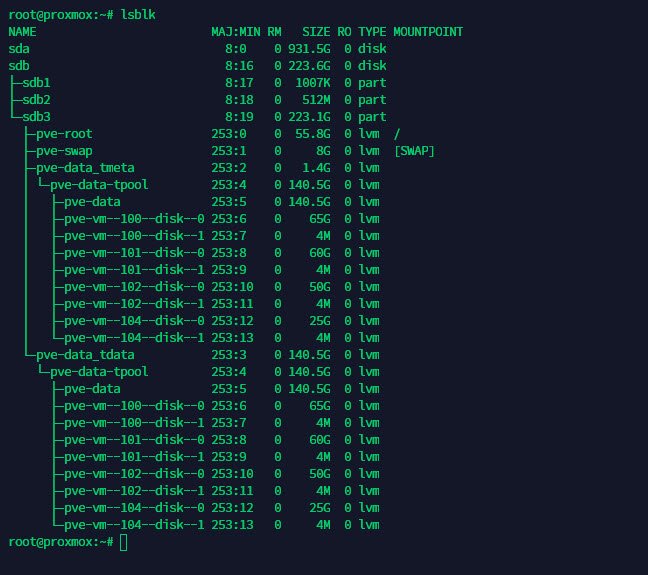
In this case, my disks are sda and sdb. As you can see, my 1 TB hard drive is identified as sda. So we are going to work with this sda drive.
Format the drive
We are going to format the drive using parted. Please check if you have parted installed. If not, you can use this command to install
apt policy parted
apt install parted
Create a new partition table of type GPT. Instead of using MBR, I prefer to use GPT because it is newer and also supports more than 2 TB disk.
parted /dev/sda mklabel gpt

Now, lets make a new primary partition with Ext4 filesystem and use 100% of the disk.
parted -a opt /dev/sda mkpart primary ext4 0% 100%

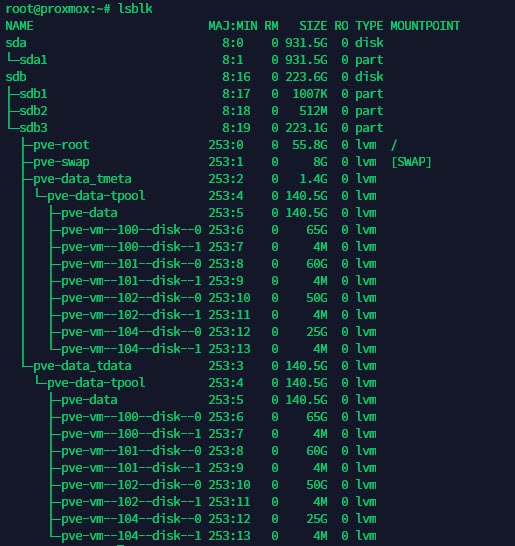
Now, check with lsblk command to see the new layout

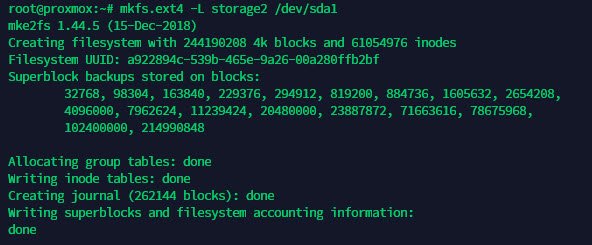
As you can see, now there is a new partition sda1. So, we are good to go. Now let’s create the ext4 filesystem on the sda1.
mkfs.ext4 -L storage2 /dev/sda1

Mount the New Disk
Now let’s create a new directory and mount the new partition.
mkdir -p /mnt/storage2
Modify the /etc/fstab so it will be mounted automatically upon system boots.
nano /etc/fstab
Add the following line
LABEL=storage2 /mnt/storage2 ext4 defaults 0 2
Mount the drive
mount -a
Now check with lsblk command again

As you can see, now the /dev/sda1 is mounted as /mnt/storage2.
Prepare for Proxmox VM Backup
Now, we are going to prepare the disk to store the VM backups. We will create a special folder for this purpose.
mkdir /mnt/storage2/vm_backup
Now, open the Proxmox web management console and navigate to Datacenter >> Storage >> Add>>Directory. Enter the required information there.

Click Add and you are good to go.
Thanks for reading this article. Please follow this blog to get more articles like this.

Leave a Reply