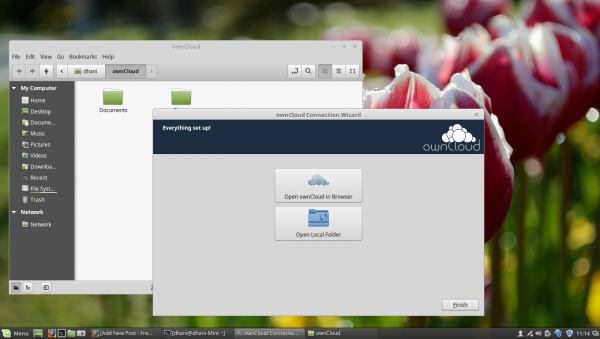
Owncloud provides client application for Linux which allows Owncloud users to sync their local files to remote Owncloud server. Its a simple and very useful application especially if you are working with cloud files and also file sharing with other users. This tutorial will show you how to install Owncloud Client on Linux Mint 18.1. Before proceeding, you may also want to take a look at my other tutorial to install Owncloud Server on Linux Operating System.

Steps to install Owncloud Client on Linux Mint 18.1
Owncloud developer distribute this application via official repository so its easier for use to get the most recent version for our Linux Mint.
Step 1. Add the key
In Terminal, copy and paste these lines to add the key to Linux Mint.
wget -nv http://download.opensuse.org/repositories/isv:ownCloud:desktop/Ubuntu_16.04/Release.key -O Release.key
sudo apt-key add - < Release.key
Step 2. Add Repository
Copy and paste these lines to add the Owncloud repository
sudo sh -c "echo 'deb http://download.opensuse.org/repositories/isv:/ownCloud:/desktop/Ubuntu_16.04/ /' > /etc/apt/sources.list.d/owncloud-client.list
Step 3. Install Owncloud Client
Now update Linux Mint and then we can install Owncloud Client
sudo apt update
sudo apt install owncloud-client
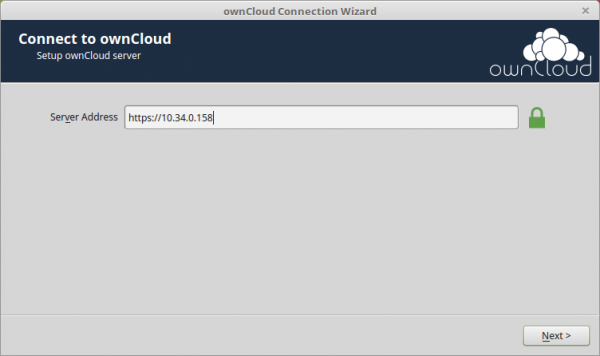
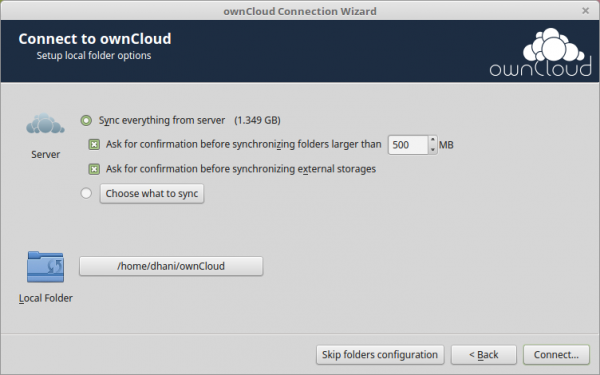
Once completed, open Owncloud Desktop Sync client from application menu. We need to enter the Owncloud server address and configure some sync options.


Leave a Reply