Are you still using the traditional backup method? Recently, backup is moving to the cloud backup system. The cloud backup scenario provides a better protection, high availability and more secure. There are many cloud backup solution and storage that offer great plan at an affordable price. Today, we will show you to perform an Automatic Backup Linux Server to Dropbox using Backup Bird. This tutorial is also applicable to Linux Desktop, not only server.
Check Out our Great Cloud Backup Software List
What is Backup Bird?
You might not familiar with this cloud backup provider. Backup Bird is actually a cloud backup service that allows us to backup our local desktop or server to the cloud storage. We only need to install a small agent on our desktop or server. Then, the backup is managed from the Backup Bird web console. It’s pretty easy. We can backup files and directories, MySQL, MongoDB and PostgreSQL. It supports Amazon S3, Dropbox, Google Drive and FTP Servers.
Read Backup Bird Review
Steps to Backup Linux Server to Dropbox using Backup Bird
Well, for now we will show how to backup to Dropbox. If you want to backup to Amazon S3 or other supported storage, the steps is actually similar. I made a video tutorial to Backup Linux Server to Dropbox using Backup Bird below. But still, I will break down the step by step below.
Step 1. Login to Backup Bird web management console
If you don’t have Backup Bird account, you can create a new one for free. You can get 30 days free trial for one server.
Step 2. Add Server
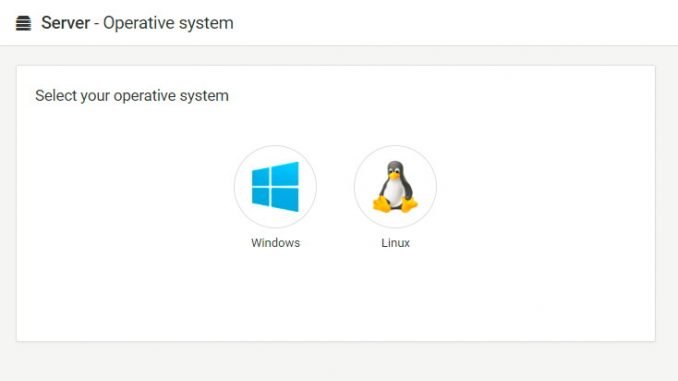
Next, click Add server button. We are going to add new server to Backup Bird. Click Linux Logo to add new Linux Server.
Next, copy the code/command and then run it on Linux Terminal.
Step 3. Verify
After executing the command on our Linux server, go back to Backup Bird web console and click the blue button that says “Done? Click to test”. If all goes well, your Linux server will be listed on the server list.
Step 4. Add new Backup
Great, now lets create a new backup plan. Click your server from the server list and go to Configuration. Enter the directory you want to backup. You can also include your database server to the backup list. It currently supports MongoDB, MySQL/MariaDB and PostgreSQL.
Click Add new Database and enter your database server credentials. For example, to add MySQL Server, simply click MySQL/MariaDB and then enter the user, password and database name.
Step 5. Configure Cloud Storage
Currently, Backup Bird supports Amazon S3, Dropbox, Google Drive and FTP Server.
Amazon S3
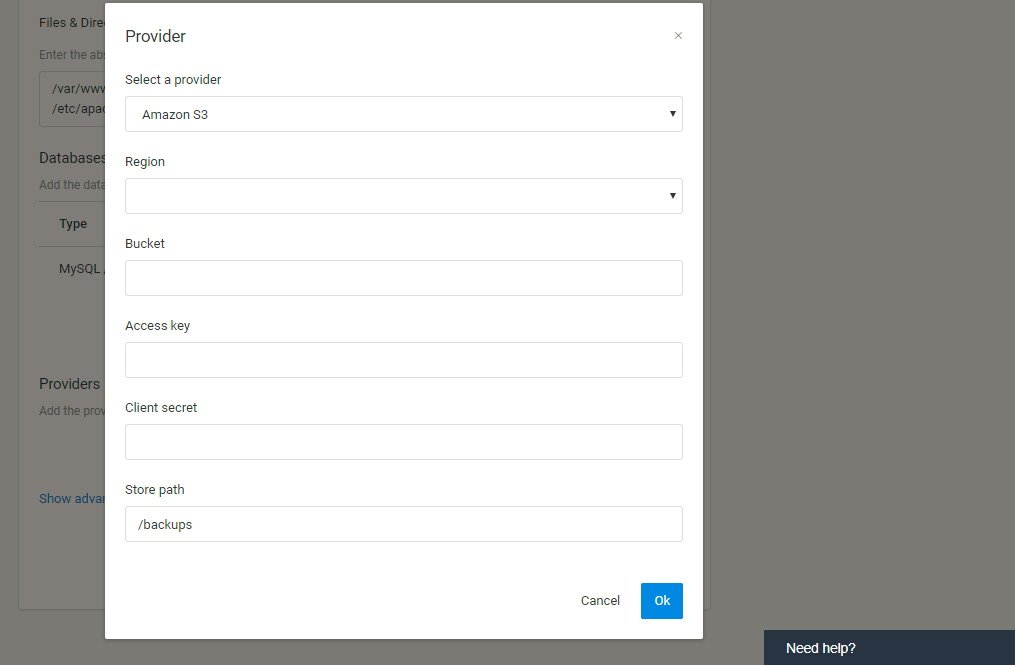
Click Add Provider and select Amazon S3 from the list.
Select Region and type your Bucket name, enter access key and client secret. You may change the store path if you want.
Dropbox
Select Dropbox from the list and then click the link to get Dropbox token. It will open a web browser and you need to login using Dropbox account. Copy the token code to Backup Bird.
Google Drive
To add Google Drive to the backup destination on Backup Bird, select Google Drive from the list. Next, paste the following code on the Linux Server Terminal
sudo backupbird –setup-gdrive
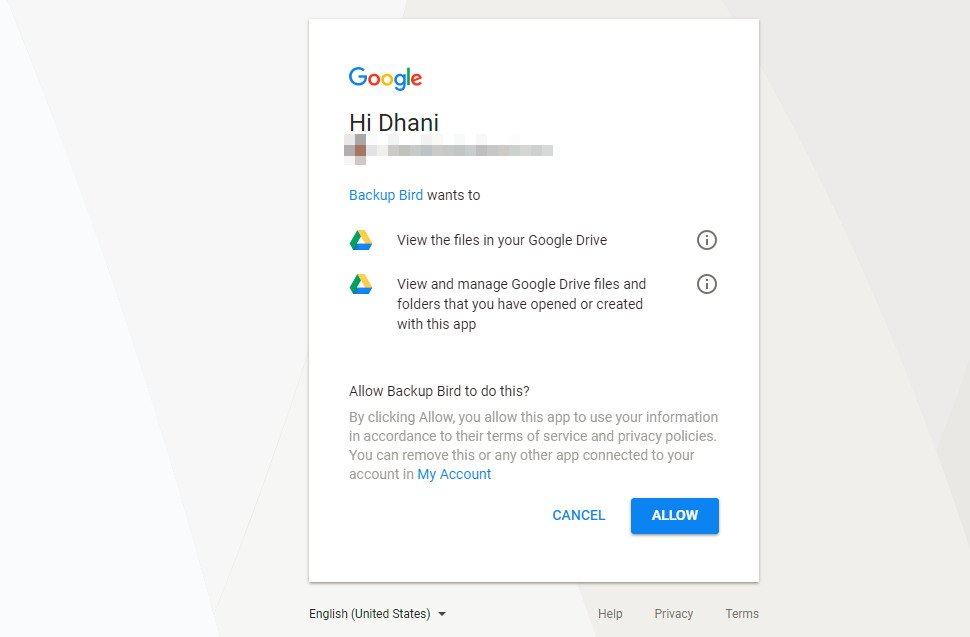
You will get a link on the Terminal. Copy and paste the link on your web browser. You will need to login to Google account afterward.
Ok, now we have added our Linux server to Backup Bird, add some backup sources and add Backup Destination. Next we can configure the backup schedule.
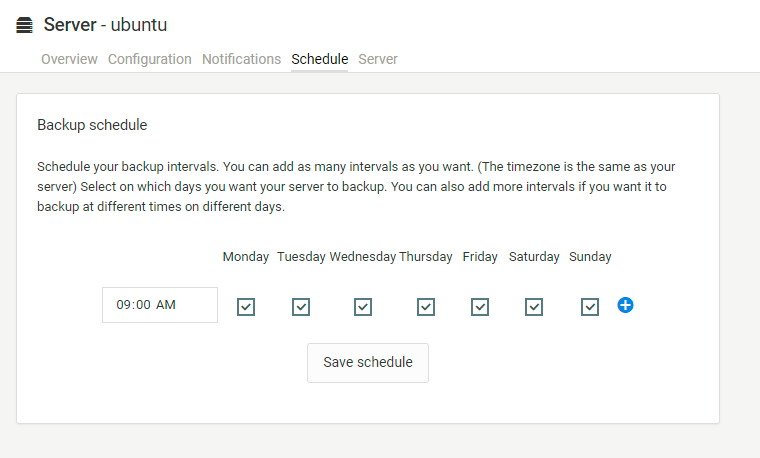
Open the Schedule tab and you can select and configure when the backup will be automatically performed.
Conclusion
Backup Bird is an automatic Cloud Backup solution for Windows and Linux Server. It comes with a handy user interface, pretty easy to use. But, in case you want to recover your data, you have to do it other way. There is no chance to restore data using Backup Bird. It’s a big minus for me. But anyway, thanks for reading this How to Backup Linux Server to Dropbox using Backup Bird.


Leave a Reply