

If you are new to Docker, you may wonder to have a GUI to manage your Docker. Unfortunately, Docker does not shipped with GUI. You will need to operate, manage it via command line. But don’t worry, Portainer is here for you. Portainer is a special web based application to manage your Docker. In other words, Portainer is Docker GUI management console. Today, I am going to show you how to install and configure Portainer on Ubuntu 18.04.
Before we go through, you may want to have a look at Portainer. You can also open the public demo of Portainer via this link. Use this credentials: user: admin and password: tryportainer.
Install Portainer on Ubuntu 18.04
Portainer works with Docker. Before you try to install Portainer, make sure you have installed Docker on Ubuntu 18.04.
sudo docker volume create portainer_data
sudo docker run -d -p 9000:9000 -v /var/run/docker.sock:/var/run/docker.sock -v portainer_data:/data portainer/portainer
The installation process will take few seconds to a minute. Its pretty quick. After that, you can open a web browser and type the IP address of the host with the following format:
http://ip_address:9000
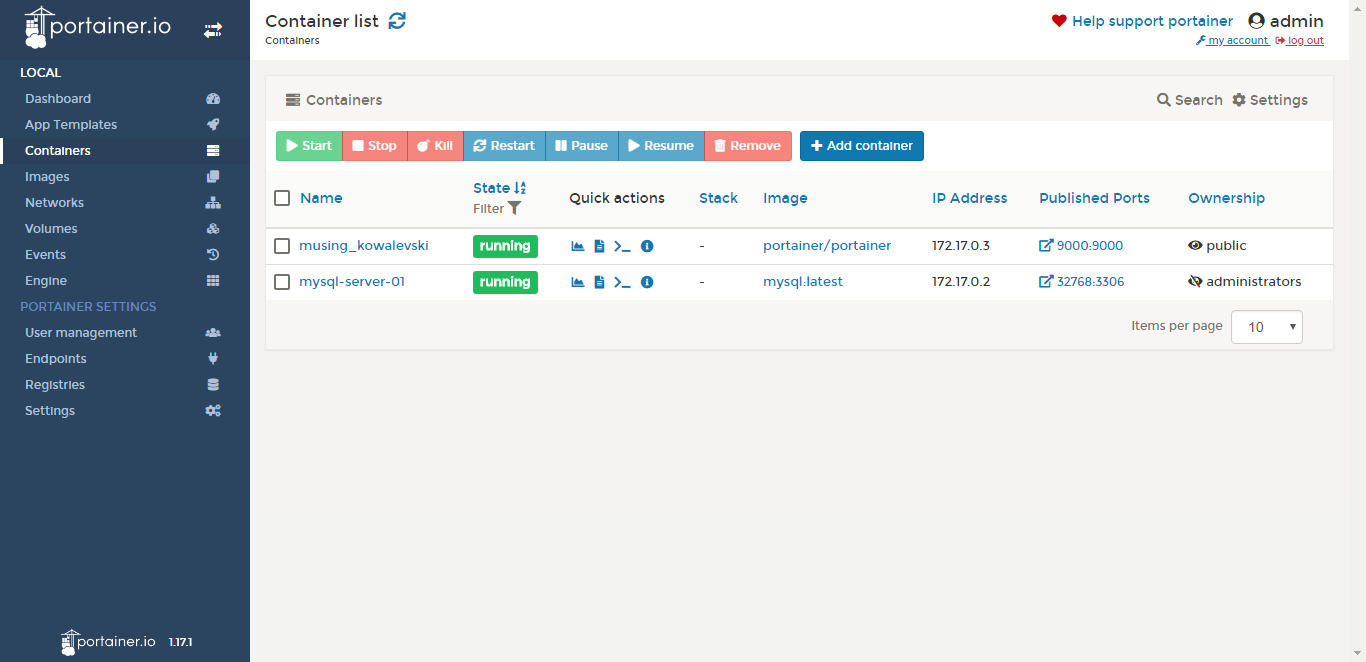
On the first page, you will be asked to create new admin user. And then, you can start using Portainer to manage your Docker.
That’s it, thanks for reading this tutorial to install Portainer on Ubuntu 18.04. Please check out our Ubuntu Tutorial page for more tutorial like this.
Leave a Reply