

This tutorial is going to show you step by step installing ArchLabs 4.1. ArchLabs 4.1 is now available. This is an Arch based Linux distribution for desktop with a lightweight Openbox Desktop Environment. You can even install and run ArchLabs on Virtualbox without problems. ArchLabs comes with a graphical installer (Calamares) so its very easy to get it installed.
Please visit the official Archlabs website for more information.
Why you should try ArchLabs 4.1
- Simple, lightweight and beautiful
- Based on Arch Linux which is believed to be a rock solid Linux OS
- A rolling release edition, install once and upgrade forever. No need to reinstall everytime there is new version available
- Easy to install. Even a novice user can do quick installation
- Free
Step by step installing ArchLabs 4.1
Step 1. Download ArchLabs 4.1 ISO
Step 2. Boot your computer or Virtual Machine using the ISO file.
Step 3. Open Calamares graphical installer
By default, ArchLabs Live will open Calamares after reach the desktop.
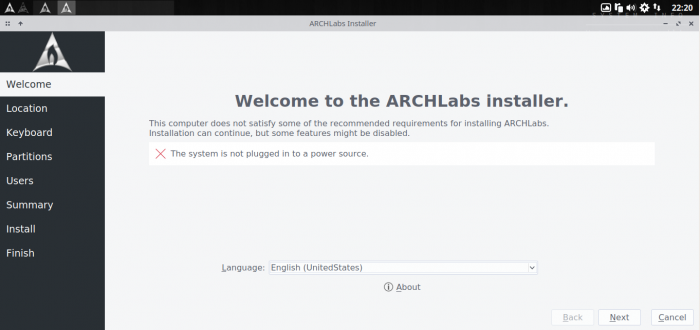
On the first screen, select the installation language. English US is the default value. Next, select your region. This will also set your locale, numbers and dates based on the region you choose.

Select the keyboard layout. The default is English US layout.

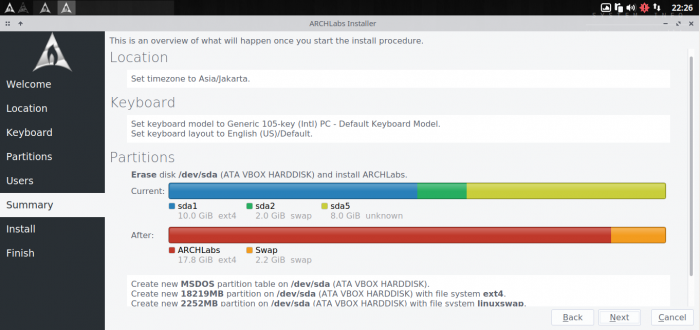
Select Partition layout. Please beware on this step and make sure you choose the right layout. If you wish to install ArchLabs on a dedicated disk, you can choose to erase the disk and use the entire disk for ArchLabs.

Now create a new user for ArchLabs

On the next window, you will see your installation summary. Make sure all correct and you can proceed to the installation process.
Next, the installation process should begin

Reboot your computer/VM once the installation is completed

Now enjoy Archlabs 4.1

Thank you for coming. Please share this article if you think its useful. Cheers
Leave a Reply