

Hello everyone, in this article, we will learn how to install Windows Subsystem for Linux on Windows 10. If you want to learn more about the Windows Subsystem for Linux (WSL), please visit the following page.
https://docs.microsoft.com/en-us/windows/wsl/about
There are some steps we need to take in order to install WSL on Windows 10. Let’s do it.
Steps to Install Windows Subsystem for Linux on Windows 10
First, open Windows Powershell. Click Windows start menu and type powershell. And then execute this command to run it as administrator.
Start-Process powershell -Verb runAs
It will open another PowerShell window with Administrator rights.
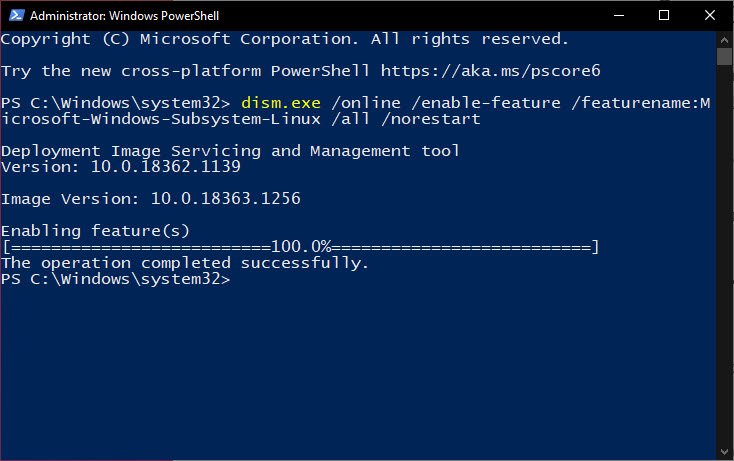
Step 1. Enable the Windows Subsystem for Linux
Run this command on the PowerShell as Administrator
dism.exe /online /enable-feature /featurename:Microsoft-Windows-Subsystem-Linux /all /norestart
Step 2. Update to WSL 2 — OS Requirements
It is recommended to update to the new WSL 2. In order to update to WSL 2, you must have Windows 10 version 1903 or above. To check the Windows version, click the Windows start menu and type winver. Click OK and you should see the About Windows.
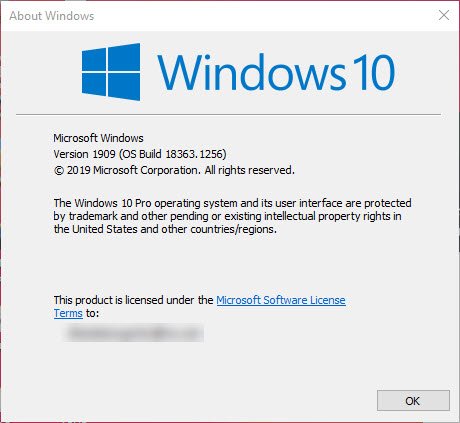
If you are running Windows 10 version 1909 like mine, the build number must be 18362.1049+ or 18363.1049+. You can check this via Windows Settings>>Update and Security
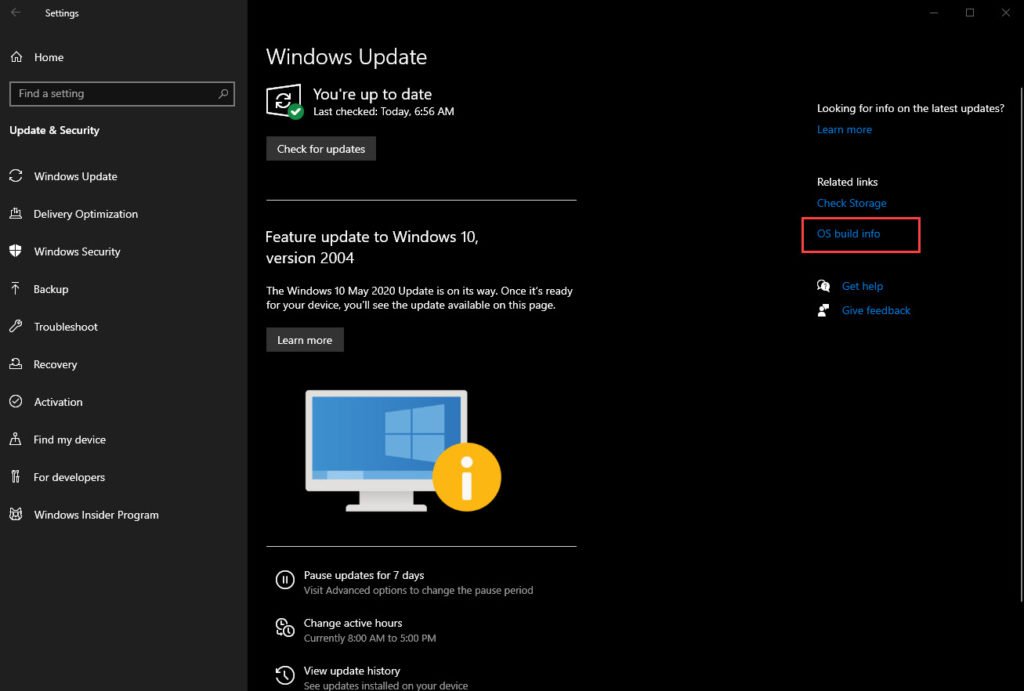
Click OS Build Info
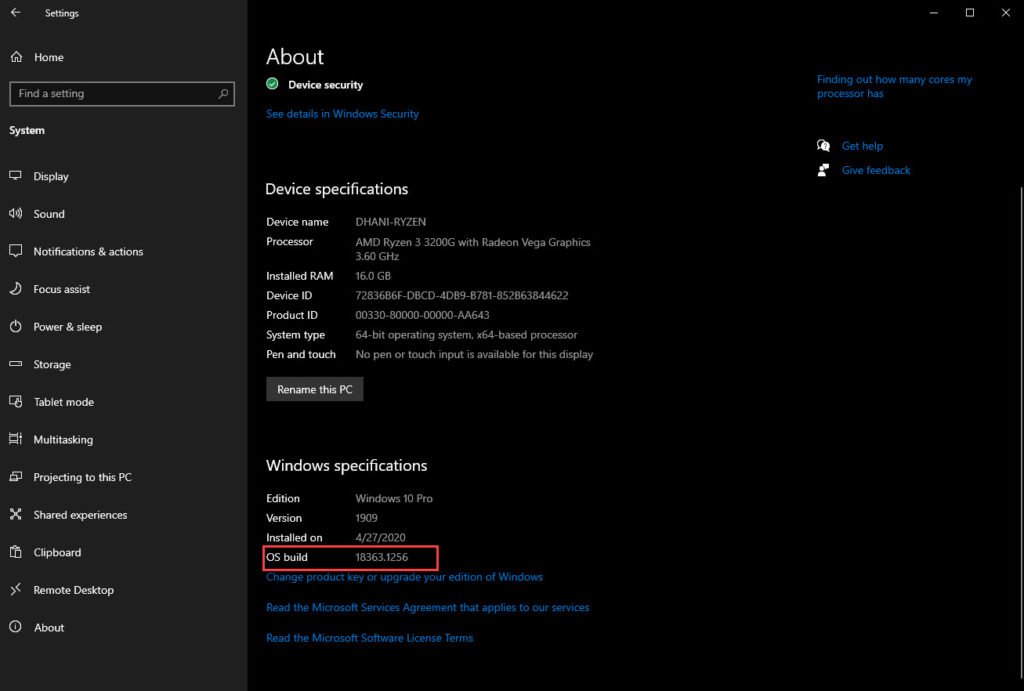
When all these requirements are met, you are good to go to update to WSL 2.
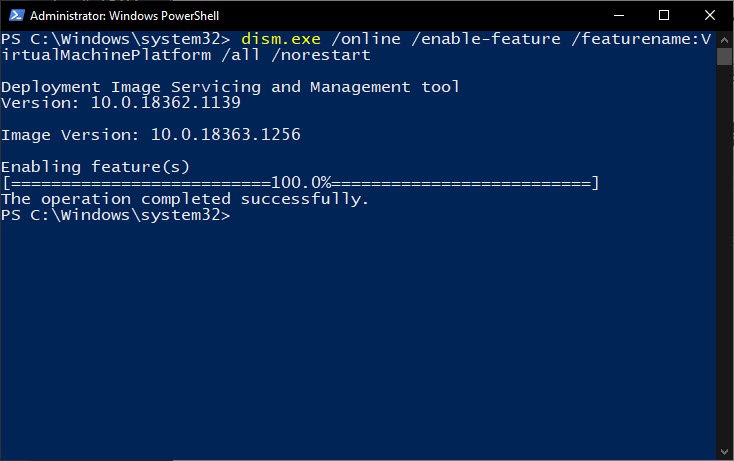
Step 3. Enable Virtual Machine Feature
Next step is to enable the Virtual Machine features in Windows 10. Run this command in PowerShell as Administrator
dism.exe /online /enable-feature /featurename:VirtualMachinePlatform /all /norestart
Restart Windows 10 to complete this step.
Step 4. Download Linux Kernel Update
Upon restart, we need to download the latest Linux Kernel update and install it.
https://wslstorestorage.blob.core.windows.net/wslblob/wsl_update_x64.msi
Install the package by double-clicking it. Follow on screen installation wizard.
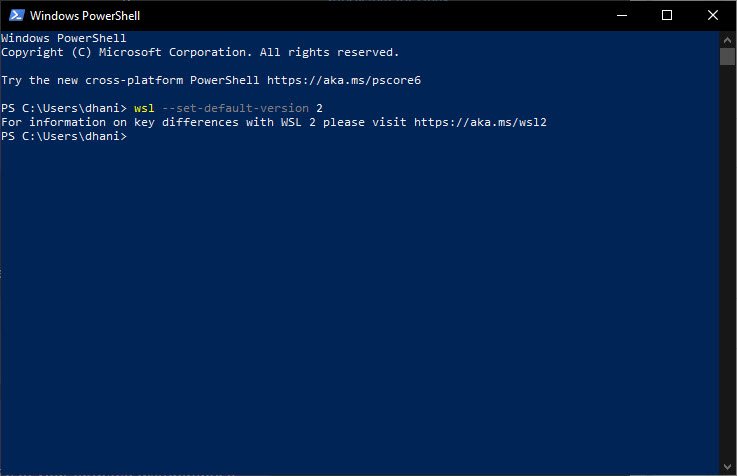
Step 5. Set WSL 2 as the default version
Open PowerShell and run this command to set the WSL version to 2.
wsl --set-default-version 2
Make sure it does not return any errors
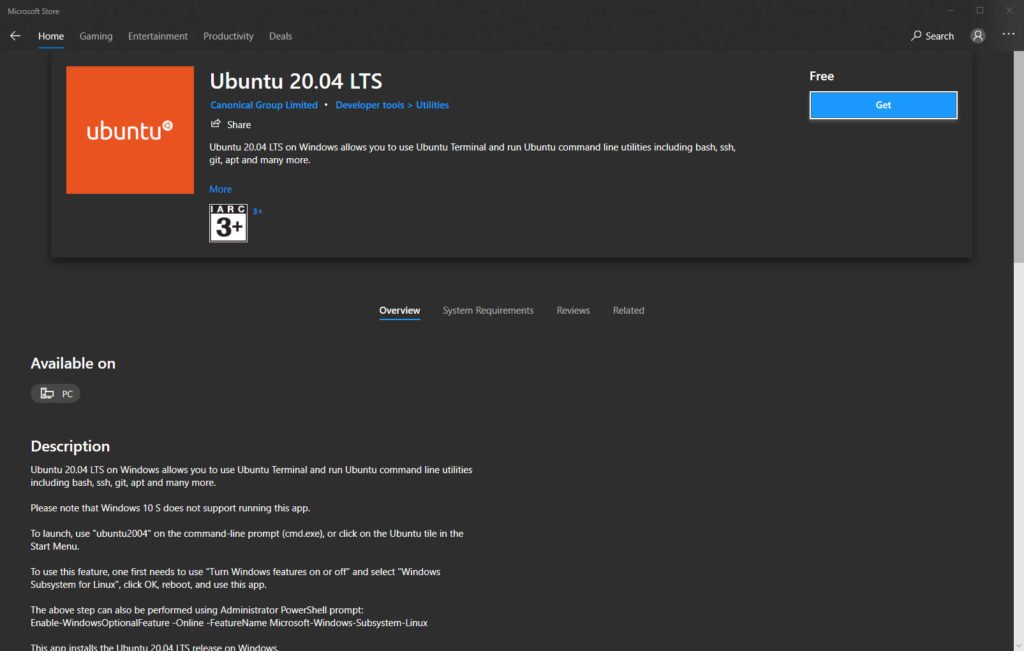
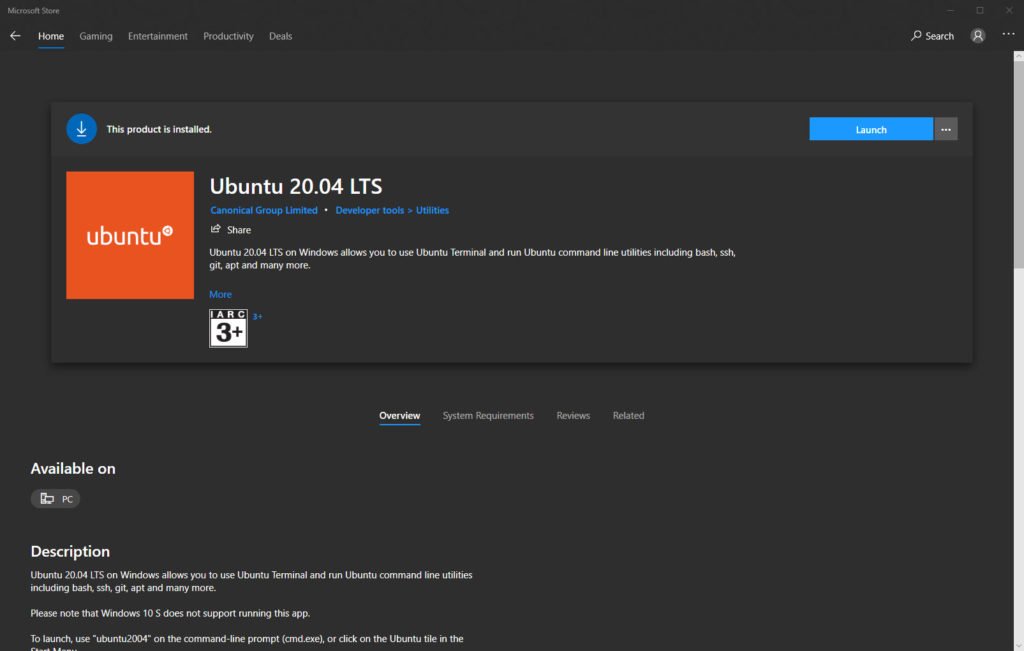
Step 6. Install Linux Distribution
Now we are ready to install our favorite Linux distribution. Open Microsoft Store and download the Linux distribution from there. In this example, I am going to install Ubuntu 20.04
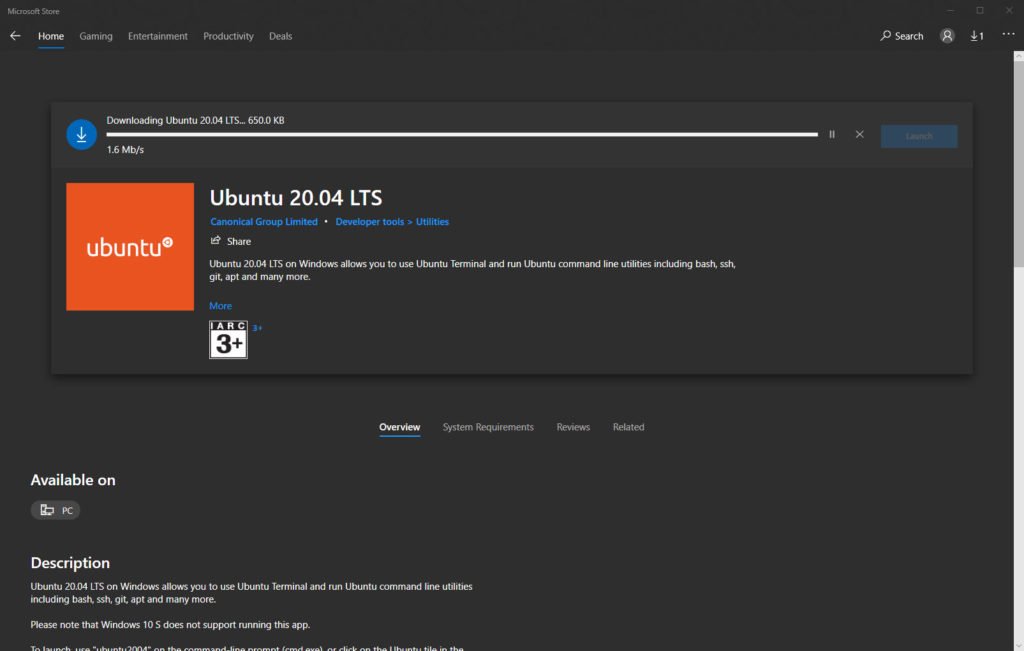
Wait until the download process is completed. When its done, click Launch
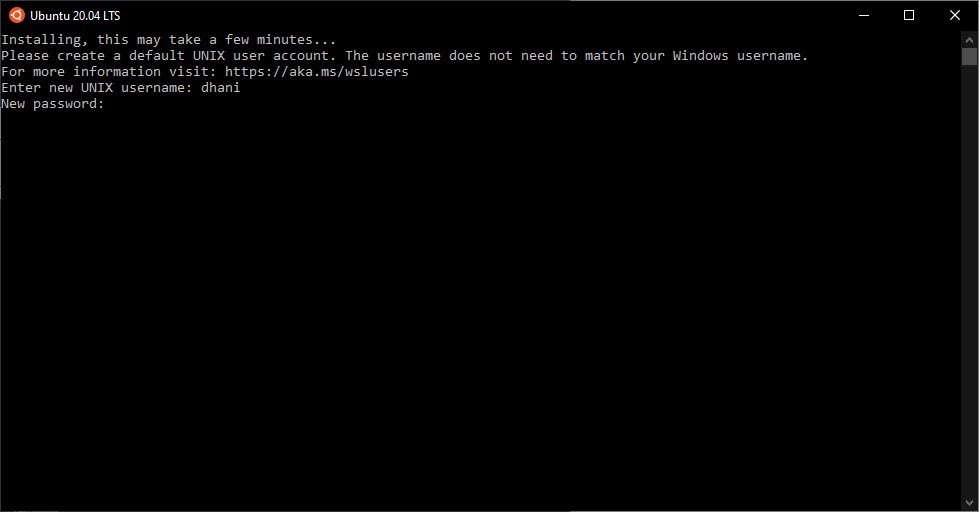
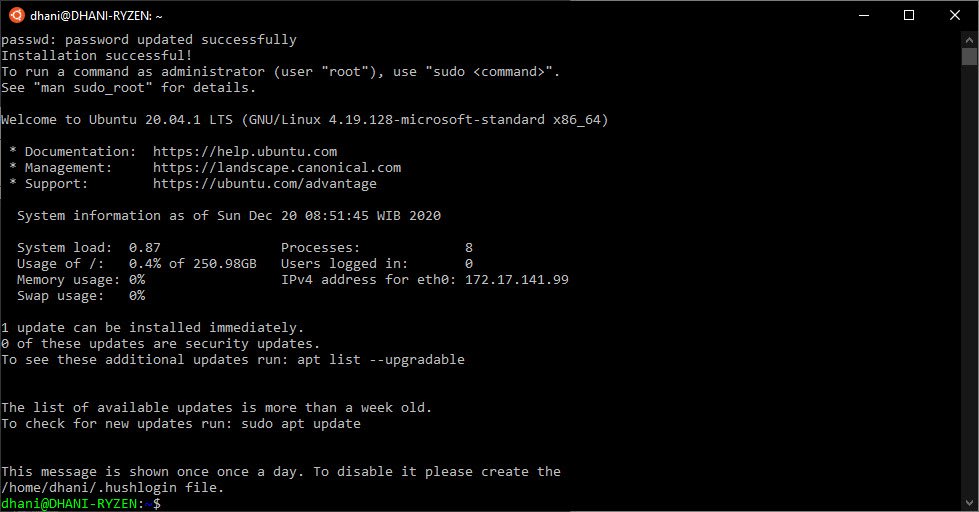
For the first time, the command line window will open up and ask for a new user and password.
Now enjoy Ubuntu 20.04 on Windows 10
You can access or open the installed Linux distribution from Windows start menu.
Thank you for reading this how to install Windows Subsystem for Linux on Windows 10. I hope you enjoy it and see you next time.
Leave a Reply