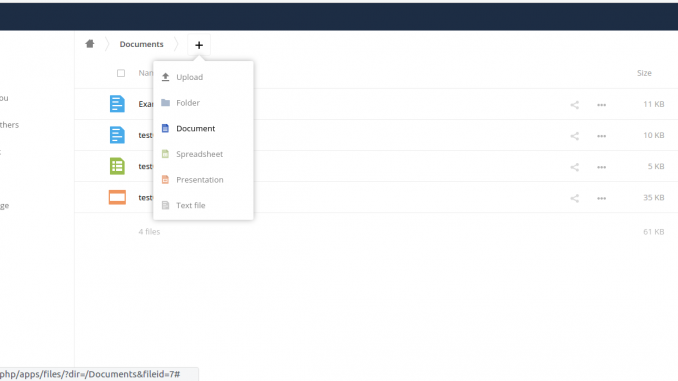
Onlyoffice is a powerful document portal and editor available for free. This tutorial is going to show you how to connect and integrate Onlyoffice with Owncloud Server. By default, Owncloud does not come with online document editor. You still need to download the file, edit it locally or open it on external application via web browser. Now, with a little efforts you can improve your Owncloud user’s experience by connecting Owncloud with Onlyoffice. As a result, Owncloud user can easily create new documents, edit documents and even collaborate with other users easily.
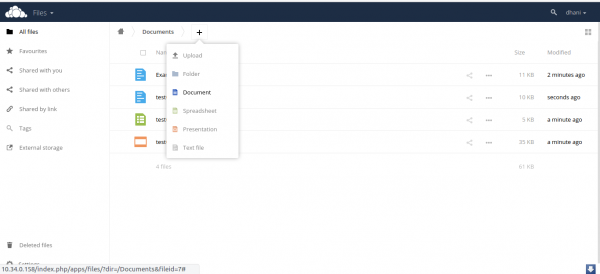
We can now easily create new document, edit it right away from the Owncloud interface. The setup also pretty easy as long as we have Onlyoffice document server already.
Steps to integrate Onlyoffice with Owncloud Server
On this example, I have two VM instances running on my network:
- 10.34.0.158 is the Owncloud instance
- 10.34.0.210 is the Onlyoffice document server instance
Step 1. Check system requirements
Before we go through, make sure you have the following items are ready on your network.
I put a link to those item in case you want to know how to install them on a Linux box. If those two servers are up and running, we can now start to configure the integration process.
Step 2. Download the integration apps
Log in to the Owncloud server to download the apps inside /apps directory under Owncloud installation.
cd /var/www/owncloud/apps
sudo wget https://github.com/ONLYOFFICE/onlyoffice-owncloud
Step 3. Enable the Integration Apps
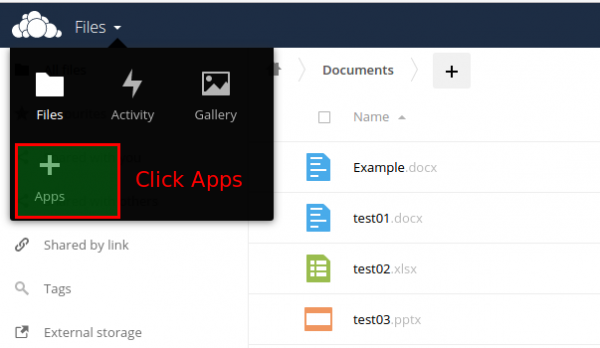
Now log in to Owncloud web console and go to Apps
Now we need to enable the Onlyoffice apps. Go to Not Enabled Apps on the left and scroll down until you see Onlyoffice apps.
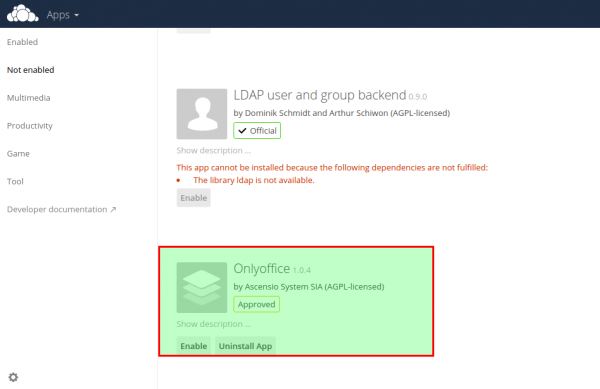
Click Enable to enable it. Once enabled, open Admin page and you should see ONLYOFFICE setting page is listed there. Click it to configure.
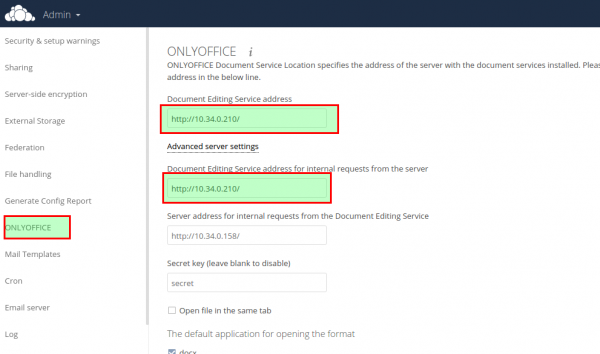
Enter the Onlyoffice document server IP address or domain as shown on above image. Save it and now open Owncloud Files and you should see Onlyoffice file creation link shown on the Owncloud web.

Leave a Reply